6
INSTALLATIONCONFIGURATIONOPERATION
FURTHER
INFORMATION
INDEX
Installation
LOCATIONS
Please consider the following important points when planning the position of the
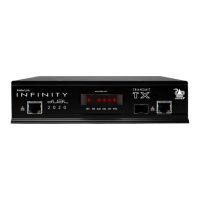
AdderLink XDIP nodes:
• Situate the transmitter node close to the system to which it will be connected and
near to a source of mains power (if powering will not take place via PoE through the
network cable). Place the receiver node in similar close proximity to the peripherals
that it will connect with, plus a source of mains power.
• Consult the precautions listed within the Safety information section.
• Connections do not need to be carried out in the order given within this guide,
however, where possible connect the power in as a nal step.
MOUNTING
Before you begin making connections to the AdderLink XDIP nodes, it is advisable to
rst mount the nodes in place, either:
• On a horizontal surface using the supplied self adhesive feet, or
• On a vertical surface using the optional wall/desk mounting kit, or
• Within an optional rack mount bracket.
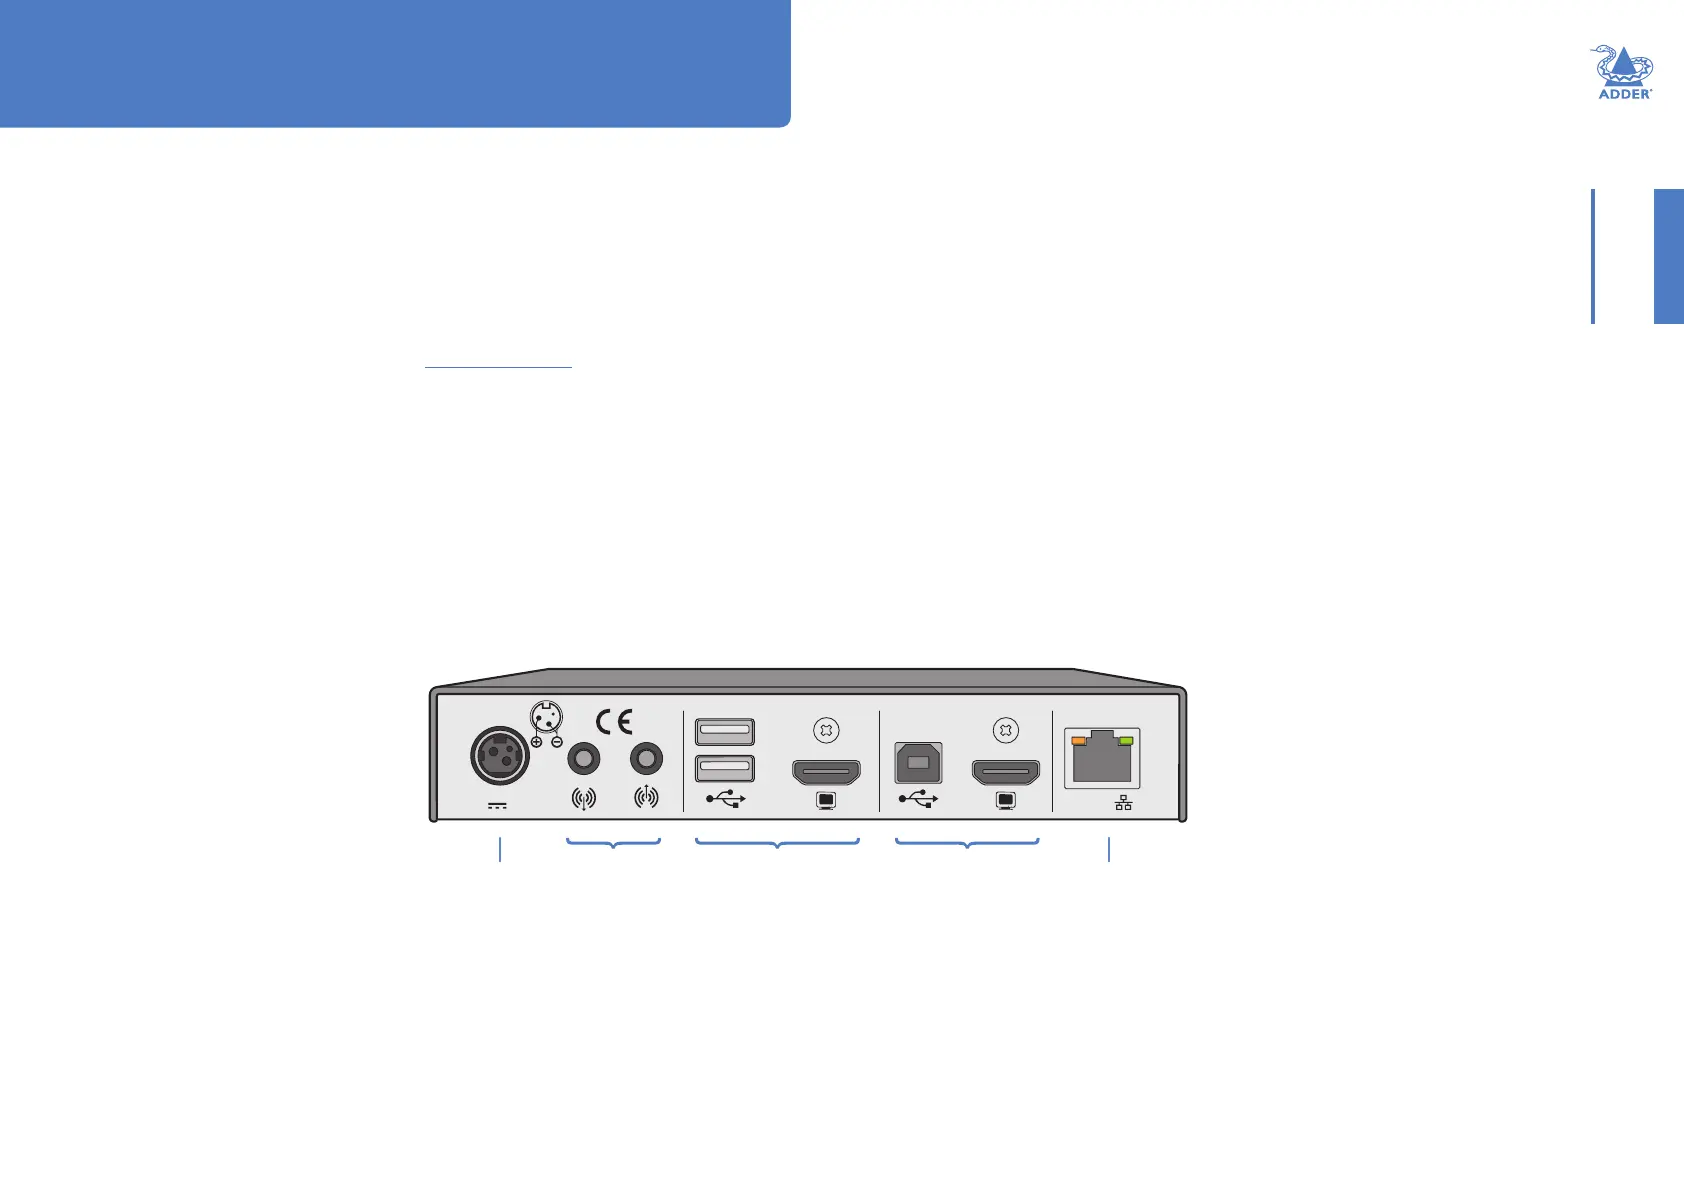
12V 1.5A
INDOOR USEONLYCOMPUTERCONSOLE
PoE
Power
connection
Console
connections
(USB port also
available on the
front panel)
Link
connection
Audio
connections
Computer
connections
CONNECTIONS
Connections to each node will be determined by the nature of your installation as well as
their intended transmitter or receiver designations.
All connections are grouped into ve main areas:
The pages that follow discuss the various connections.
HT