User’s Manual
36
NOTE: The Search menu also can be displayed by moving the mouse pointer to the top of the screen.
Search Menu
Search
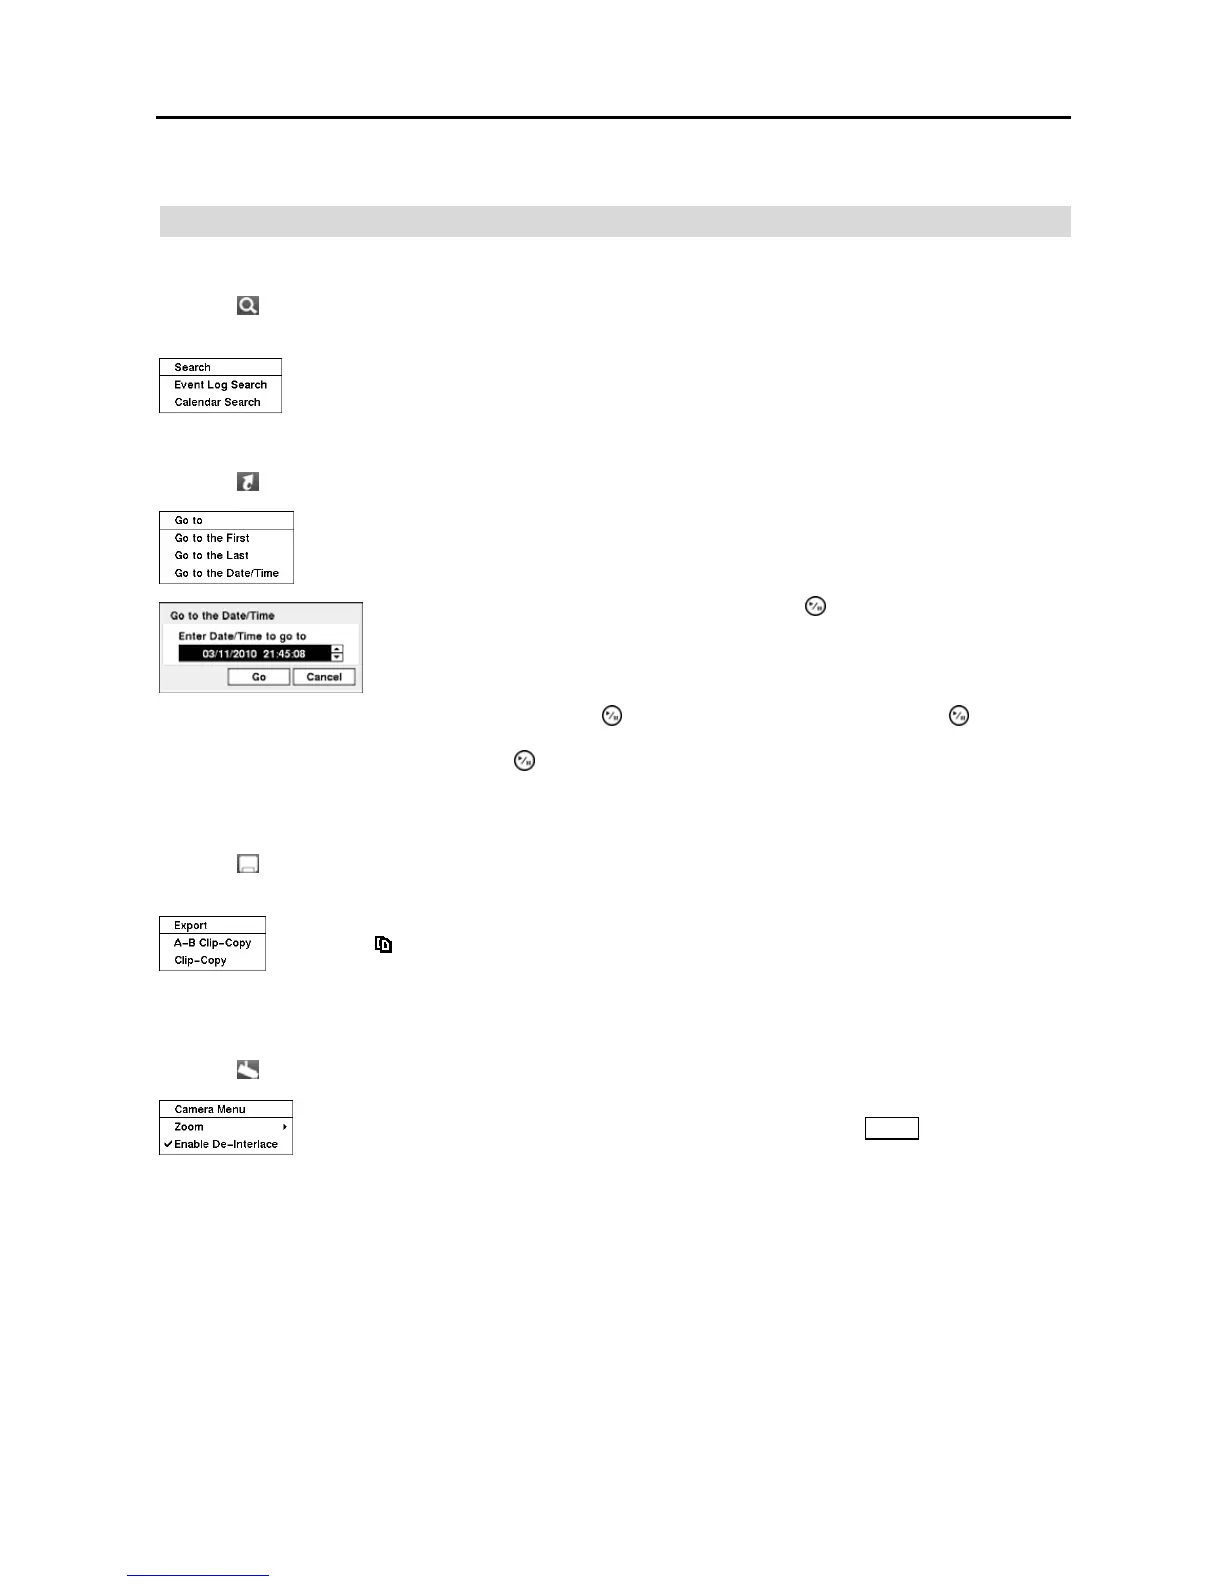
Selecting (Search) in the Search menu displays the following Search menu. See the following Event Log Search
and Calendar Search sections for details.
Event Log Search — Selecting Event Log Search selects video from the event log.
Calendar Search — Selecting Calendar Search selects using a calendar.
Go To
Selecting (Go To) in the Search menu displays the following GO TO menu.
Go to the First: Selecting Go to the First displays the first recorded image.
Go to the Last: Selecting Go to the Last displays the last recorded image.
Go to the Date/Time: Selecting Go to the Date/Time displays the Go to the Date/Time screen.
Move the cursor over the date and time and press the (Play/Pause) button. You can
use the Left and Right arrow buttons to highlight the year, month, day, hours, minutes and
seconds. Use the Up and Down arrow buttons to change to the date and time you want to
search for video.
Once you have set the date and time you want, press the button. Then highlight Go and press the button. The
selected date and time will display. (If no video was recorded during the selected time, a message appears alerting you
that no image was recorded at that time.) The
button and arrow buttons can now be used to review the surrounding
video.
Export
Selecting (Export) in the Search menu displays the following Export menu. See the following Clip Copy section
for details.
A–B Clip-Copy: Selecting A–B Clip-Copy will set the starting point of the video to be clip copied,
and the
icon displays at the bottom-left corner of the screen. Selecting A–B Clip-Copy again
will set the ending point of the video to be clip copied and displays the Clip-Copy screen.
Clip-Copy: Select Clip-Copy, and the Clip-Copy screen appears to allow clip copy setup.
Camera Menu
Selecting (Camera Menu) in the Search menu displays the following Camera Menu.
NOTE: The video signal has a time difference of 1/60 second (1/50 second for PAL) between odd and even fields
because it is composed of 60 interlaced fields per second (50 fields for PAL). When recording video with Very
High (D1) resolution, video is made up of frame units combining two fields – one odd field and one even field.
This can cause horizontal scan lines or flashes in areas with motion because of the time difference between the
two fields. Turning on the de-interlace filter provides clearer video by eliminating these horizontal scan lines
and flashes.
NOTE: The Camera Menu also can be displayed by clicking the right mouse button on the screen while in the
search mode.
Zoom: Selecting Zoom and choosing the camera number zooms the current playback image
of the selected camera on the screen. It is the same as pressing the ZOOM button on the front
panel. Selecting Zoom again exits the Zoom mode.
Enable De-Interlace: Selecting Enable De-Interlace turns the de-interlace filters on.
 Loading...