User’s Manual
38
Highlight the box beside Video Loss and press the
button. You can select the cameras for which you want any reports
of lost video.
Highlight the box beside Record Channels and press the button. You can select the cameras that you want to search
for any reports of event recorded data. The DVR will display the events (not the camera channels) that occurred and
that also are recorded on the camera channel that you selected. If you do not select a camera channel in this field, the
DVR will search events that are not associated with cameras.
You can also toggle On and Off self-diagnostic events as part of your search. The choices are:
Check Recording
Check Alarm-In
Disk Almost Full
Disk Bad
Disk Temperature
Disk S.M.A.R.T.
Fan Error
Once you set your desired search conditions, highlight Search and press the button to display the search results in
the Event Log Search screen. Selecting Cancel exits the screen without saving the changes.
Calendar Search
If the DVR’s time and date have been reset to a time that is earlier than some recorded video, it is possible for the DVR
to have more than one video stream in the same time range. Move to Select a Segment, and select the video stream you
want to search. Refer to the Appendix – Time Overlap for further information on searching time-overlapped video streams.
NOTE: The lower number of the Segment indicates the latest recorded video.
Once you have set the date and time you want to search, highlight Go and press the button. The selected date and
time will display.
NOTE: It is possible that no recorded image displays on the current screen. Change the screen mode to 2x2,
and you will be able to easily see the cameras that have recorded video during target time.
Clip-Copy
Video clips can be copied on an USB flash drive. The copied video clips can be viewed on computers running Microsoft
Windows 98, ME, 2000, XP or Vista.
Select Clip-Copy from the Export menu in the Search menu while in the Search mode, and the Clip-Copy screen appears
to allow clip copy setup.
Selecting A-B Clip-Copy from the Export menu in the Search menu during playback will set the starting point of the video
to be clip copied, and the
icon displays at the bottom-left corner of the screen. Selecting A-B Clip-Copy again from
the Export menu in the Search menu will set the ending point of the video to be clip copied by displaying the Clip-Copy
screen.
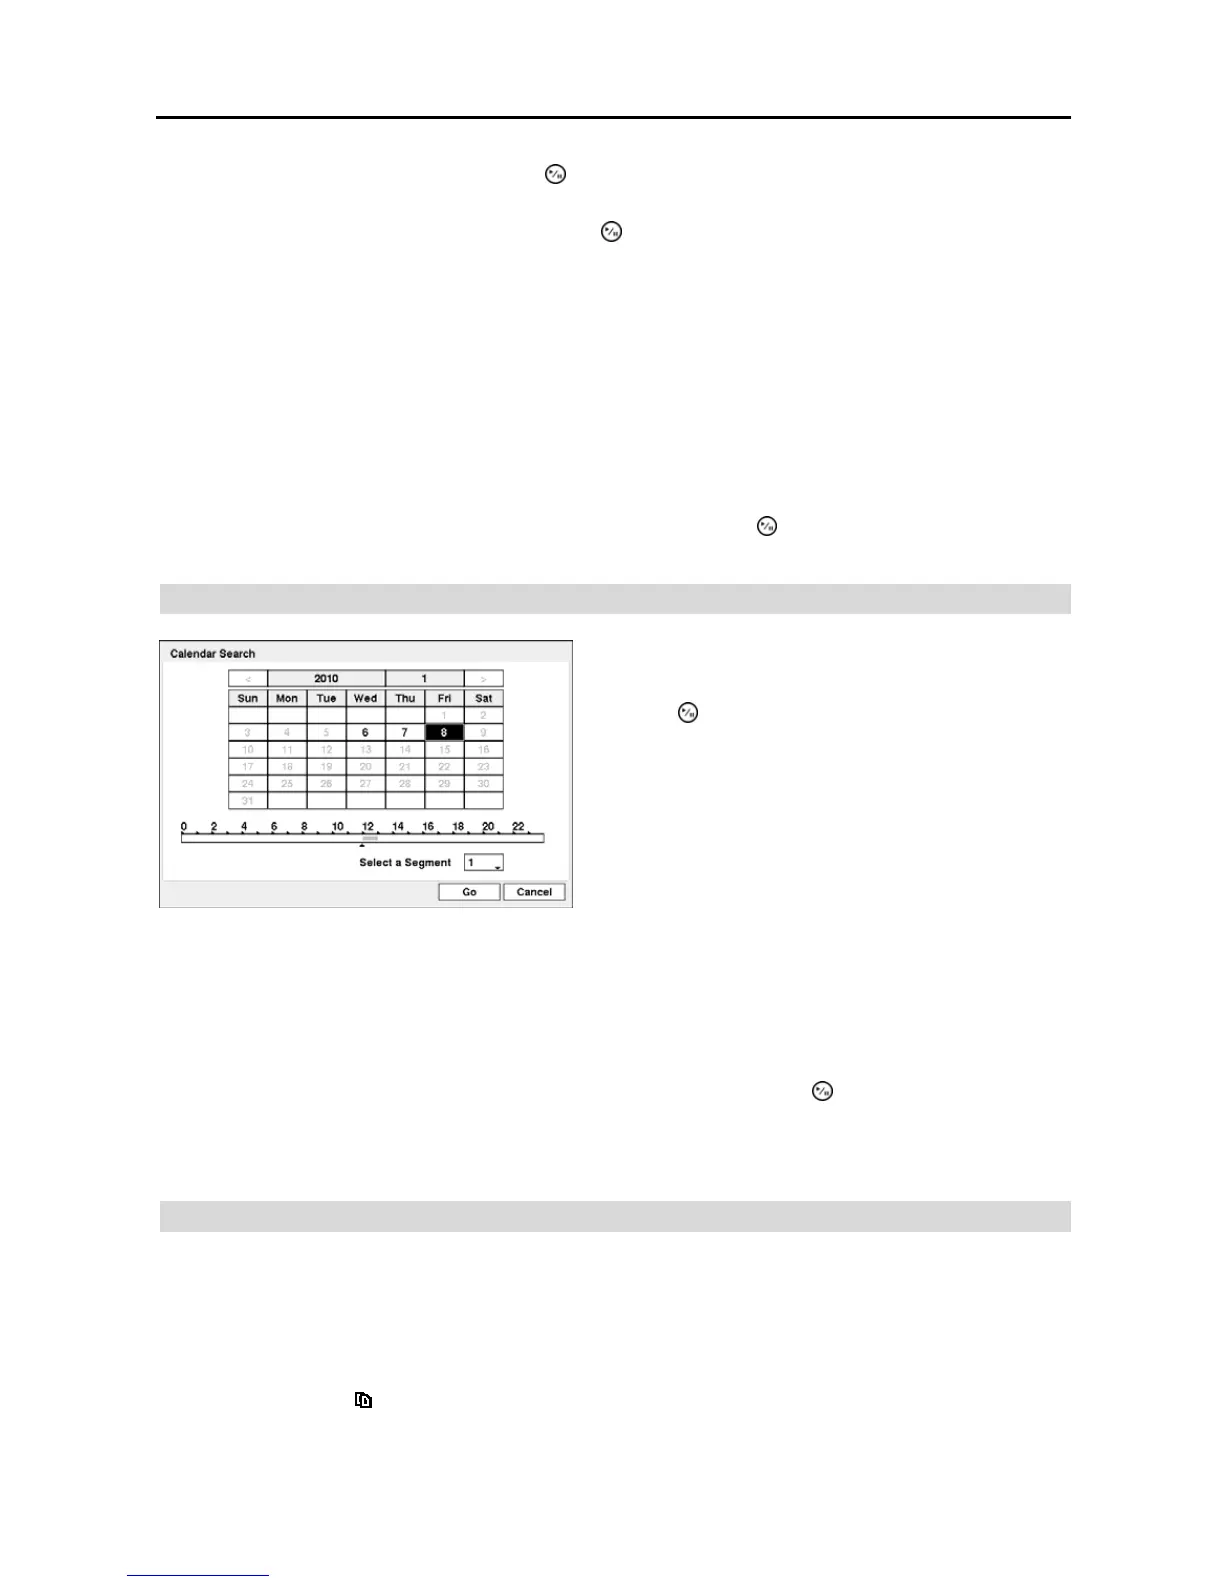
Figure 50 ─ Calendar Search screen.
Days with recorded video display on the calendar with white
numbers. You can highlight the days with recorded video by
using the arrow buttons. Once you have highlighted a day,
press the
(Play/Pause) button to select it.
A time bar displays at the bottom of the calendar. Hours in
which video was recorded will be highlighted with blue. You
can use the Up and Down arrow buttons to highlight the time
bar. Once the time bar is highlighted, you can select the time
by using the Left and Right arrow buttons
.
NOTE: The time bar is in one-hour segments. If a segment
is highlighted, it means that some video was recorded
during that hour. However, it does NOT mean video was
recorded for the entire hour.
 Loading...