User’s Manual
32
Sequence
Selecting (Sequence) in the Live Monitoring menu causes the cameras to display sequentially. It is the same as
pressing and holding the
MENU button on the front panel for three seconds or longer. Selecting again in the Live
Monitoring menu exits the Sequence mode. While in the Sequence mode, the icon displays in bottom-left corner
if Sequence is selected in the Display setup screen (OSD tab). If all the cameras in a page are Off, or have lost video,
that page will be excluded from the sequence.
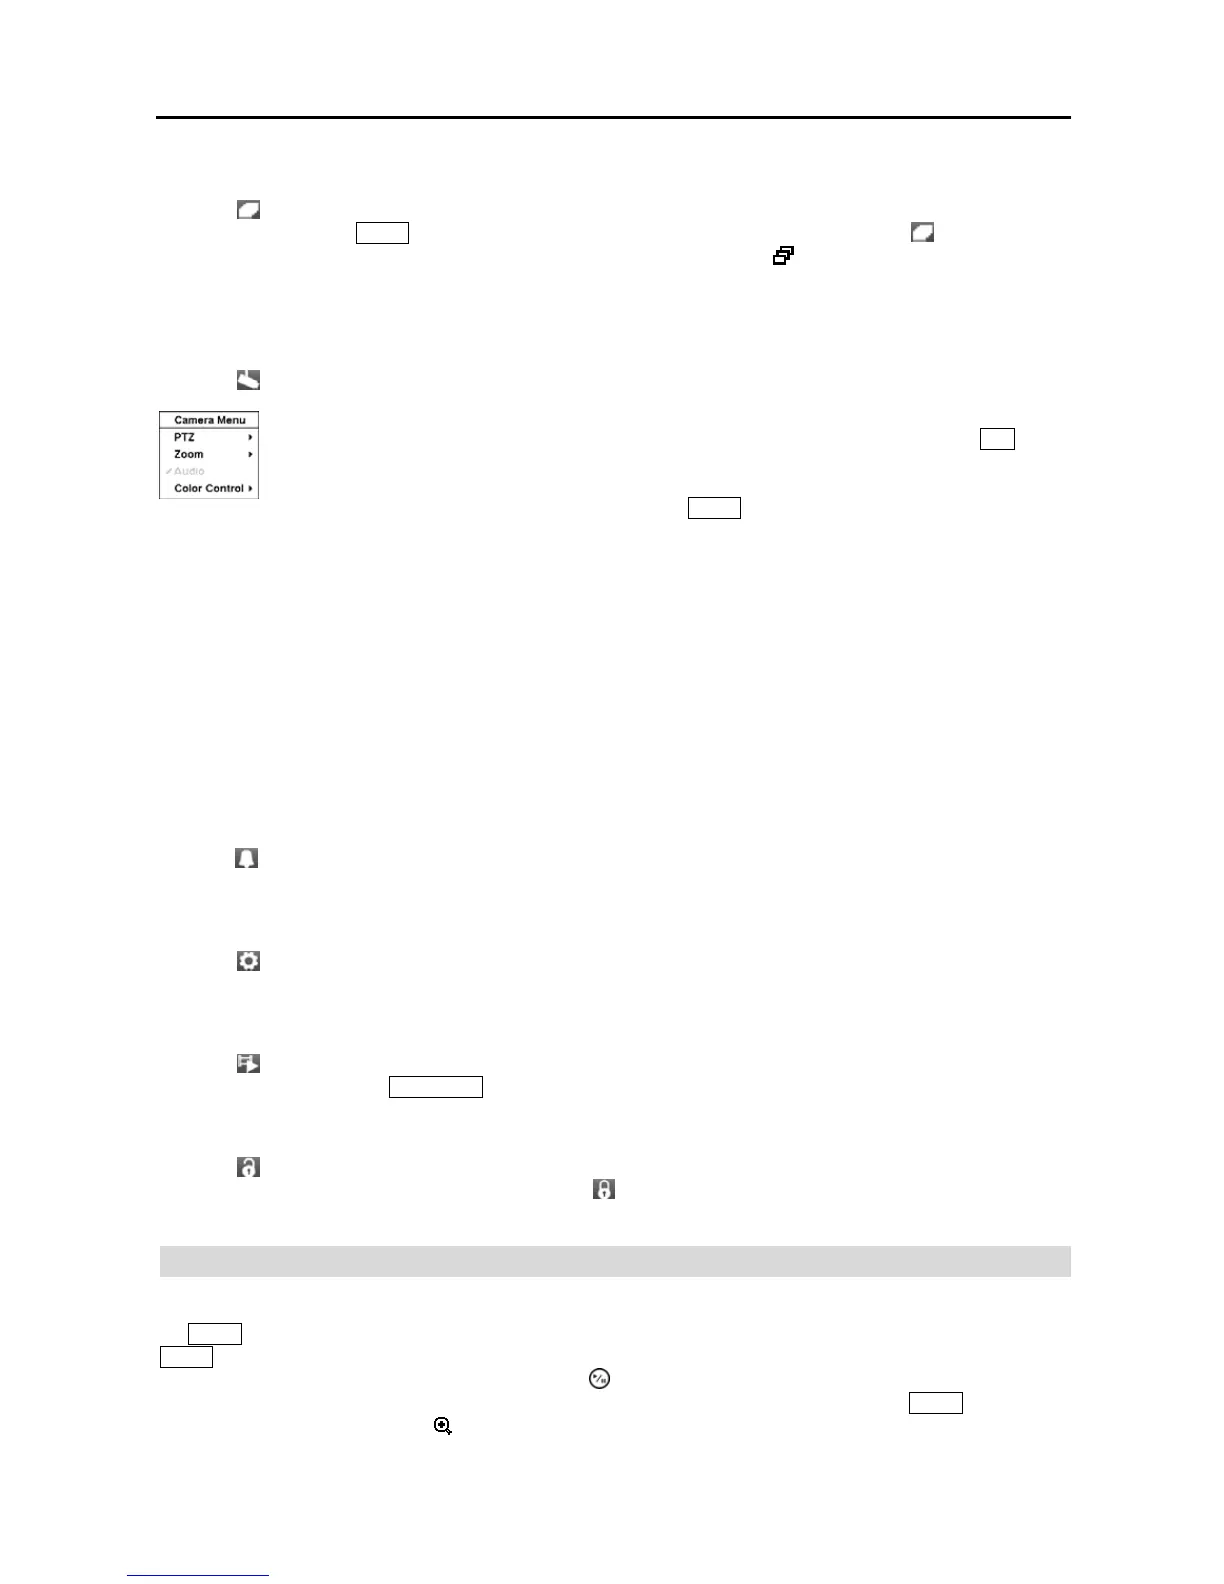
Camera Menu
Selecting (Camera Menu) in the Live Monitoring menu displays the following Camera Menu.
Color Control: Selecting Color Control and choosing the camera number allows you to control brightness, contrast,
hue and saturation for each camera for the selected camera if a user who has Color Control authority logs into the
system. It is the same as pressing and holding a camera button for a few seconds.
NOTE: It is important that cameras and monitors are correctly installed and adjusted prior to making any image
adjustments using the DVR’s controls.
NOTE: Any image adjustments you make will be applied to both the live video on the monitors and the recorded
video.
NOTE: The Camera Menu also can be displayed by clicking the right mouse button on the screen while in the
live monitoring mode.
Alarm Reset
Selecting (Alarm Reset) in the Live Monitoring menu resets the DVR’s outputs including the internal buzzer during
an alarm. It is the same as pressing any button on the front panel when the alarm is activated.
Setup
Selecting (Setup) in the Live Monitoring menu enters the Main Setup screen. Refer to Chapter 3 ─ Configuration
for detailed descriptions of system setup.
Search Mode
Selecting (Search Mode) in the Live Monitoring menu exits the live monitoring mode and enters the search mode.
It is the same as pressing the PLAYBACK button on the front panel.
Login/Logout
Selecting (Login) in the Live Monitoring menu accesses the Login screen, and you will be asked to select a User
and enter the password to log into the system. Selecting
(Logout) in the Live Monitoring menu displays the Logout
screen asking you to confirm whether or not you want to log out the current user.
Zoom Mode
You can enlarge an area of the video by selecting Zoom from the Camera Menu in the Live Monitoring menu or pressing
the
ZOOM button on the front panel. For a few seconds after selecting Zoom from the Camera Menu or pressing the
ZOOM button, a rectangle displays on the screen. A rectangle shows the area that will be enlarged. You can move the
rectangle around using the arrow buttons. Pressing the (Play/Pause) button in the Zoom mode enlarges the area in
rectangle. Exit the Zoom mode by selecting Zoom again from the Camera Menu or pressing the
ZOOM button again.
While in the Zoom mode, the icon displays if Zoom is selected in the Display setup screen (OSD tab).
PTZ: Selecting PTZ and choosing the camera number allows you to control the selected camera as
long as it has Pan, Tilt and Zoom capabilities. It is the same as pressing and holding the PTZ button
on the front panel for three seconds or longer. Refer to the following PTZ Mode section for details.
Zoom: Selecting Zoom and choosing the camera number zooms the current image of the selected
camera on the screen. It is the same as pressing the ZOOM button on the front panel. Selecting Zoom
again in the Camera Menu again exits the Zoom mode. Refer to the following Zoom Mode section
for details.
 Loading...