Chapter 6 Settings
40
Osmo1® Single-Sample Micro-Osmometer User Guide
Enabling/disabling the printer
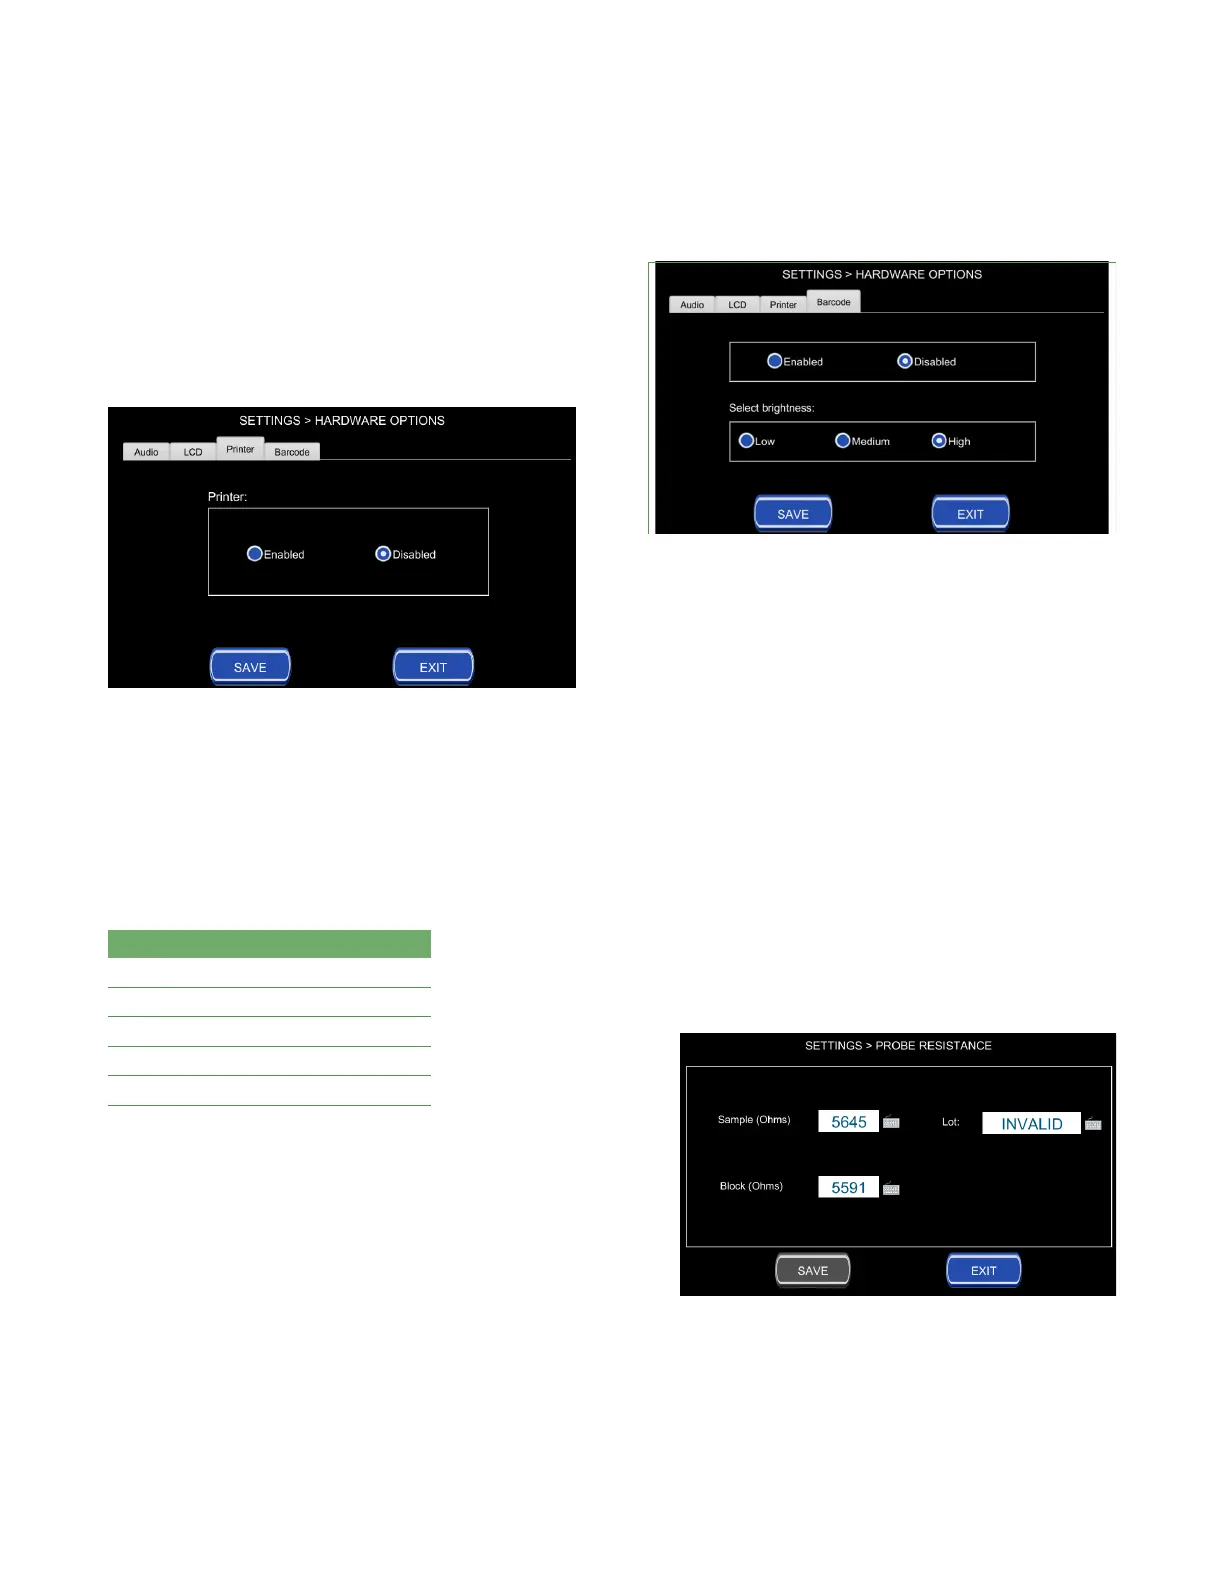
The Osmo1 integrated printer is enabled by default. If
you want to disable the printer select the Printer tab on
the Hardware Options screen (Figure 48).
If you change the setting, tap Save.
Figure 48: Printer option screen
Adjusting barcode scanner settings
You can scan the identifying barcode on samples rather
than typing the numbers manually. This feature helps
eliminate entry errors and speeds the logging process
Table 8 lists the readable barcode types.
Supported Barcode formats
Aztec QR
GS1 UPC/EAN
Codabar Interleaved 2 of 5 (ITF)
Code 39 Data Matrix/ECC
Code 128 PDF417
Table 8: Barcode formats readable by Osmo1
The barcode scanner is located on the front of the
instrument in the middle of the lower vertical section.
The barcode scanner is enabled by default. You can
adjust the brightness of the barcode scanner or disable it
from the Barcode tab (Figure 49).
If you change settings, tap Save.
Figure 49: Barcode scanner options screen
6.9 Adjusting probe resistance
NOTE: Do not change the probe resistance setting unless
the sample or block probe is being replaced.
NOTE: If you make any change to the sample or block
probe resistance, you must recalibrate the Osmo1.
1. From the Settings menu, tap Probe Resistance.
The system prompts you to log in.
2. Select the appropriate username from the list and
enter the corresponding password.
NOTE: If individual user accounts are not configured,
log in under the Admin account (see “Default
user accounts” on page36).
The Probe Resistance screen displays (Figure 50).
Figure 50: Probe Resistance screen
3. On the Probe Resistance screen, tap the keyboard
icons to the right of each field whose value you want
to edit; then enter a new value for that field.