Chapter 6 Settings
44
Osmo1® Single-Sample Micro-Osmometer User Guide
Send-results mode
You can configure the system to send results to your LIS
system via Automatic or Manual mode:
• Automatic sends results immediately after each test. If
the communication link becomes disconnected, the
results store as Pending LIS, indicated by a number in
the LIS indicator circle. When the link is restored, the
data is sent, and there is no indicator number.
• Manual mode accumulates test results in the Results
database until a user selects to send it to the LIS on
the Results screen.
LIS connection indicator colors
Colors in LIS symbols on the Osmo1 screen indicate the
status of the connection:
• Green shows a successful and ready LIS connection.
• Gray shows a disabled LIS connection.
• Red shows a disconnected or error condition on the
LIS connection.
Configuring the LIS connection
To set up the LIS connection:
1. From the Settings menu, select LIS/LAN.
The system prompts you to log in.
2. Select the appropriate username from the list and
enter the corresponding password.
NOTE: If individual user accounts are not configured,
log in under the Admin account (see “Default
user accounts” on page36).
The LIS/LAN screen displays, with the LIS tab in
front (Figure 59).
Figure 59: LIS tab of the LIS/LAN screen
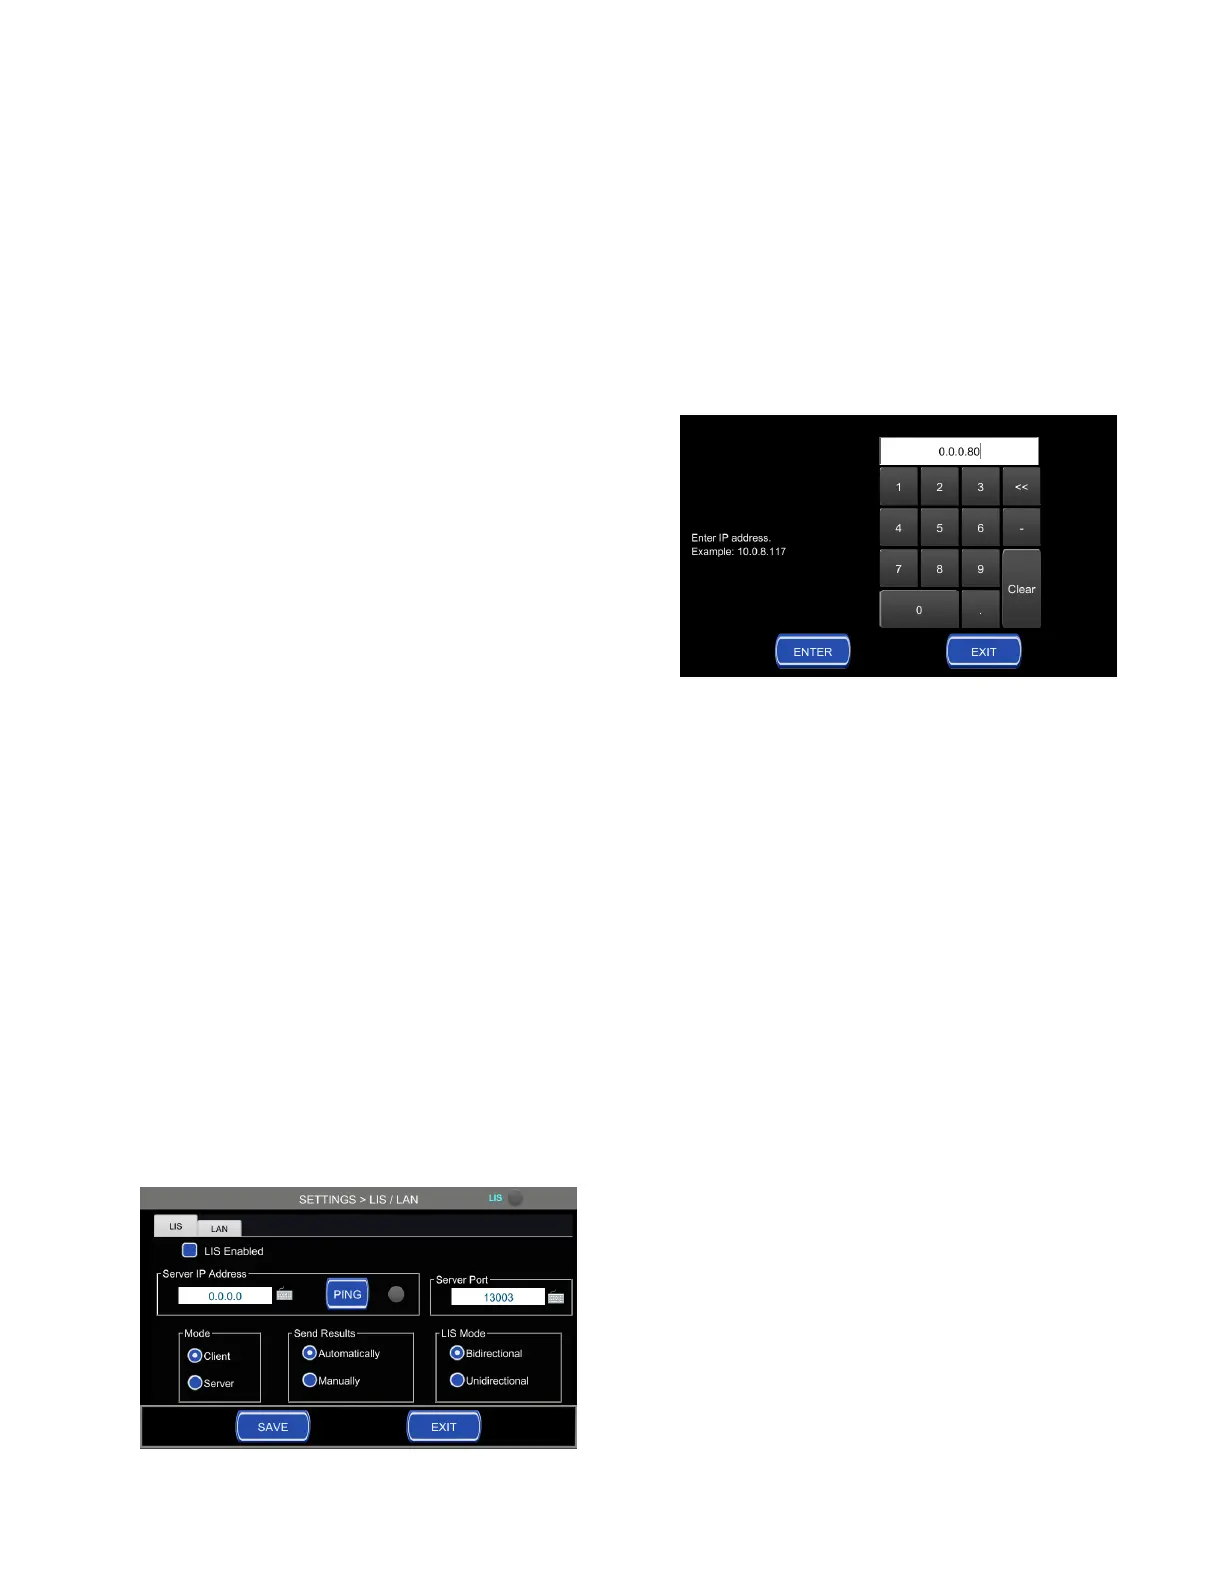
3. On the LIS tab, enter the IP address.
NOTE: Tap the keyboard icon to the right of the
Server IP Address field to display a numeric
keypad (Figure 60). Use the keypad to enter
the appropriate value, and then tap Enter
save the value and close the keypad.
Figure 60: Numeric keypad to enter IP address
4. In a similar manner, enter the port number in the
Server Port field.
5. Tap Ping to test the server connection.
NOTE: The Ping indicator displays green for three
seconds when a successful ping is initiated,
and then returns to gray. If the ping is
unsuccessful, the indicator displays red.
6. Select other settings appropriate for your lab:
• Mode: Client or Server
• Send Results: Automatically or Manually
• LIS Mode: Bidirectional or Unidirectional
7. Tap Save.
8. Optional: If you also want to set up a LAN
connection, tap the LAN tab to bring it to the front;
then refer to the instructions in “Configuring a LAN
connection” on page45.
9. Tap Exit to return to the Settings menu.