Chapter 3 Instrument operation
26
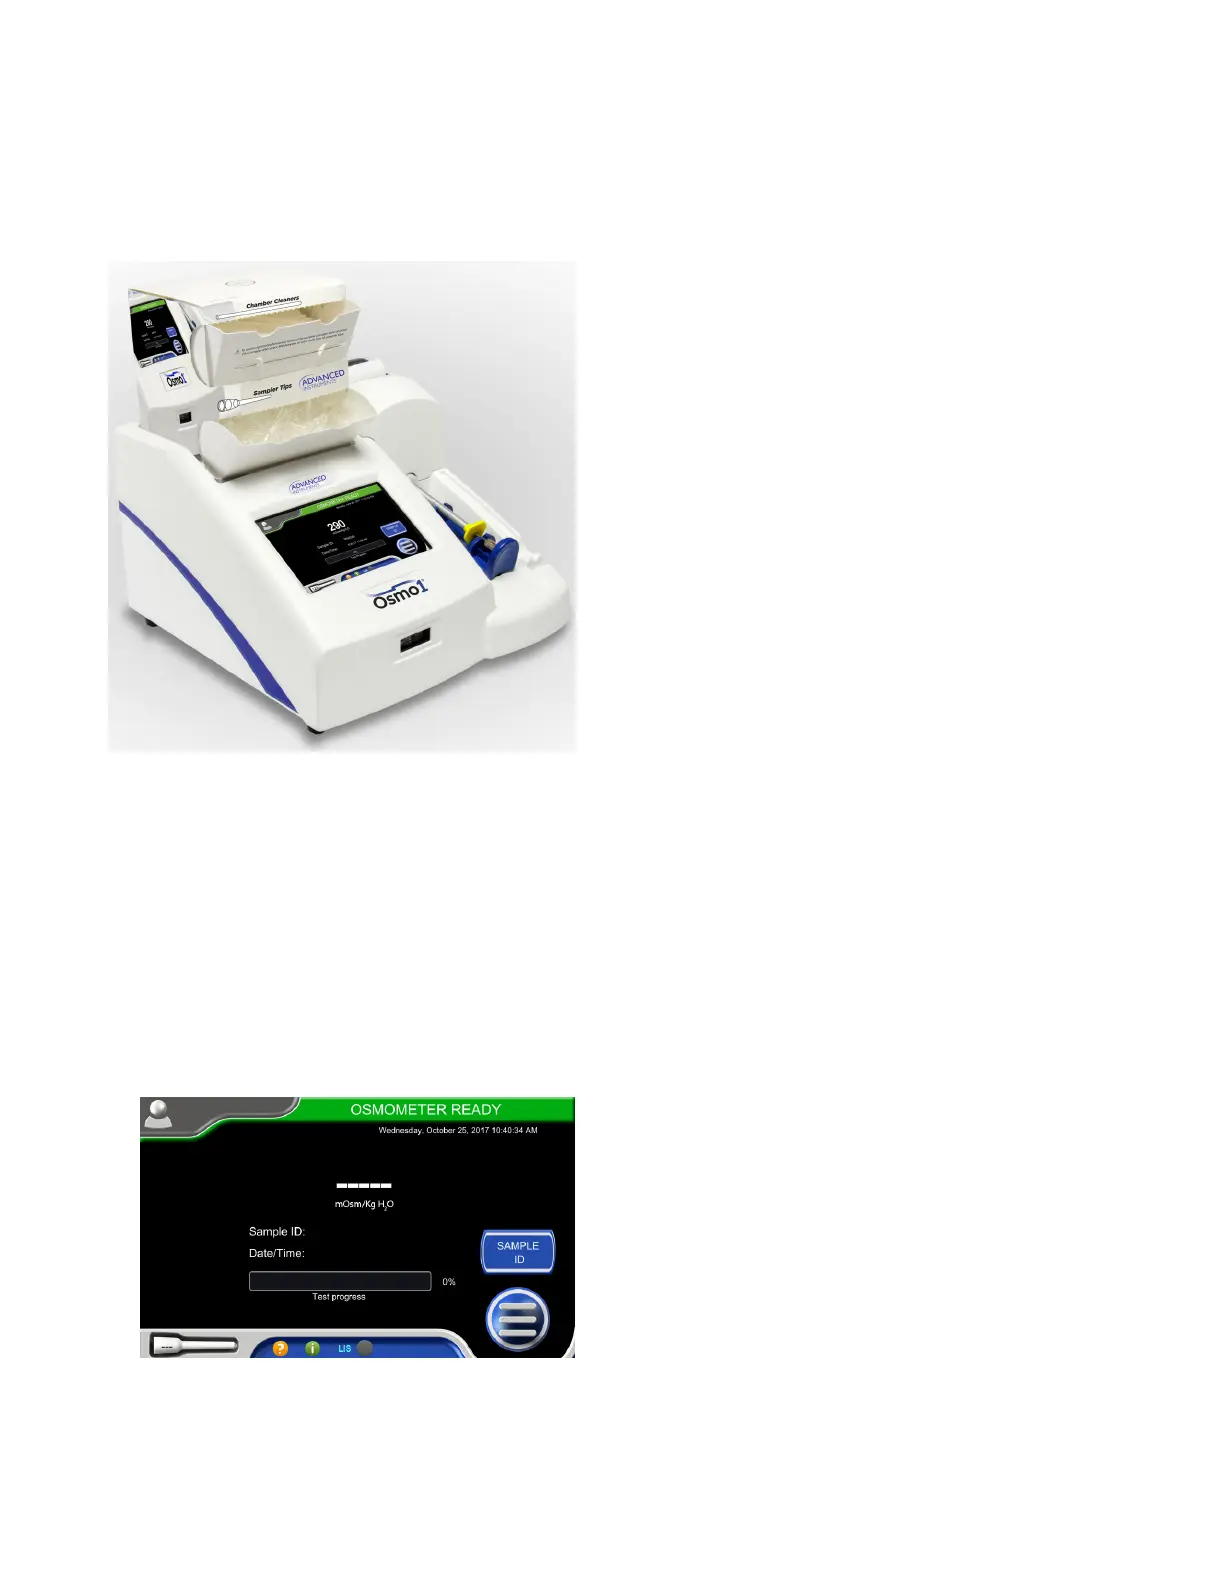
Osmo1® Single-Sample Micro-Osmometer User Guide
Figure 12: Micro-Sample Test Kit in correct position to begin testing
3.5 Testing procedure
Use this procedure to test all samples (including
calibration standards, reference solutions, and controls).
Be sure to discard the used sampling tip and clean the
testing chamber as instructed after each sample.
1. If the Home screen is not currently displayed:
Tap the Home button to display the Home screen
(Figure 13).
Figure 13: Example of a Home screen
2. From the Home screen, check the status indicator
and take the appropriate action:
• Green (Osmometer Ready): Go to step .
• Orange (IDs Required): Go to step .
• Yellow (Testing in progress): Wait for the current
test to complete.
• Red (error condition): Refer to “Troubleshooting”
on page59.
3. If applicable: Log in with your User ID.
NOTE: Check the color of the Login button to
determine Login status:
• Gray: Login is optional
• Orange: Login is required
• Green: A user is already logged in. The
username is displayed by the Login button.
(If you need to log in but another user is still
logged in, you can tap the Login button to
log out that user.)
3.1 From the Home screen, tap the Login button.
The Select User screen displays.
3.2 Select the appropriate username from the
drop-down list and tap Enter.
A keyboard displays.
3.3 Use the keyboard to type the password for the
selected user account; then tap Enter.
4. If applicable: Enter the Sample ID.
NOTE: Check the color of the Sample ID button to
determine whether Sample ID is optional or
required:
• Blue: Sample ID is optional
• Orange: Sample ID is required
4.1 Tap the Sample ID button.
A keyboard displays and the barcode scanner
on the front of the instrument activates.
4.2 Either type the sample ID and tap Enter, or
scan the sample label with the barcode scanner.
The keyboard closes. On the Home screen, the
Sample ID field is now populated.
NOTE: If Sample ID was required (orange
button), the button turns blue after you
enter the Sample ID value.