Afinia H800+ 3D Printer User’s Manual
10
Installing the Afinia H800+ 3D Printer
You will need the USB Cable, Power Supply and Cable, and Filament Spool to complete the Afinia
H800+ 3D Printer installation.
Driver and Software Installation
Mac
Insert the Installation Disc into your Mac. Open the disc, go into the Mac folder, and
double-click Afinia Mac Setup.pkg. Follow the prompts through the installation. The drivers
will be added and the Afinia software will be installed to the Applications folder.
Windows
Insert the Installation Disc into your PC. If the installer does not launch automatically, start the
Afinia 3D Printer setup.exe file in the PC directory on the installation disc.
Note: This installs the Afinia 3D Printer software, the Afinia 3D Printer drivers, and the Afinia
3D Printer sample files into your Program files\Afinia\Afinia 3D Printer folder.
Follow the instructions in the Installer to be sure the drivers and software are all in place
before attempting to use the Printer. The instructions below will follow the same order as those
in the Installer.
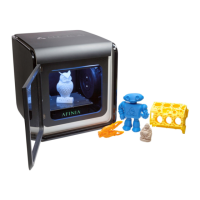
Installing the Printer
Connect the power adapter as shown with the flat side out and turn
on the power switch.
Long Press the Power button on the control panel to initialize the
printer.
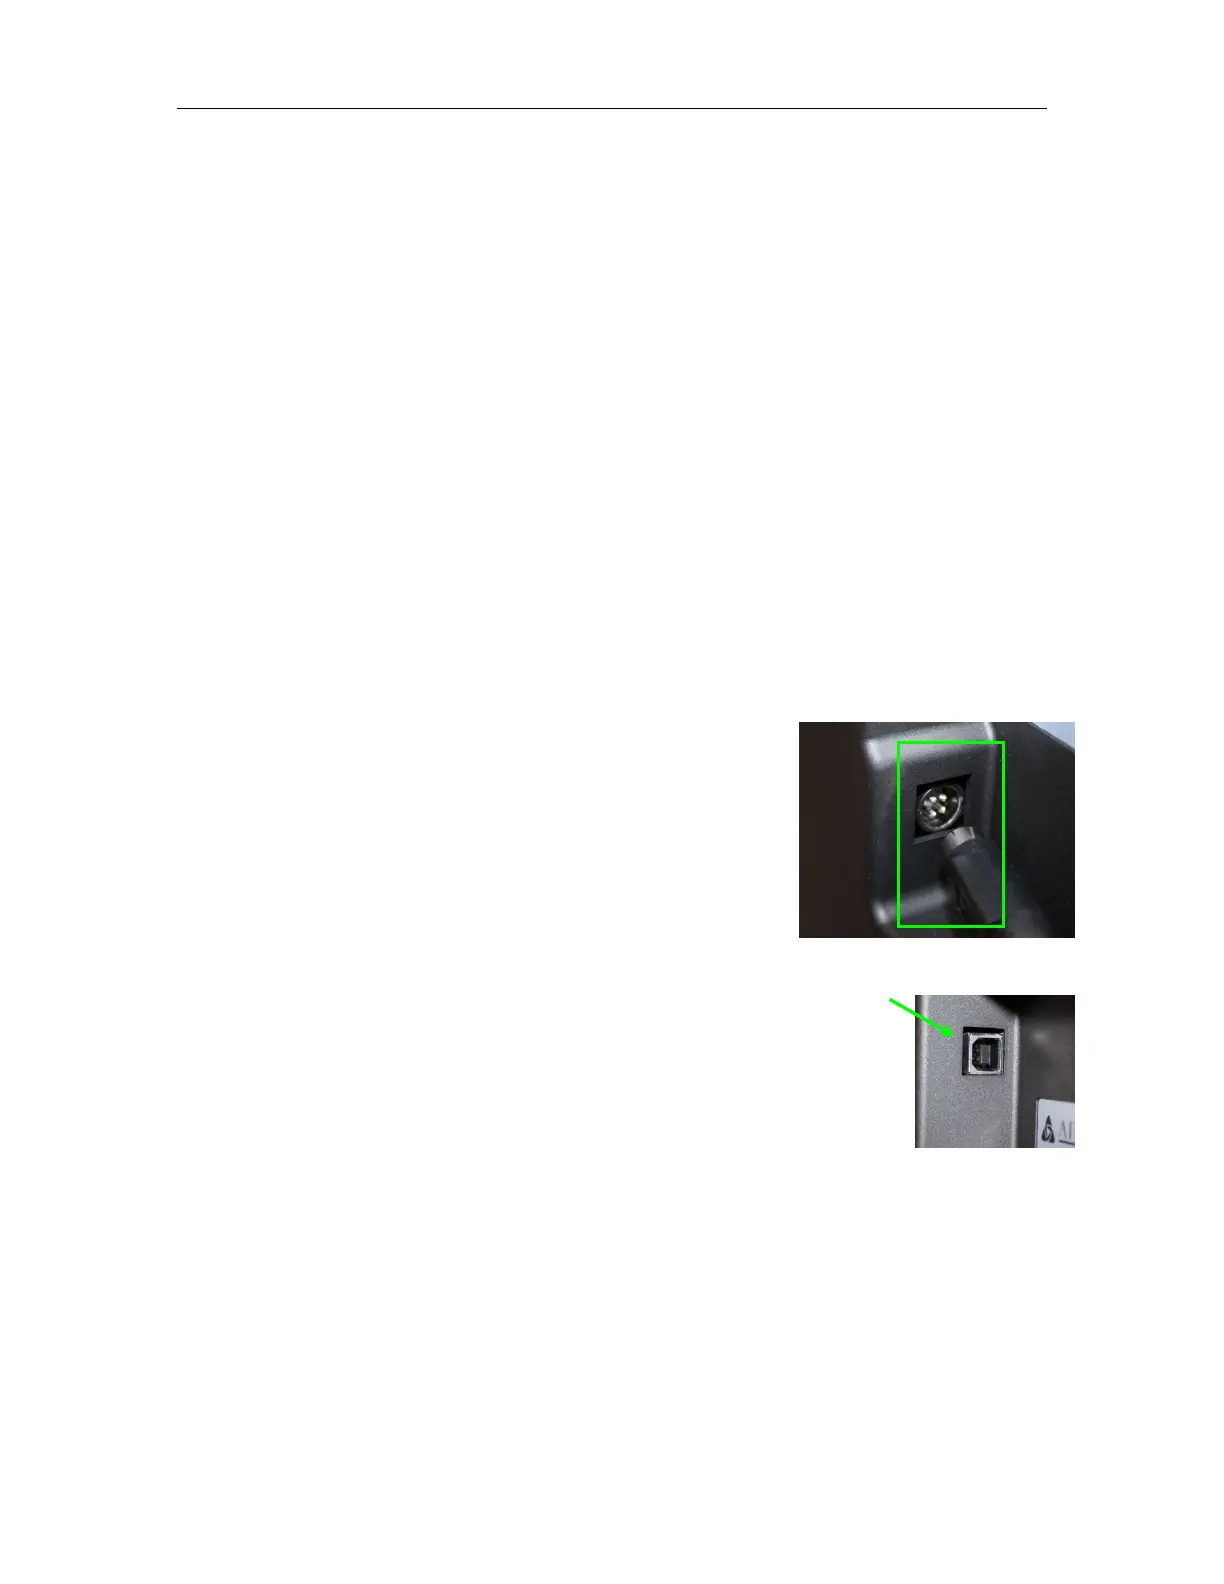
Connect the printer to your computer using the supplied USB cable.
The Printer will be recognized and automatically installed when it is connected to
your PC or Mac.
USB connection