1-9
Initial Troubleshooting and Overall Block Diagram
Initial Troubleshooting
Step 4: Visually Check the Individual Voltage Supplies
1. Unplug the signal generator and remove the instrument cover. Refer to Chapter 4, "Assembly Replacement," for
removal instructions.
2. Expose the motherboard by removing the top cover. It is secured by 11 screws.
3. Plug in the signal generator and allow it to warm up for at least five minutes.
4. If possible, clear the error queue(s) of messages. Press
Utility, Error Info, Clear Error Queue(s).
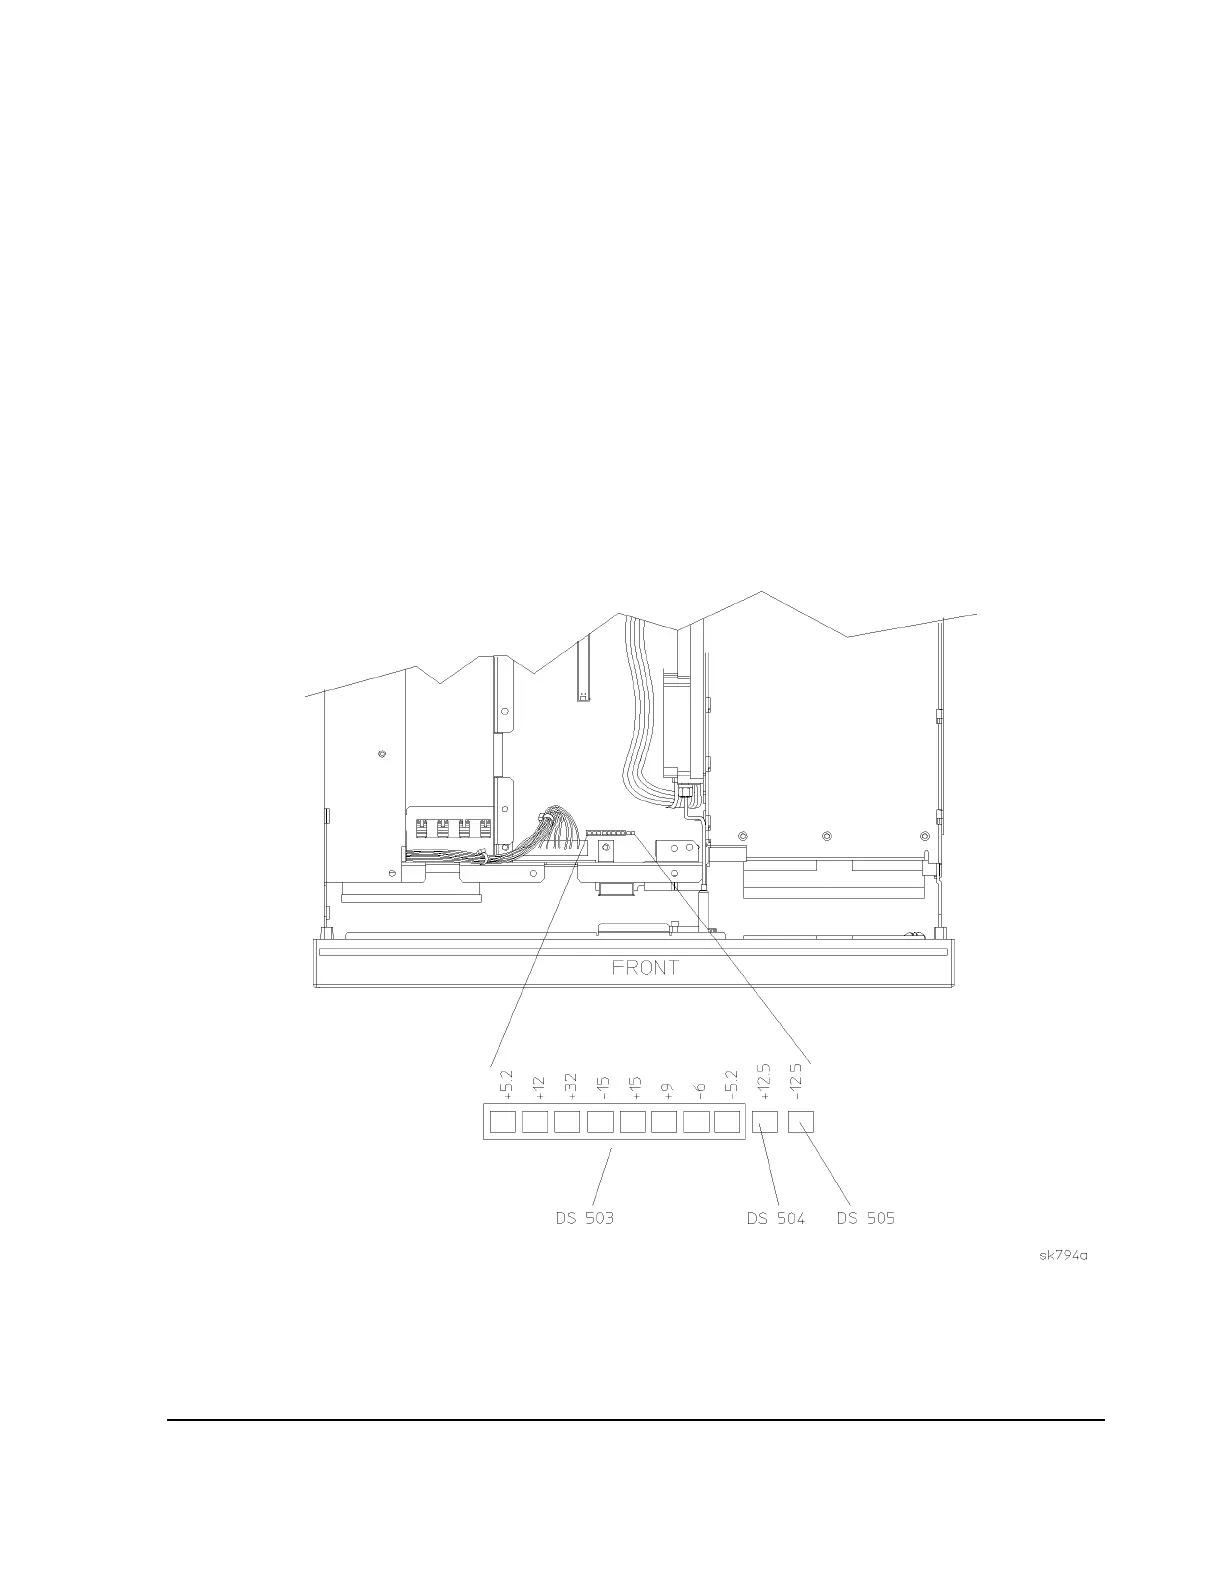
5. On the motherboard, locate the 10 LEDs that corres
pond to the individual voltage supplies (see Figure 1-3). Verify
that all the LEDs are lit. If one or more LEDs are off, proceed to Step 6: Isolate the Failed Assembly.
Figure 1-3. LED Locations
on the Motherboard

 Loading...


