3 Maintain the ATCA Subrack
Press [ Enter ].
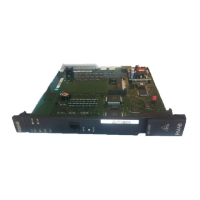
Help: The new JBXOMCP board is rebooting. If the boot sequence was modified
do not forget to restore it.
To enter in the BIOS settings, press [ ESC ] + [ 2 ] several times from the
keyboard during the new JBXOMCP rebooting sequence.
To restore the boot sequence for the new JBXOMCP board:
From "BIOS Setup Utility" window navigate to Boot menu.
From Boot menu select ’Hard Drive’ then press [ ! ] to enable hard disk
drive option.
Press [ F10 ] and then press [ Enter ] to save the changes you made
and exit the BIOS.
The new JBXOMCP board is rebooting from its disk. This sequence will
take about 5 minutes.
12. In the terminal window connection through SHMC, press [ Enter ] , then:
Type the username:
root
Type the password:
alcatel
The following message should appear: Installation successful.
13. Close the terminal window connection through SHMC.
14. Tighten the front plate screws which secure the board to the shelf.
40 / 90
3BK 21281 AAAA PCZZA Ed.13
 Loading...


