41
PROCEDURES:
(1) Turn on the injection molding machine to mold positioning.
Loosen set screws on both the crosswise cylinder mounting plate and crosswise backward
stopper.
(2) Moves arm horizontally to stay between mould halves, and to pulls out safety lock
cylinder, and then pulls arm down to the mould center.
(3) Push arm forward to enable it to grip/remove moulding part(s) but be aware not to
damage mould. Lock tightly set screw on the crosswise cylinder mounting plate but must pay
attention to preserve proceeding distance for ejector forward to formation of arm during to
long run.
(4) Pushes arm toward the injection nozzle to the accessible range of part(s) removal
and/or within crosswise moving stroke, and then locks tightly set screw on the cross- wise
backward stopper.
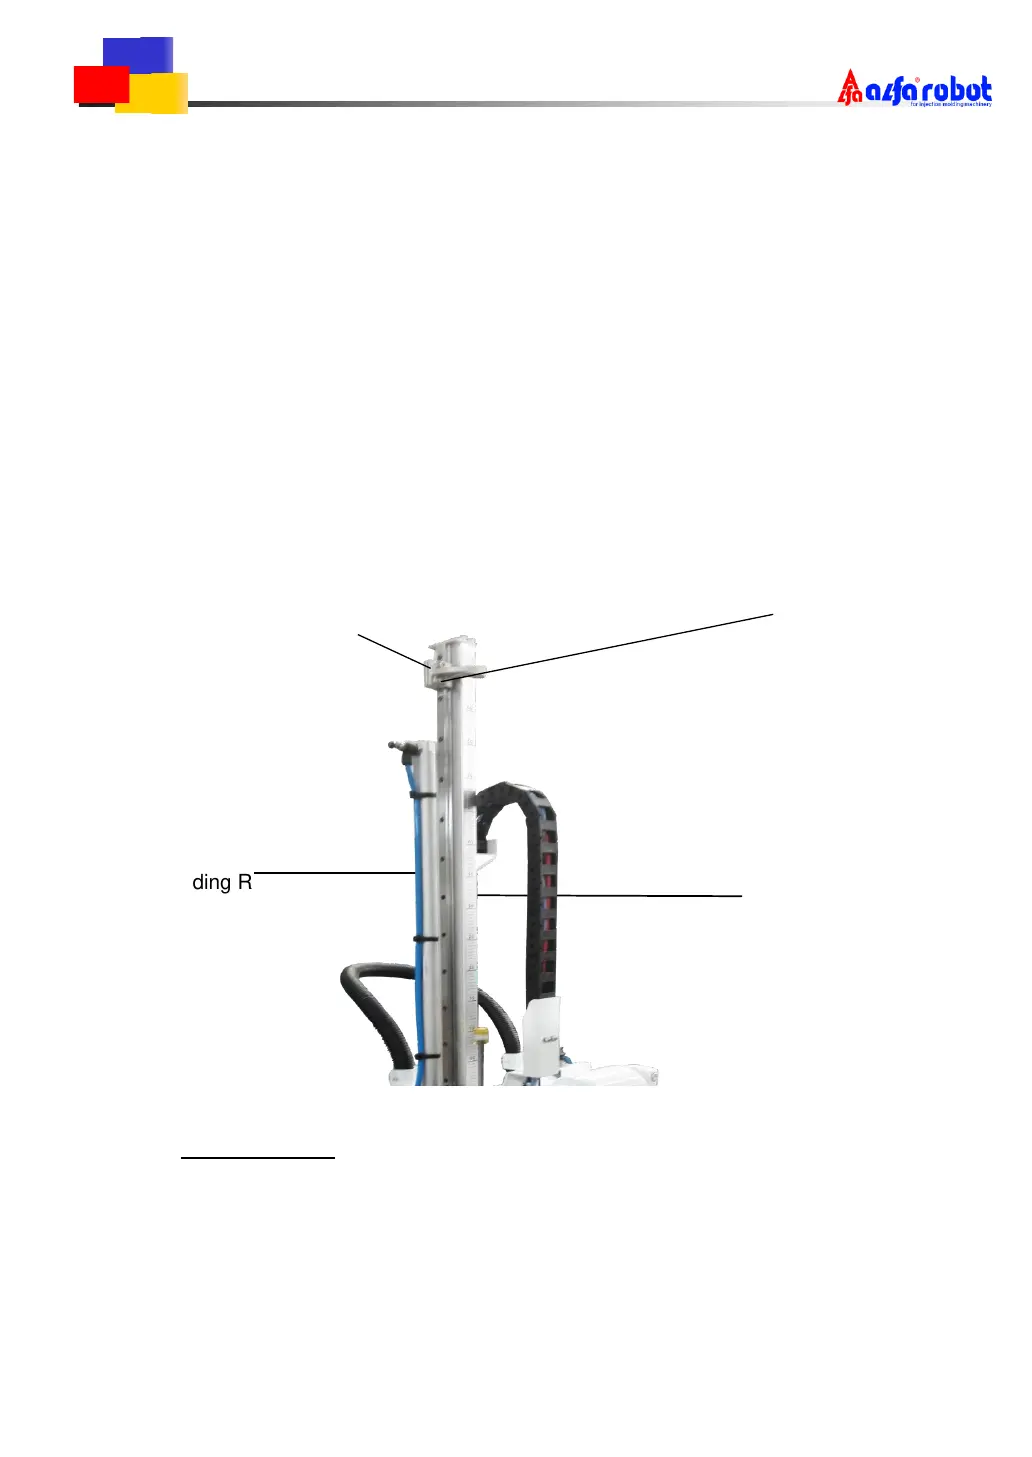
4.4.2 Adjustment of Vertical Strokes
PROCEDURES:
(1) Loosen set screws on the arm up stroke stopper.
(2) Slides arm up stroke stopper to a proper position to allow arm to be able to grip
sprue / runner or to remove moulding part(s).
(3) Locks tightly set screws, and then moves the arm up to have the safety lock
cylinder effectively clicks the arm in position again.
Vertical
Stroke
Stopper
Fixing
SCREW
 Loading...