42
•
MN-35947
•
Rev 15
•
01/18
•
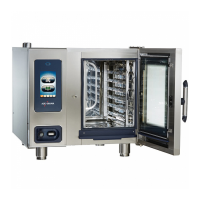
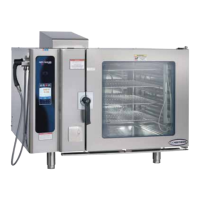
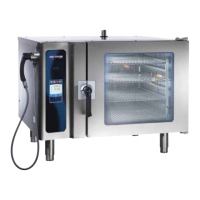
Combitherm® CT PROformance™ and CT Classic Series Installation Manual
Installation
ELECTRICAL CONNECTION FOR GAS MODELS
1. An electrical wiring diagram is located behind
the control panel on the le side of the oven. This
appliance must be branch circuit protected with proper
ampacities, in accordance with the wiring diagram.
2. For 1-phase applications, the ground fault or residual
current protection device must accommodate a leakage
current of 20 mA.
3. Wire size for the main incoming power to the unit must
match the minimum size listed in the specications
applicable to the specic oven model. For supply
connections, locate the wire size posted on the label
located on the electrical control box cover, behind the
service panel.
4. Before operating the oven, check all cable connections
and electrical terminal connections in the electrical
connection area for tightness since connections can
loosen during transport.
NOTICE: Check motor rotation on the Combitherm® CT
Classic CTC model line. Arrows on the motor
housing indicate proper rotation.
5. Aer both water and electrical connections have been
completed on all Combitherm model types, operate the
oven in any cooking mode for a period of 15 minutes.
6. Recheck the main power connections at the terminal
block, cable connections, and electrical terminal
connections to make certain they remain tight.
ELECTRICAL CONNECTION FOR ELECTRIC MODELS
NOTICE: All models must be equipped with a country
certified external allpole disconnection switch
with sufficient contact separation.
An oil resistant cord like H05RN or H07RN or
equivalent must be used.
1. An electrical wiring diagram is located behind
the control panel on the le side of the oven. This
appliance must be branch circuit protected with
proper ampacities, in accordance with the wiring
diagram.
2. Wire size for the main incoming power to the
unit must match the minimum size listed in the
specications applicable to the specic oven model.
For supply connections, locate the wire size posted on
the label located on the electrical control box cover,
behind the service panel.
3. Before operating the oven, check all cable connections
and electrical terminal connections in the electrical
connection area for tightness since connections can
loosen during transport.
NOTICE: Check motor rotation on the Combitherm® CT
Classic CTC model line. Arrows on the motor
housing indicate proper rotation.
5. Aer both water and electrical connections have been
completed on all Combitherm model types, operate
the oven in any cooking mode for a period of 15
minutes.
6. Recheck the main power connections at the terminal
block, cable connections, and electrical terminal
connections to make certain they remain tight.
ELECTRICAL CONNECTION
 Loading...