3. Adjust Input and Output Trims.
!
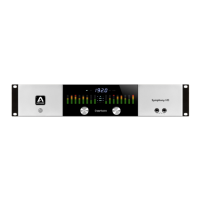
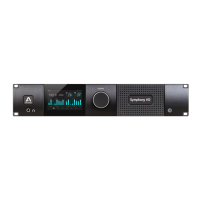
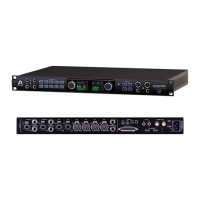
Step 1 - Choose the Analog Reference Levels
Set Analog Reference to match the nominal operating level of connected analog
equipment. Consult the operating instructions of the equipment to determine its
nominal operating level.
!
The following settings are available:
+4 dBu - Choose this setting when connecting to professional audio gear that
operates at a nominal level of +4 dBu. As a general rule, high-end mic preamps,
professional mixing consoles and tape machines operate at +4 dBu nominal level.
-10 dBV - Choose this setting when connecting to semi-pro or consumer gear such
as home stereos and “project” studio equipment.
Variable - Choose this setting when a precise nominal level setting isn’t necessary.
For example, the operating level of electronic instruments may greatly vary from
model to model; by choosing Variable, it’s easy to obtain a satisfactory input level
without a lot of fuss.
When connecting Symphony I/O’s Inputs and outputs to the same device (for example,
a mixing console), it’s best to set the analog output reference level (in Maestro’s
Output tab window) to the same setting as the input reference level, to preserve unity
gain.
!
!
Step 2 -Choose the Digital Reference Levels
The Digital Reference Level determines the amount of headroom before digital overs
occur, and is set according to user preference. As a general rule, the more
unpredictable the audio source being recorded, the lower the Digital Reference should
be set in order to maximize headroom. For example, when recording musical content
with unpredictable peaks, set Digital Reference to -18 or -20 dBFs. When recording an
automated mix, where dynamic range is both carefully managed and peaks are
predictable, a higher Digital Reference (around -14 to -12 dBFs) may be preferable.
!
Again, it’s best to set the Digital Output Reference level at the same setting as the
Digital Input Reference level, to preserve unity gain through the system.
!
!
 Loading...