5
3.1 WARRANTY ACTIVATION
To be able to offer the best possible service, warranty activation must be
performed for your implement after acquisition.
To activate the warranty for your implement, simply scan the QR code with your
smartphone – you will then be taken directly to the warranty activation page.
You can also call up the warranty activation page through our website www.apv.at
in the Service area.
4 INITIAL COMMISSIONING
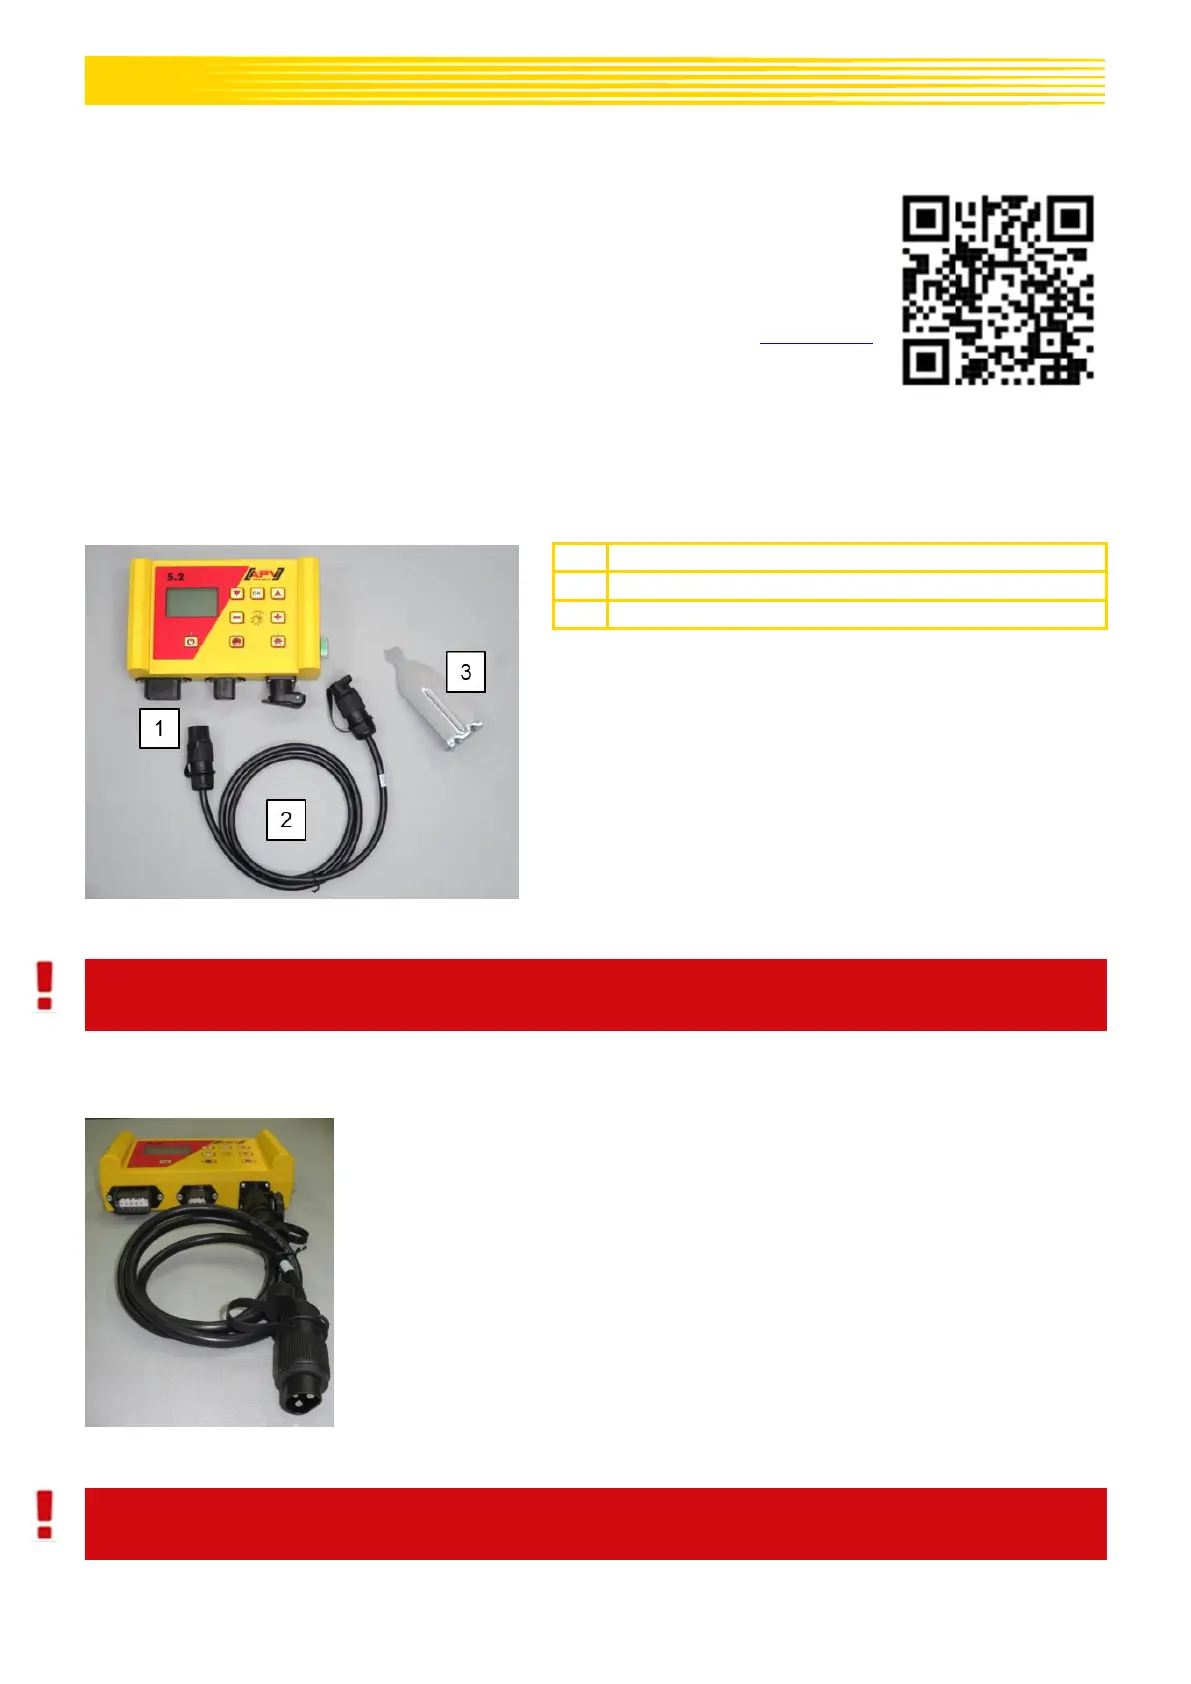
4.1 SCOPE OF DELIVERY AND ATTACHMENT
Fasten the standard supplied bracket with two bolts in
the tractor cab.
Pay attention to the angle at which you look at the control
box to be able to read the display optimally. If necessary,
bend the bracket slightly to adjust the angle as required.
CAUTION!
If possible, do not roll up the cable into a coil!
4.2 ELECTRICAL CONNECTION
Connect the standard supplied cable directly to the 3-pin standard socket
on the tractor. The other end is connected to the control box.
The fuse (30 A) is located on the right side of the control box.
Stow the excess cable in the driver's cab to avoid pinching.
The connection diagram can be found in the operating manual for your
seeder / Liquid Fertilizer / Universal Dispenser / Multi-Metering System.
CAUTION!
The 12 volt power supply must NOT be connected to the socket for the cigarette lighter!

 Loading...