14
YOUR FIRST OBSERVING SESSION & FOR PORTABLE MOUNTS
These instructions apply to new mounts and if you are setting up your mount in different locations, for example
when you travel to Star Parties.
In order for your mount to operate properly, it must have basic information: location, date, time, time zone and daylight
savings. This information must come from an external computer source, i.e. the Keypad. These instructions assume that
you have entered this data into your Keypad per instructions in the preceding section. Now, follow the procedures below
titled “Normal Startup Sequence”.
Normal Startup Sequence for Mounts that are in
the eld
If you are setting up your telescope in the eld at a new location,
you will have to use the normal startup procedure in order to
provide your mount with essential information: location, date and
time. Auto-Connect must be set to “NO”. Additional information
regarding the “YES” and “EXT” Auto-Connect selections is
provided in later sections.
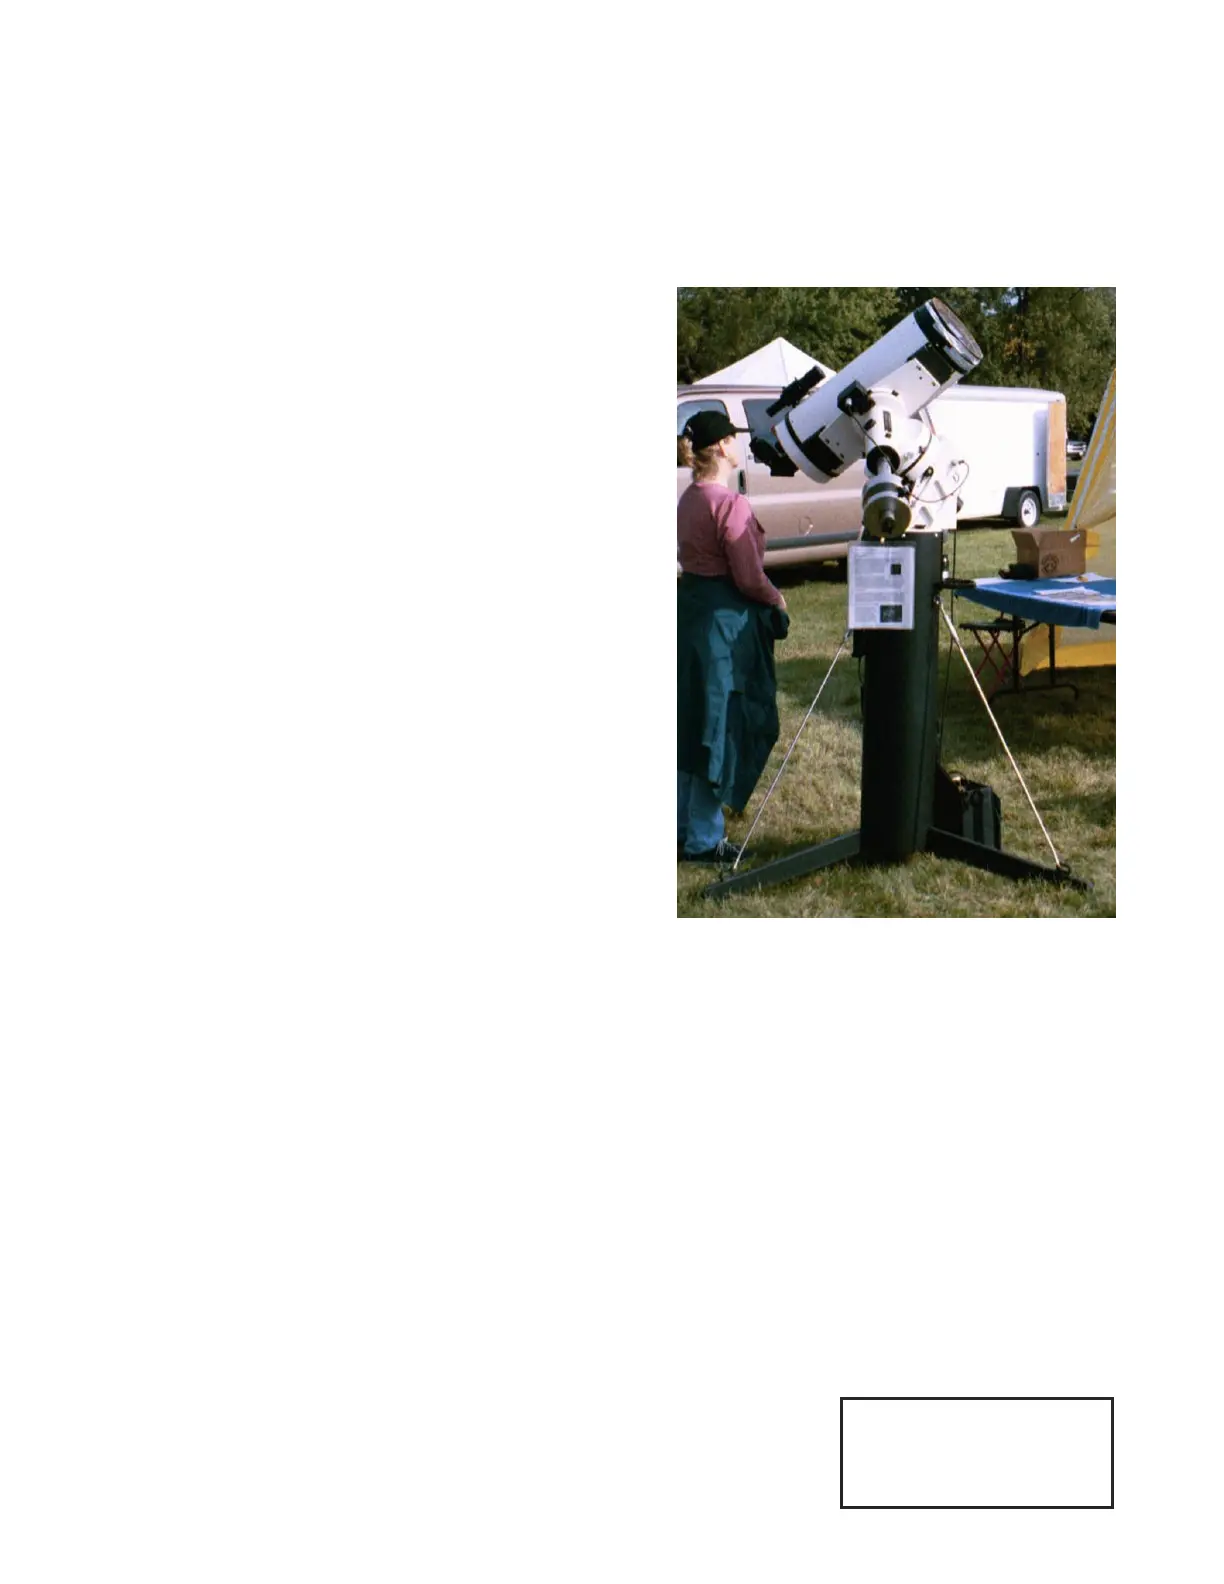
Assemble Your Mount
Refer to the instruction manual for your mount to set up at your
observing site. Aim the polar axis toward Polaris (or the southern
celestial pole) as closely as you can by sighting up the hole in
the center of the polar axis or along the axis. Using a compass
App on your smart phone / device will greatly help the process.
Likewise, you will nd our Right-Angle Polar Alignment Scope
(RAPAS) a useful accessory for quick and easy setup.
Observers in the southern hemisphere may wish to use the
Daytime Polar Alignment Routine followed by the GTO Quick
Star Drift because of their lack of bright pole stars. The more
accurately you polar align, the more accurate will be the centering
of objects in a high-power eld-of-view. Be sure that you connect
your R.A. and Dec. cables, Keypad cable and power cable,
preferably in that order. More information follows.
Startup sequence
1. When you turn on the power, the rst display of the Keypad will briey read “Astro-Physics” and then the rmware ver-
sion number. The “Location Selection” screen will then display.
Note: If the Main Menu screen appears, that means that the Auto-Connect feature is set to “YES”. Set the Auto-Con-
nect feature to “NO” by selecting “2=Setup” and then “3=Keypad Options”. Press “1” to toggle Auto-Connect to “NO”.
Then turn power off, wait 10–15 seconds and on again (this is called power cycling the mount) to lock in the change.
2. Choose location 1–9 and press GoTo. The next menu has 4 choices: “1=Star Sync”, “2=Polar Alignment”, “3=Resume-
LastPosition”, and “4=New Setup”. If you click on Polar Alignment, you have two choices: “1=N Polar Calibrate” and
“2=2 Star Calibrate”. Each of these is described in following sections.
Important: We don’t allow the user to back out of the startup routine (press Menu button to return to the previous
screen) in order to prevent errors in the calibration process. It was possible to back out in the early versions of the
Keypad; however, users erroneously thought they were calibrated when they were not. So, we force completion of this
routine. If you enter information, then decide to change it, simply turn the power off, wait 10-15 seconds, and then turn
it back on again. This will start the process again.
Star Sync
Choose Star Sync if you are properly polar-aligned by one of the other methods (polar
scope, star drift, etc). Aim the scope at a known stellar or solar system object (at the
end of the star list). If you need to change your button-centering rate, use the “±” key
to do so. Scroll through the list to nd the object, enter the object number, press the
GoTo button (the mount will not actually go anywhere) and you are synchronized. The
Choose Star Z=13:52
1=Polaris <
2=Acamar
3=Achernar >
Star Selection Menu - Polaris