39
SETUP MENUS
Locations & Time Menu
Set Site Location
Refer to the earlier “Getting Started – Do This at Home” section for this information.
Set Date & Time
Refer to the earlier “Getting Started – Do This at Home” section for this information.
Get Time/Loc FrMnt
If you are using an external computer to control your telescope, the mount and the Keypad could be using different location
and time settings. This command will sync the Keypad with the last location that was
sent to the mount by the computer through the RS-232 serial port. This feature is
extremely handy for computers synced with atomic clocks and GPS units. When this
feature is selected, a display will appear with the information the Keypad has obtained
from the mount. Compare this screen to your computer’s settings to be sure they
match. If they do not match closely you may need to send the computer settings to
the mount again by using the initialize command in TheSky™ or by sending a slew
command in other telescope control programs.
Press MENU to leave this prompt. You will also notice if you have used this feature that your location indicator in the Time/
LST menu will show LOC: E. This indicates that you are using the external information in the mount to establish your
location and time rather than your preset locations in the Keypads memory.
Note: You cannot manually edit the time with your Keypad if you have selected the “Get Time/Loc Fr Mnt”. If you need to
update your time, please enter the “Get Time/Loc Fr Mnt” command again.
Mount Move Limits Menu
R.A. Backlash Adjustment (for Visual Observers)
Since the R.A. motor is always running, there is no backlash or delay in the R.A. motion in 0.25x, 0.5x, and 1x. Where
R.A. backlash becomes noticeable is in the 12x, 64x and higher slew rates. Here,
backlash will manifest itself as a delay in the continuation of the R.A. drive. In other
words, the star will continue to drift for a number of seconds after letting go of one of
the two directional buttons (E or W). This is the time it takes for the motor gear train
to completely reverse again in order to begin the normal tracking. For that reason,
we added a short pulse of 64x sidereal to get the gearbox to re-engage quickly.
There is no drift in the other direction because you are not unwinding the gear train.
Adjustment of the backlash is very simple.
Very Important Note: Always choose the 1x guide setting when calibrating and guiding with a guide camera. Not
doing so can create instability and cause the guiding corrections to continually overshoot. Also be sure that
backlash compensation is set to zero in the keypad and in any computer software.
1. At Main Menu, press 6=B. This controls the speed of your N-S-E-W directional buttons. Continue to press 6 to scroll
(toggle) through choices. You can also access your button speed anywhere you can use them by pressing the ± button
and using the Button rate menu.
2. Select 12x or any higher speed. We recommend 12x since this is the easiest to evaluate.
3. Choose “2=Setup” from the Main Menu.
4. Choose “2=Mount Move Limits” from the Setup menu.
5. Press “1=RA Backlash”. As you continue to press 1, the number eld will scroll 0-9. Zero will have no compensation
and 9 will probably be overcompensated.
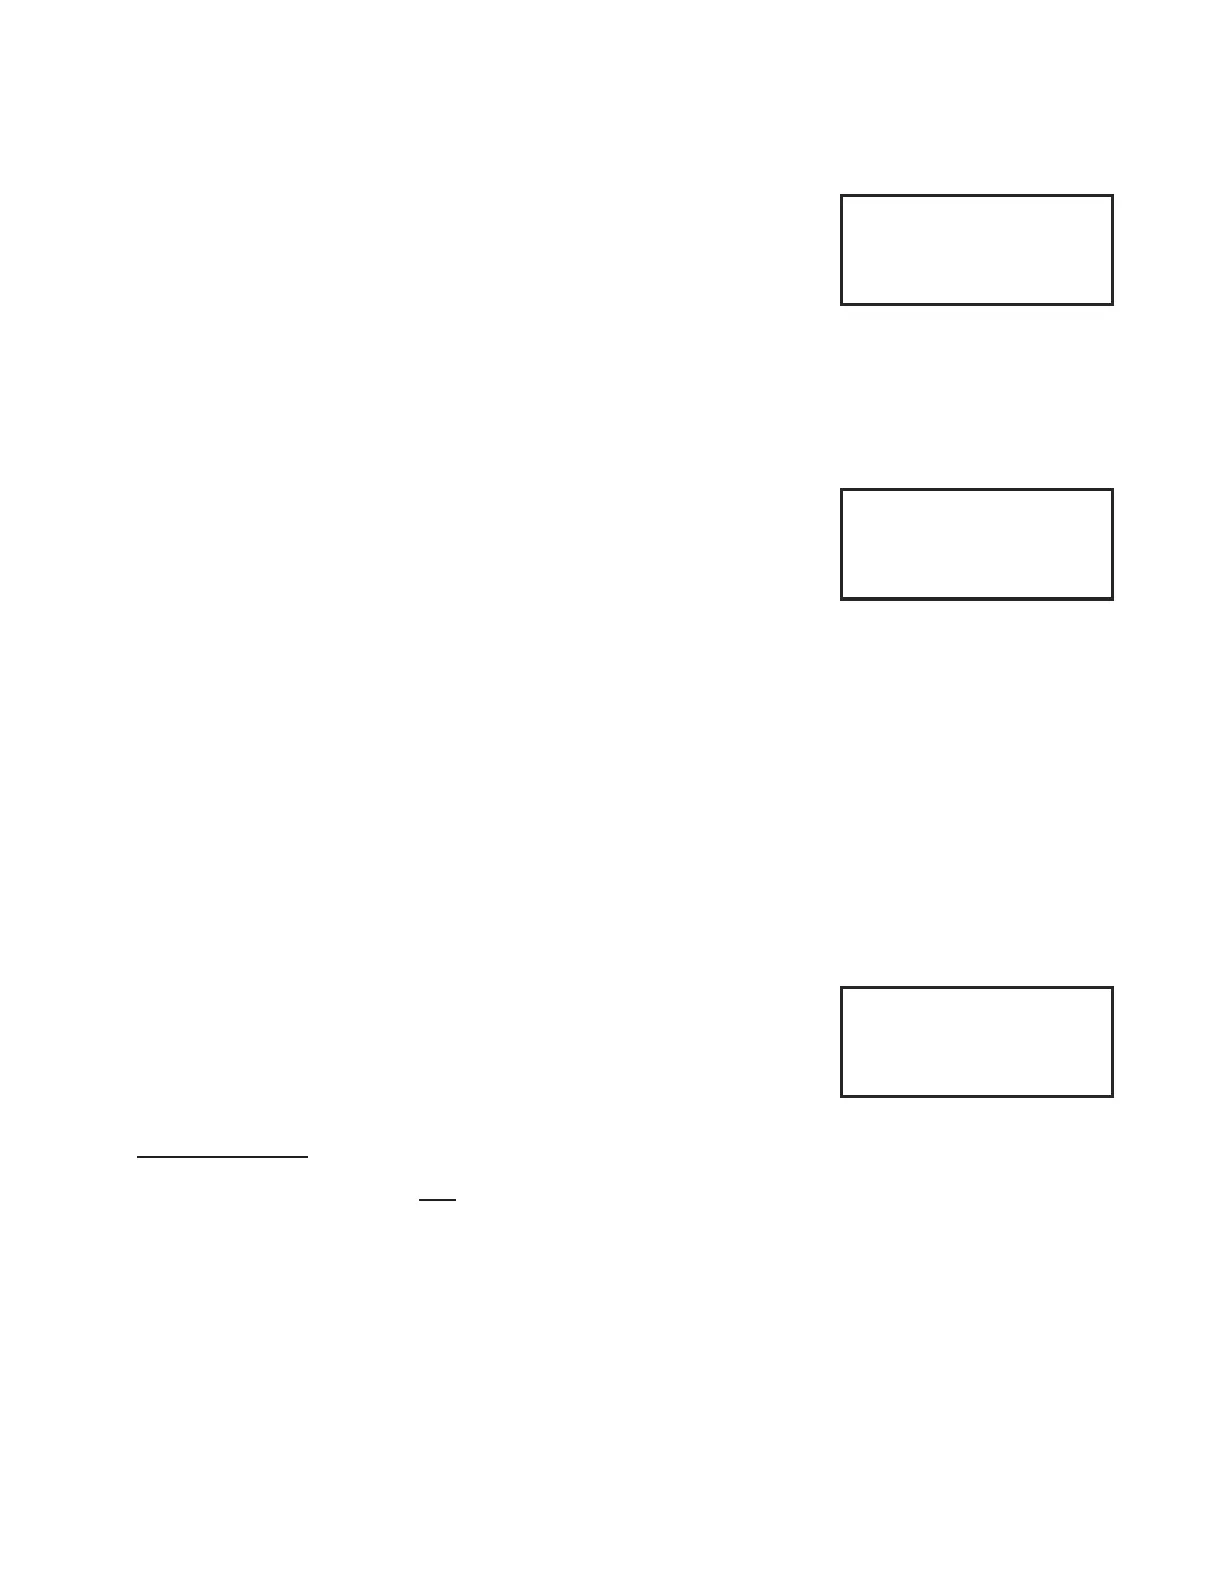
1=Locations & Time
2=Mount Move Limits
3=Keypad Options
4=Park / Mount Opt.
Setup Menu
Time: 21:01:22
Long: W 089:25:00
Lat: N 42:38:00/06
Press MENU to Exit
Get Time / Loc fr Mnt Screen
1=RA Backlash: 0
2=DEC Backlash: 0
3=Safe Zone: 00
4=Horizon Limit: 00
Mount Move Limits Screen