35
rizon and if there is any horizon limit set in the Keypad. See “Set Horizon Limits For Your Telescope” for more informa-
tion about this feature.
3. A typical response from What’s Up shows the catalog #, magnitude, object type and constellation. You may then press
GoTo to slew to that object or NEXT> to nd a new one.
Tour Objects within Constellations
If you are observing within a constellation and want to know what other Messier, NGC or IC objects are nearby, this tour
will provide you with lots of observing ideas.
1. From Objects menu, select “8=Tour”.
2. Select “2=Objects/Constell”. The display will identify the constellation to which your telescope is pointing and offer
choices of objects within that constellation.
3. Use <PREV and NEXT> buttons to scroll through the alphabetical constellation lists. Choose a constellation that
is visible.
4. Press “6=Prev” or “Next=0” to scroll through the list of objects available within the current constellation.
5. Choose an object. Screen will display object data including magnitude, object type and the constellation.
6. Press GoTo to initiate slewing, NEXT> to sync or <PREV to display R.A. and Dec. coordinates.
Custom R.A. and Dec. Coordinates
This menu option allows you to slew to any position in the sky as long as you know the R.A. and Dec. coordinates. This
feature is particularly handy if you wish to locate comets, super novas, asteroids or any object that is not included in our
catalogs.
1. From Objects menu, select “7=R/D”. The Custom R.A./Dec. entry will appear.
2. Enter R.A. and Dec. coordinates. Press NEXT> to bypass any numbers that
you do not wish to change. Press <PREV if you want to back up to correct an er-
ror. To change the “+” or “-” press the “±” button.
3. Press GoTo to initiate slew or “Menu=Exit”.
When the slew is complete, press MENU to return to the Objects menu. If you press NEXT>, the R.A. and Dec.
coordinates will appear.
Important Note: When you enter custom R.A. and Dec. coordinates they should preferably be entered as precessed
coordinates (JNow or Topocentric coordinates). The Keypad automatically precesses objects in its database, and any prior
ReCals will have been done on precessed coordinates. However, the keypad cannot know the epoch of the coordinates
that you are entering, so it only applies the small refraction transformations. Therefore, for accurate pointing, you will want
to maintain consistency and enter precessed coordinates.
Custom ALT / AZ Coordinates
This menu option allows you to slew to any position in the sky as long as you know the altitude and azimuth angles. This
feature is particularly handy if you wish to take your dark frame for CCD imaging or observe terrestrial objects with the
tracking turned off.
1. From Objects menu, select “9=AlAz”. The Custom Alt/Az Entry will appear.
2. Enter Altitude and Azimuth coordinates.
3. Press GoTo to initiate slew or “MENU=Exit”. Use <PREV to make corrections.
You will now return to the Objects menu.
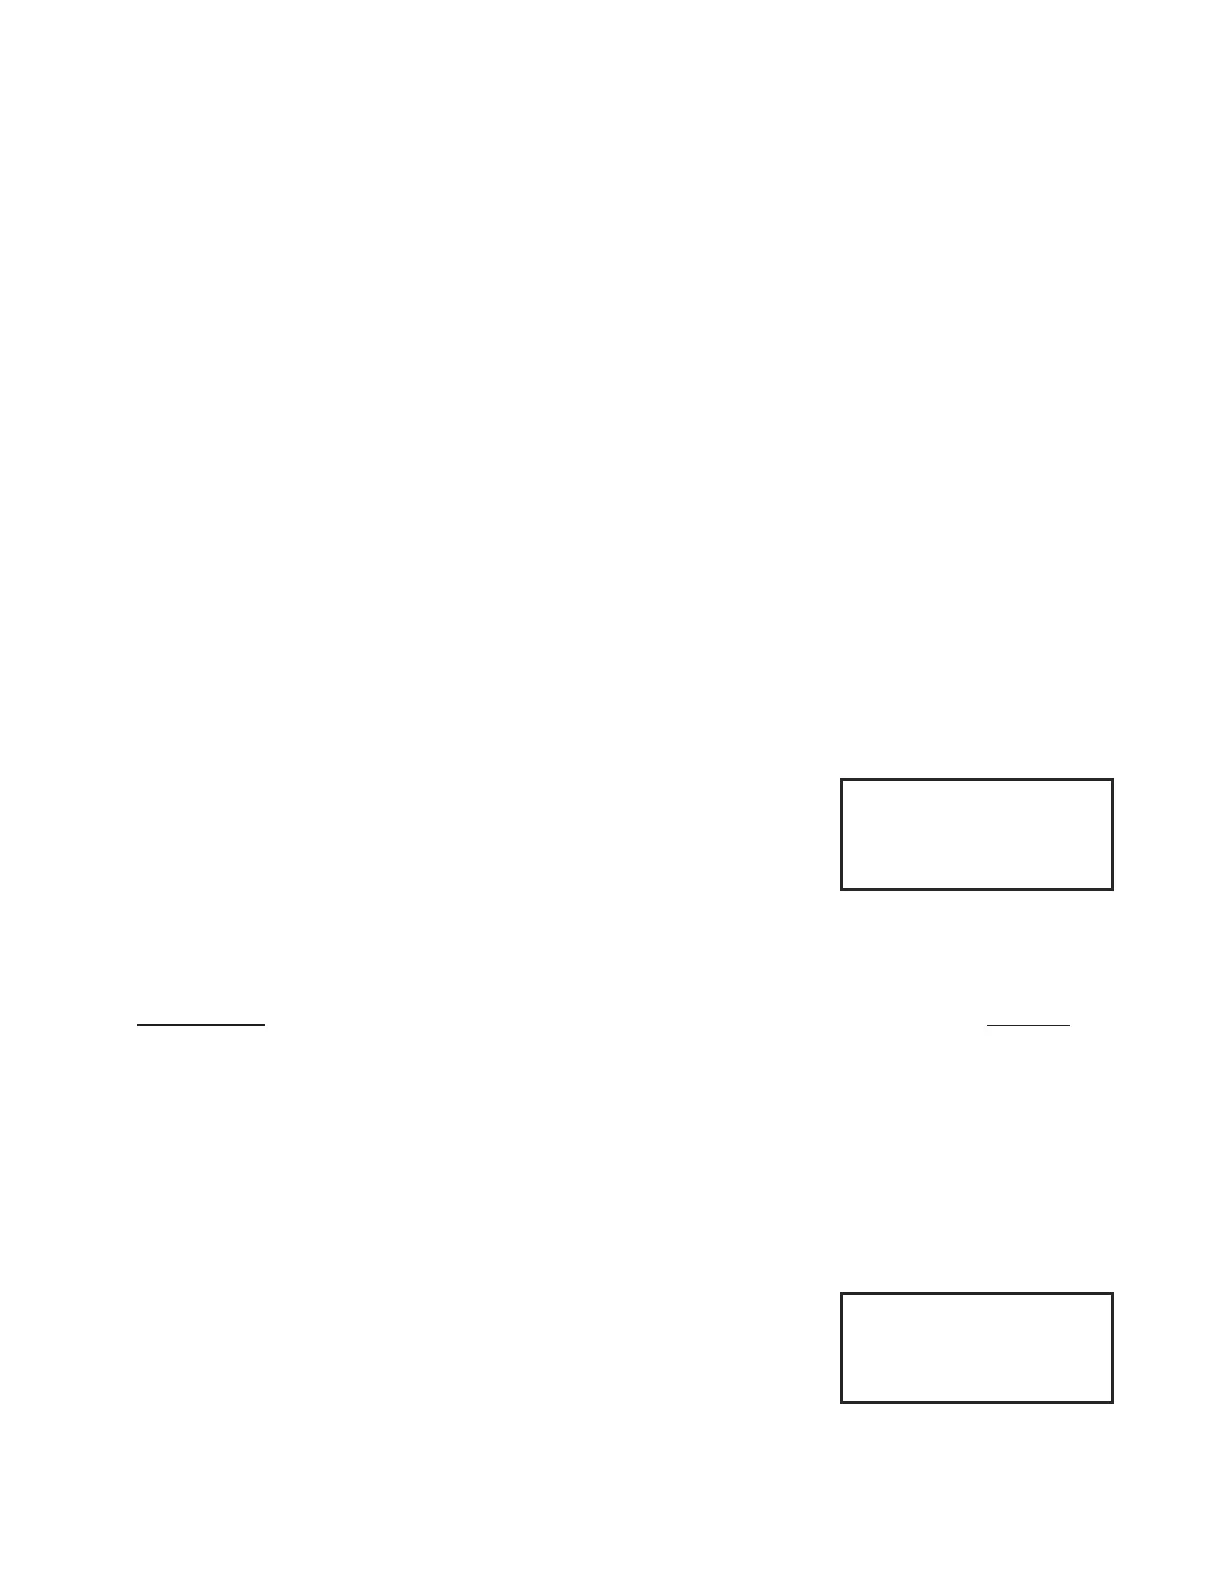
Custom Alt / Az Entry
Alt: 00:00:00
Az: 000:00:00
GoTo / MENU to Exit
Custom Alt / Az Entry Screen
Custom RA / DEC Entry
RA: 09:02:17
DEC: +27:58:01
GoTo / MENU to Exit
Custom RA / DEC Entry Screen