19
We recommend that you use a reticle eyepiece.
Very Important: You must point to stars in the west when your telescope is on the east side of the mount and stars in
the east when your scope is on the west side. When the stars are high and close to the zenith, this can be tricky. How-
ever, you can tell which side the star is on by looking at the “z” number (also called the LST) in the upper right corner of
the Choose Star screen, then comparing that number with the R.A. number of the star you choose. If the R.A. number
is larger, the star is in the east; if the R.A. is smaller, the star is in the west. If your scope is not on the correct side, the
mount will not slew properly and the telescope could strike the pier/tripod.
4. Select that star on Keypad. Use the <PREV and NEXT> buttons to scroll through the star list to nd the star you
have chosen. Select this star by pressing the corresponding number. The R.A. and Dec. values of the star will be
displayed. Please note that the LST (local sidereal time) values for your screen
will be different than shown in these examples. If you have made a mistake, use
the <PREV button to choose another star. There are 200 calibration stars from
which to choose. Note: although the solar system objects display in the star list,
you cannot use them in these calibration routines. Since the R.A./Dec. positions of
these objects change with time, they are not suitable for slewing back and forth in
multiple iterations. Do not use the solar system objects.
5. Press the GoTo button. The scope will automatically slew to Polaris which should appear somewhere in the eld of a
low to medium power eyepiece. This will depend on how close your “rough” polar alignment is.
6. Center Polaris with the altitude and azimuth adjusters of your mount. Please refer back to the mount instructions.
Do not use the N-S-E-W buttons to center Polaris.
If Polaris is not in the eld at all, you will need to make larger adjustments to the
position of your mount. Be sure that the R.A. axis is pointing as close as possible
to the northern celestial pole.
7. Exit the calibration routine, or continue for more accurate alignment. Re-
member, the more accurate your polar alignment, the more accurate your nal
pointing accuracy will be.
8. To continue calibration, press GoTo again. The star list containing the previous calibration star will display for your
convenience. The mount will not slew; you are simply indicating that you wish to continue.
9. Select the same calibration star or choose a different one from the “Choose Star” display.
10. Press GoTo. The mount will slew to the star you have chosen.
11. Center the star with the N-S-E-W buttons.
12. Press Menu. The mount will slew to Polaris again.
13. Make the altitude and azimuth adjustments to center Polaris as before.
14. Repeat as needed. You can repeat this procedure any number of times until you feel that the mount is properly
aligned. Each iteration should bring you closer to polar alignment.
15. Press NEXT>. Now that you are polar aligned, press the NEXT> button. The Main Menu will display and you are
ready to observe.
Two-Star Calibration
Note: This polar alignment method is more accurate than calibrating with Polaris, but does not have the accuracy
of the Right-Angle Polar Alignment Scope.
If Polaris is not visible, you will use the 2–Star method. The accuracy of your alignment will depend on how orthogonal the
telescope is to the mount axes (refer to the “Orthogonality” section later in the manual).
If your tube assembly is not orthogonal, stay within ± 60 degrees of the celestial equator when doing a polar alignment
routine. Select two stars on one side of the mount during calibration. When you are using the mount to slew to objects
and it ips to the other side, use the procedure discussed in the section entitled “How to Find Objects if You Have Less
Than Perfect Polar Alignment” below.
1. Set up your mount so that the R.A. axis is pointing to the celestial pole as closely as you can. Refer the instruc-
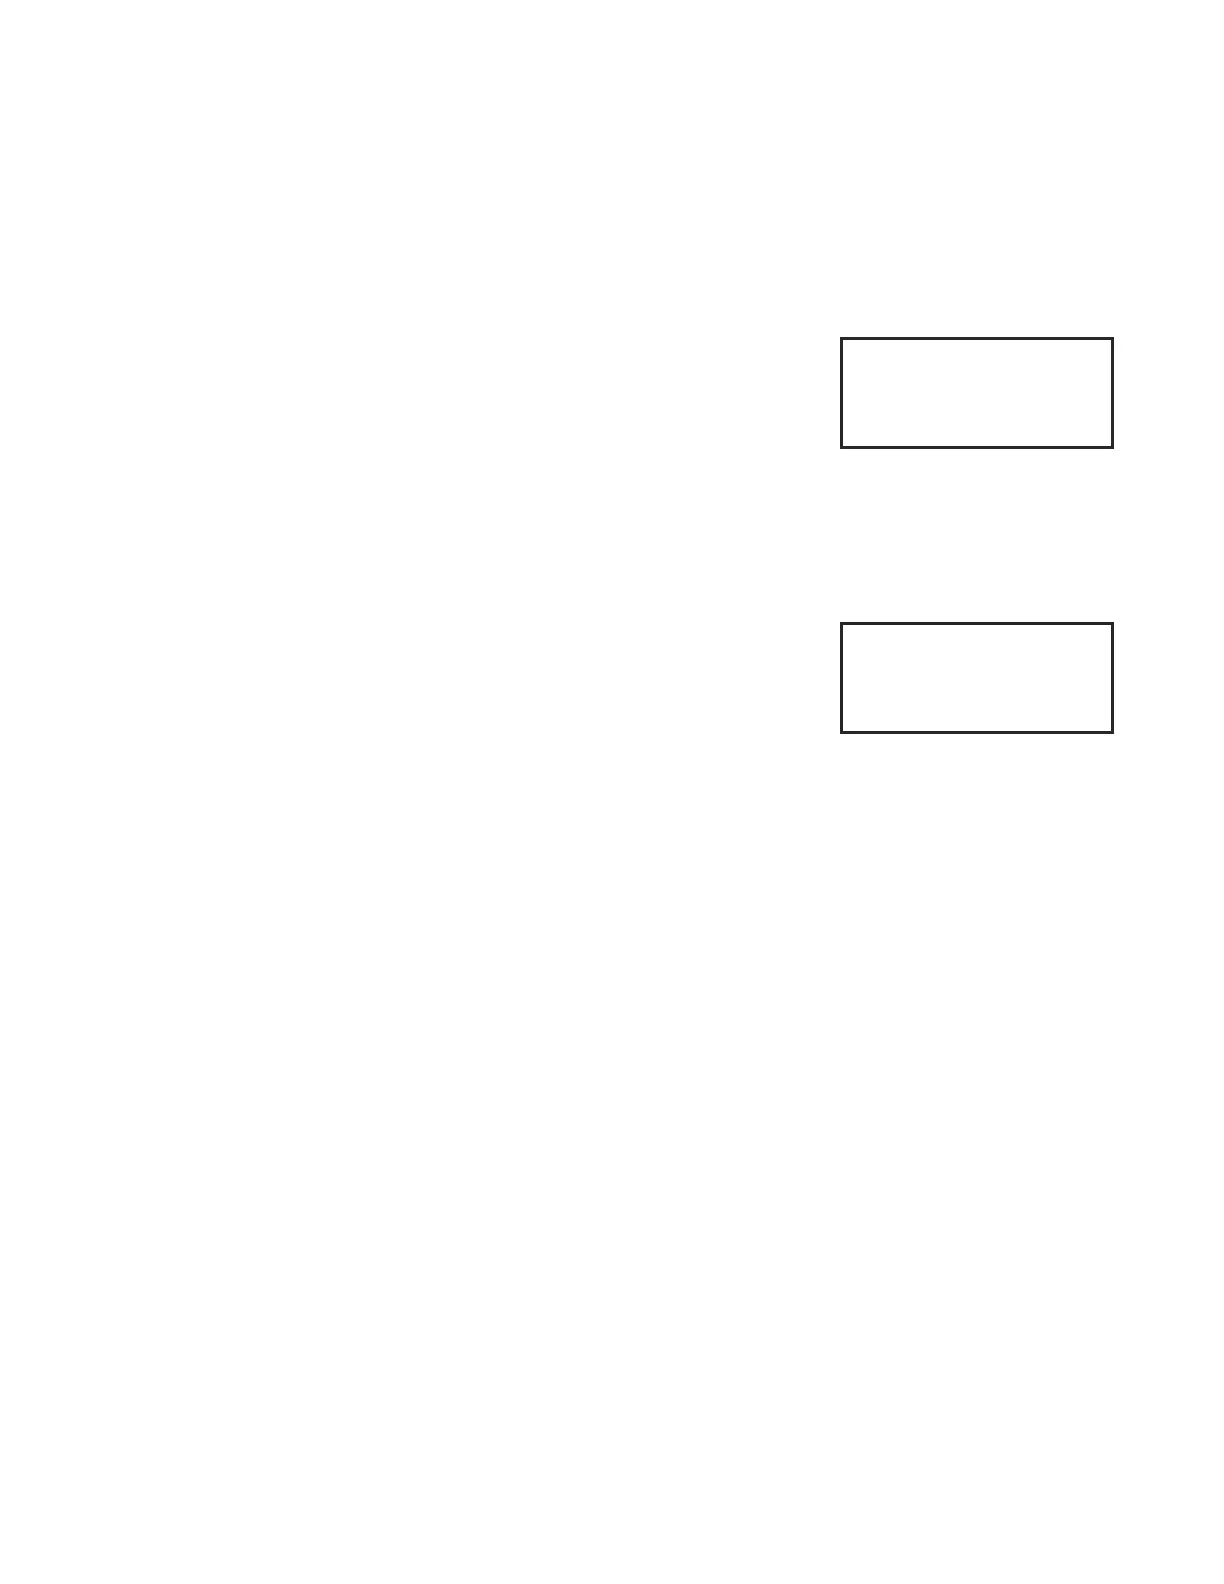
< Cal Obj: Vega
RA: 18:36:56
DEC: +38:47:01 Press
LST:17:18:06 GoTo
Calibrate Star Screen - Vega
Center Polaris in
Eyepiece with Alt/Az
GoTo to re-calibrate
Next to Exit Cal. >
Center Polaris Screen