41
Set Safe Zone Limits for Your Telescope
Astro-Physics mounts are used with a wide variety of telescopes, piers,
tripods and accessories. You may determine that if the telescope
attempts to point to some areas of the sky, it may hit the pier or tripod.
The safe zone function will allow you to control the area in which the
scope is allowed to slew. Based on your safe zone setting, the Keypad
will determine whether the object that you have selected for slewing is
within a restricted zone or the safe zone. If the object is in an area of
the sky within the restricted zone, your Keypad will display “Outside Safe
Zone, Slewing canceled…” However, it you are slewing with the N-S-E-W
buttons, there are no restrictions, so you must watch carefully.
How to Determine Your Safe Zone
Set up your telescope with all of the accessories you plan to use and
balance your load. Move your scope through its range of motion. Can
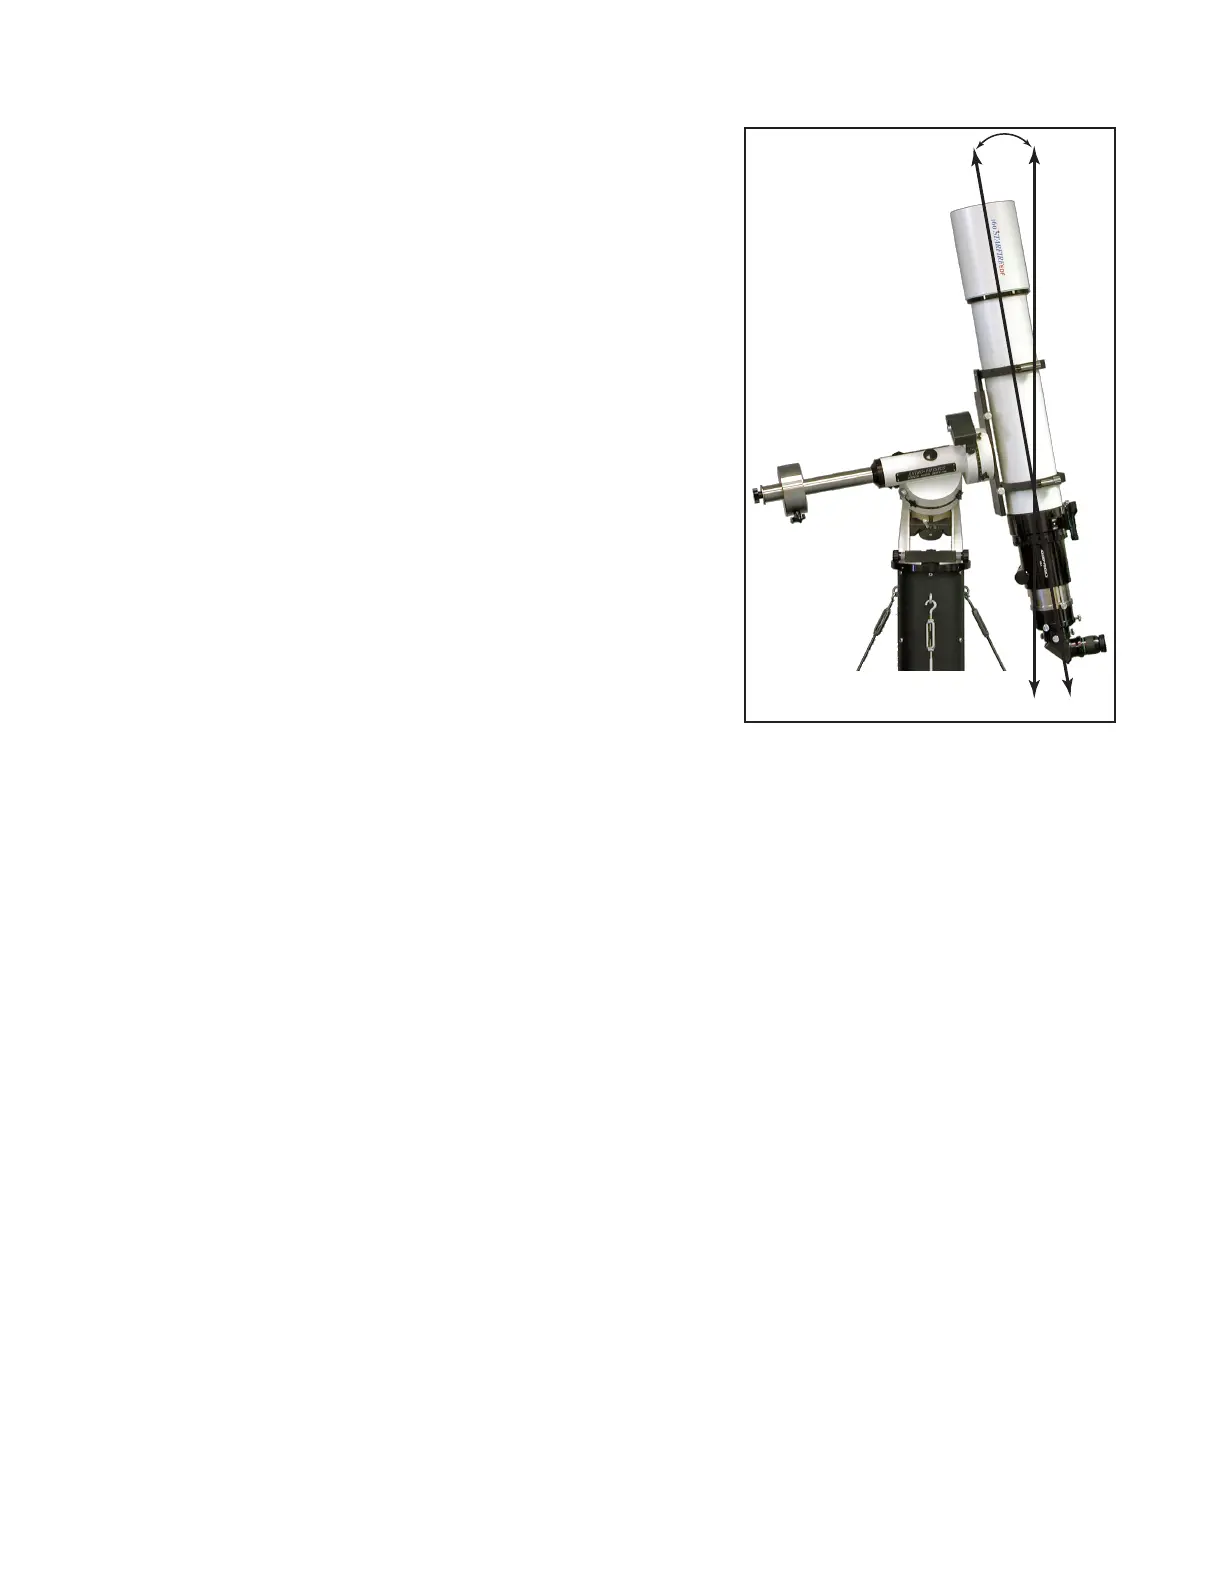
you point the scope straight up without hitting the pier or tripod? If so,
leave your safe zone set at 0 degrees. This means that the entire sky can
be accessed. The telescope in the photograph does not require a safe
zone setting. It will move safely into all positions with a camera.
If your telescope is in danger of hitting the tripod, you must set your safe
zone to some number between 0-20 degrees.
To determine this setting, move your counterweight bar to a position
parallel with the ground. Take care that the telescope and accessories
are moved out of the way of the pier or tripod. Note the position setting
of the R.A. circle when the counterweight shaft is in this parallel position.
Now, gradually move your telescope by hand to the limit of the safe zone
you wish to set – as close to the pier/tripod that you are comfortable.
Note the change in the position of the R.A. setting circle. You can
calculate the safe zone setting based on this difference, knowing that each hour is equal to 15 degrees. For each of these
mounts, each tic mark on the R.A. setting circle is equivalent to these values:
● 1200GTO – 1 degrees
● 900GTO – 1.25 degrees
● 600EGTO – 2.5 degrees
● 400GTO – 2.5 degrees
● The Mach1GTO, 1100GTO and 1600GTO do not have manual setting circles. Use an inclinometer or simply use your
best educated guess.
The safe zone setting may vary depending on what accessories are on your scope, e.g. CCD camera with lter wheel,
Daystar H-alpha lter or just an eyepiece. Remember that if you set your safe zone to a number greater than 0, you will
also lose a corresponding amount of the zenith as shown in the photo.
The software that controls the mount sets the safe zone. In this manual, we are discussing Keypad control. However,
if you are using an external software program, that program controls the safe zone. The Keypad settings are not active
in that situation. For instance, you can set your “safe zone” in the “Telescope Limit Line” in TheSky™. The programs
themselves do the calculations for the target object (is it within the safe zone or out-of-bounds?) to determine whether
the mount should slew or not. If it is safe, the R.A./Dec. numbers are sent to the mount. If not, you are informed that the
object is outside the limits. If the software program does not contain some sort of safeguard to assure the safe position of
your telescope, you must be very careful and watch the movements during a slew. The mount will slew wherever it is told,
even if it is not safe.
Set Your Safe Zone
1. Go to Mount Move Limits Menu. (Main Menu → “2=Setup” → “2=Mount Move Limits”).
2. Press “3=Safe Zone”. Notice that the number eld changes.
3. Enter number of degrees. As you continue to hold “3”, the number choices increase from 0–20 and back to zero.
Release “3” to stop the scroll through the numbers.
10
0
10