24
Polar Aligning in the Daytime – Southern Hemisphere
CALIBRATING IN THE DAYTIME
Before calibrating on the sun, you MUST install a safe, quality solar lter. DO NOT use eyepiece solar lters as
they may break in the intense heat of the sun. When you are slewing to any object in the daytime, the telescope
may slew across or very near the sun. DO NOT look into the eyepiece as the telescope slews. DO NOT attempt
to view any object, e.g. Venus, when it is near the sun. Permanent damage to your eye may result if you look
directly at the sun with your telescope. Refer to the section on “Slewing During the Day” for further information and
warnings.
This is a great method for those of you who live in the southern hemisphere, or for those of us from up north who are
fortunate enough to travel “down under” for some southern skies observing and imaging. This method, combined with
the GTO Quick Star Drift Method provides a quick and accurate method to achieve polar alignment in the southern
hemisphere. As with the northern version, use this method for:
● Solar observing.
● A quick and simple way to get remarkably close polar alignment in the southern hemisphere – day or night.
● Get you up and running at a star party or observing site. You’ll have some fun pointing out the planets at twilight when
the seeing may be steady.
● Get a head start on a night with a busy observing schedule. No more wasted time waiting for stars to appear to
complete your setup.
The accuracy of this method depends on how accurate your Keypad’s clock and your location has been set. Tests
completed with an ordinary 7” carpenter’s level shows that the mount can be adjusted level to accuracy within 15 arc
minutes. We used a Mayes brand “SUPER-CEDE” model that was purchased at a local hardware store. This level has a
groove for accurate alignment on curved surfaces. It works well on both the counterweight shaft and the telescope tube.
1. Set Park 4 (or Park 1) position. Note: Park 4 has been chosen for these instructions, but Park 1 can also be used by
substituting the appropriate position changes. Park 4 is our recommended “horizontal” park position, as Park 1 is only
seconds away from tracking into a counterweight up status and slews from Park 1 to western objects may cause the
scope to point toward the ground when beginning the slew.
a) Set up mount WITH the telescope and counterweights in a balanced state. Be sure that your clutches are
loose so that the telescope will not slew to an awkward position.
b) Point the mount roughly south; a compass would be handy. Remember that magnetic south is not true south.
Compensate accordingly for your location. A little experience will tell you how many degrees magnetic south differs
from true south at your site. See: < http://www.ngdc.noaa.gov/geomag-web/#declination > for a calculator.
c) Go through the Keypad start-up routine.
i) If auto-connect was set to “NO”, select your location and press GoTo. Next select “3=ResumeLastPosition”.
This will take you to the Main Menu. Proceed directly to step “d.”
ii) If auto-connect was set to “YES”, (i.e. you always set up in the same spot) the Main Menu will appear right
away.
d) Enter “2=Setup” and then enter the “4=Park / Mount Opt.” Menu.
e) Select Park 4. Ensure that your Dec. and R.A. clutches are loose.
Hold your scope until the motors both stop. You are simply doing
this to re-park the mount and temporarily stop the default sidereal
tracking. When it is nished slewing, it will stop tracking and put
Park 4 into memory. You will need this later. DO NOT press any
more Keypad buttons at this time or tracking will resume!
2. Manually move mount to Park 4 position.
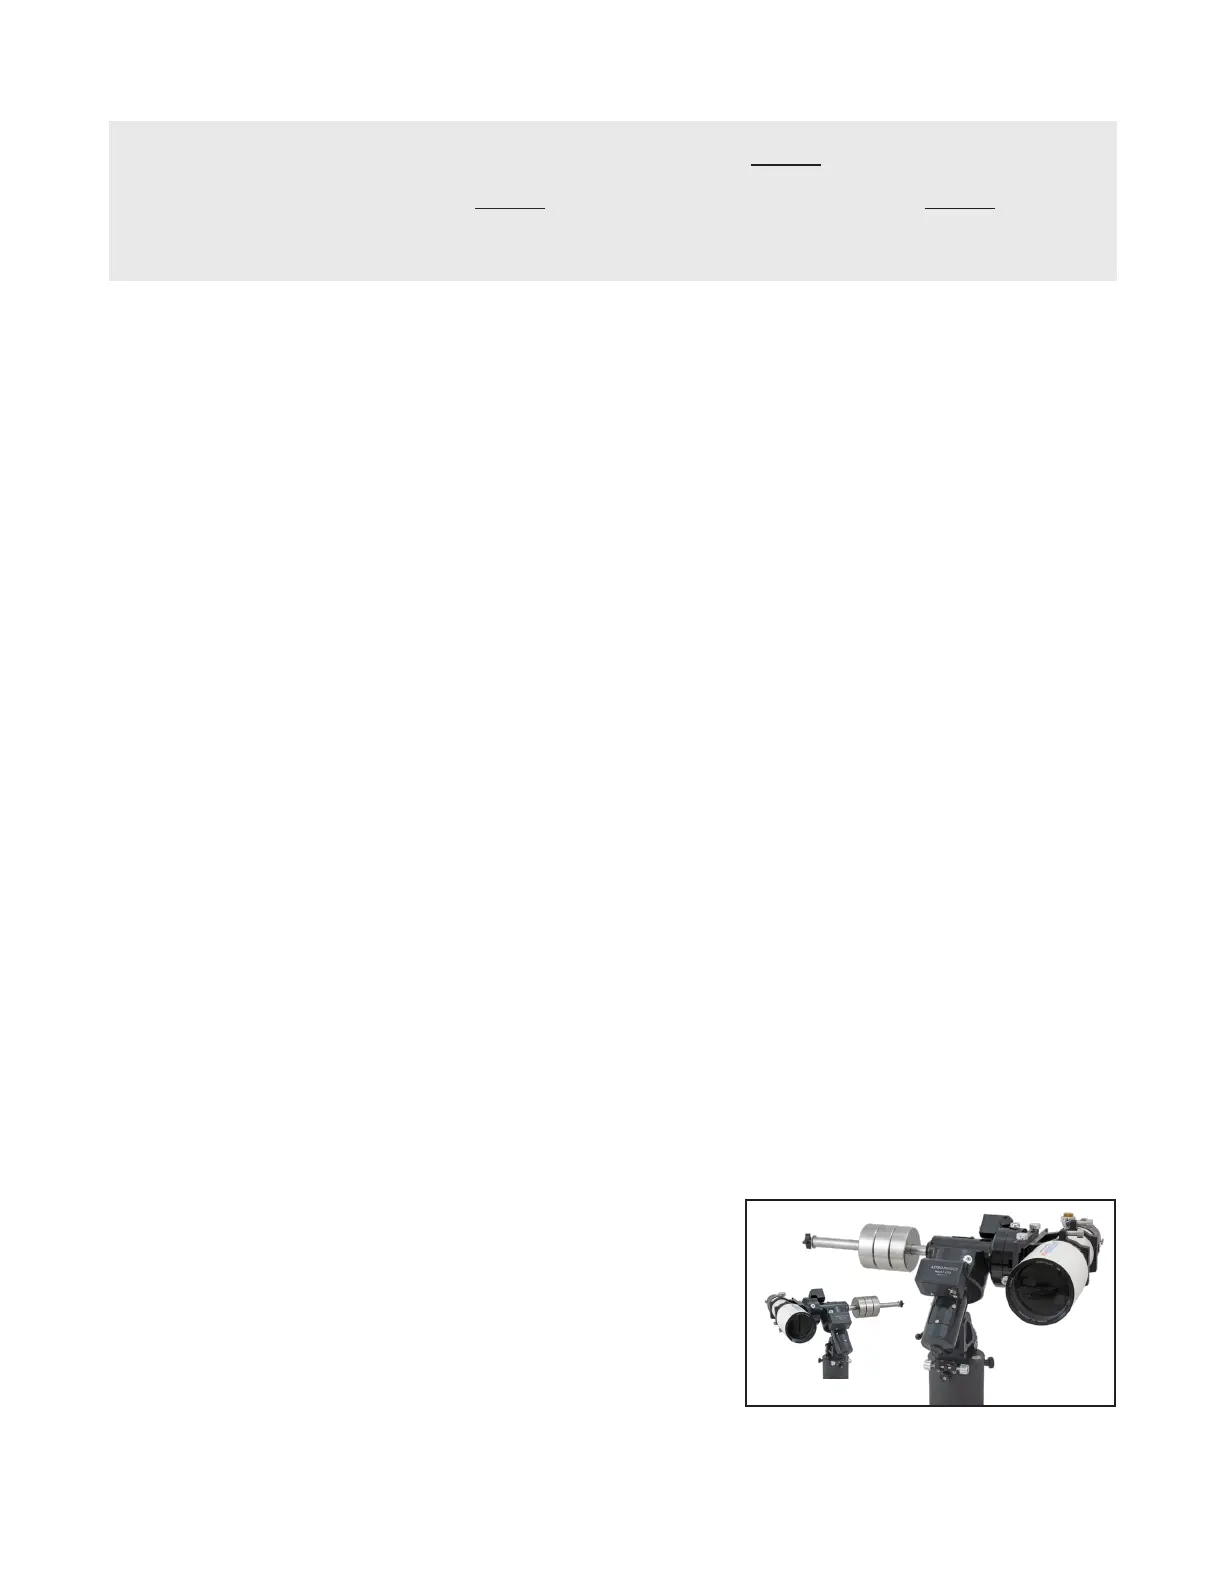
a) Point the scope north and approximately level both axes. Refer
to the photo at right. The telescope tube should be on the EAST
side of the mount. DO NOT use the Keypad buttons to move the mount. Move the axes via the loosened clutches.
b) Place a carpenter’s level on the counterweight shaft and move the R.A. axis manually until the shaft is pre-
cisely level. This will place your mount in the Park 4 position. At this point, the telescope tube does not need to be
PARK 4
Northern
Hemisphere
Southern Hemisphere