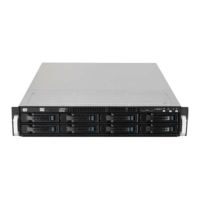
2-11
ASUS RS700A-E9 Series
5. PlacetheSATA/SASstoragedevice
into the storage device tray then secure
it with four screws.
6. Insert the storage device tray and
storage device assembly all the way into
the depth of the bay until just a small
fraction of the tray edge protrudes.
7. Push the tray lever until it clicks and
secures the storage device tray in
place.
The storage device tray is correctly
placed when its front edge aligns with
the bay edge.
8. Repeat steps 1 to 7 to install the other
SATA/SASstoragedevices.
Wheninstalled,theSATA/SASconnectoronthestoragedeviceconnectstotheSATA/SAS
interface on the backplane.

 Loading...