2-17
ASUS RS700A-E9 Series
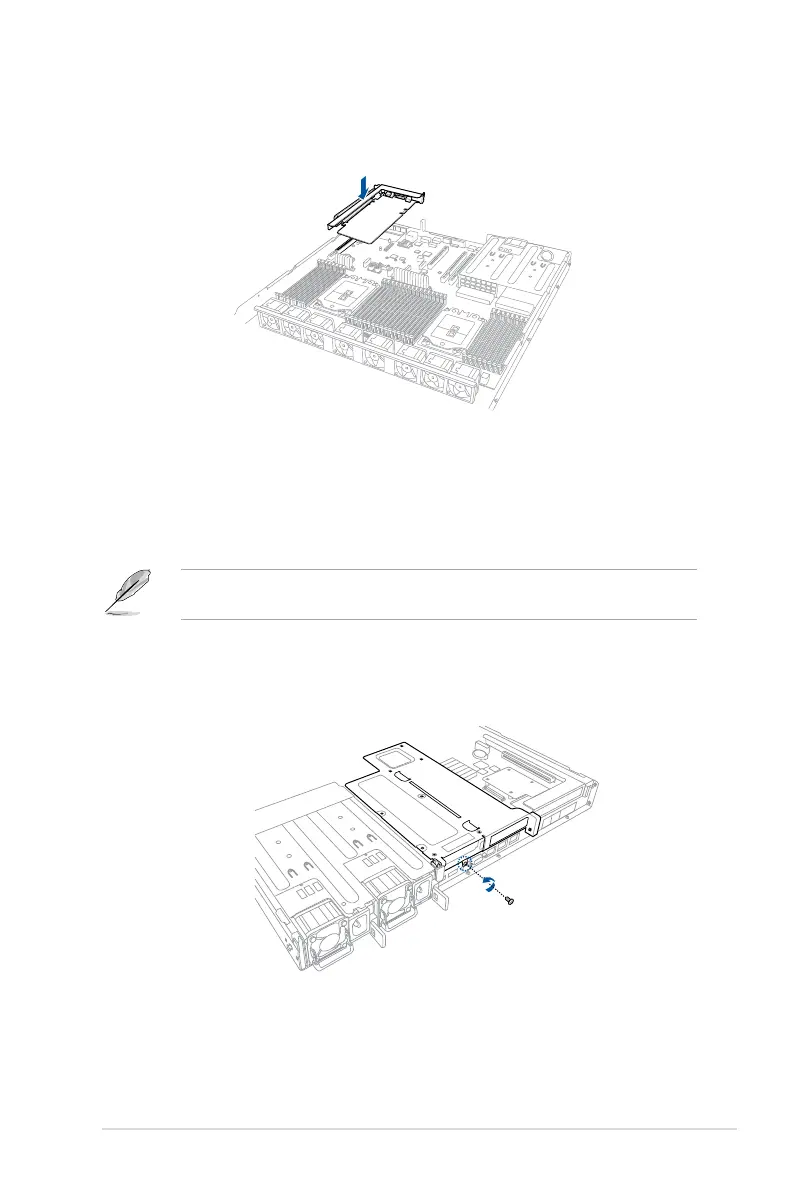
4. Install the riser card bracket and the PCIE expansion card assembly into the PCIE
connector on the motherboard. Ensure that the golden connectors of the riser card
bracketisrmlyseatedinplace.
2.5.2 Installing an expansion card to the butterfly riser
card bracket
Thepre-installedbutteryrisercardbracketonthePCIE2slothasonePCIEx8slotandone
PCIEx16slot.AlthoughthePCIEx16slotisphysicallylongerthanthePCIEx8slot,bothof
these slots provides x8 Gen3 links.
ToinstallPCI-Ex8(Gen3x8link),proprietarycardstothebutteryrisercardbracket:
1. Removethescrewthatsecuresthebutteryrisercardbrackettothechassis.
ThePCIEx8slotsupportsproprietarycardssuchasASUSPIKEIIseriescards.Installyour
proprietary cards into this slot to maximize its use.

 Loading...