2-3
ASUS RS700A-E9 Series
2.2 Central Processing Unit (CPU)
The motherboard comes with a surface mount Socket SP3 designed for the AMD EPYC™
7000 Series.
• Uponpurchaseofthemotherboard,ensurethatthePnPcapisonthesocketand
the socket contacts are not bent. Contact your retailer immediately if the PnP cap
ismissing,orifyouseeanydamagetothePnPcap/socketcontacts/motherboard
components.ASUSwillshoulderthecostofrepaironlyifthedamageisshipment/
transit-related.
• Keepthecapafterinstallingthemotherboard.ASUSwillprocessReturnMerchandise
Authorization (RMA) requests only if the motherboard comes with the cap on the
Socket SP3.
• Theproductwarrantydoesnotcoverdamagetothesocketcontactsresultingfrom
incorrectCPUinstallation/removal,ormisplacement/loss/incorrectremovalofthePnP
cap.
2.2.1 Installing the CPU and heatsink
ToinstallaCPU:
1. Removetherearcover.Formoreinformation,seethesection
Chassis cover
.
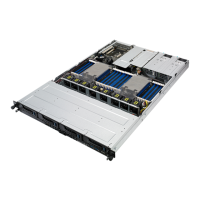
2. Remove the air ducts.
 Loading...

