Manual, Robotic Tool Changer, QC-5 through QC-27
Document #9610-20-2254-09
Pinnacle Park • 1041 Goodworth Drive • Apex, NC 27539 USA • Tel: 919.772.0115 • Fax: 919.772.8259 • www.ati-ia.com
52
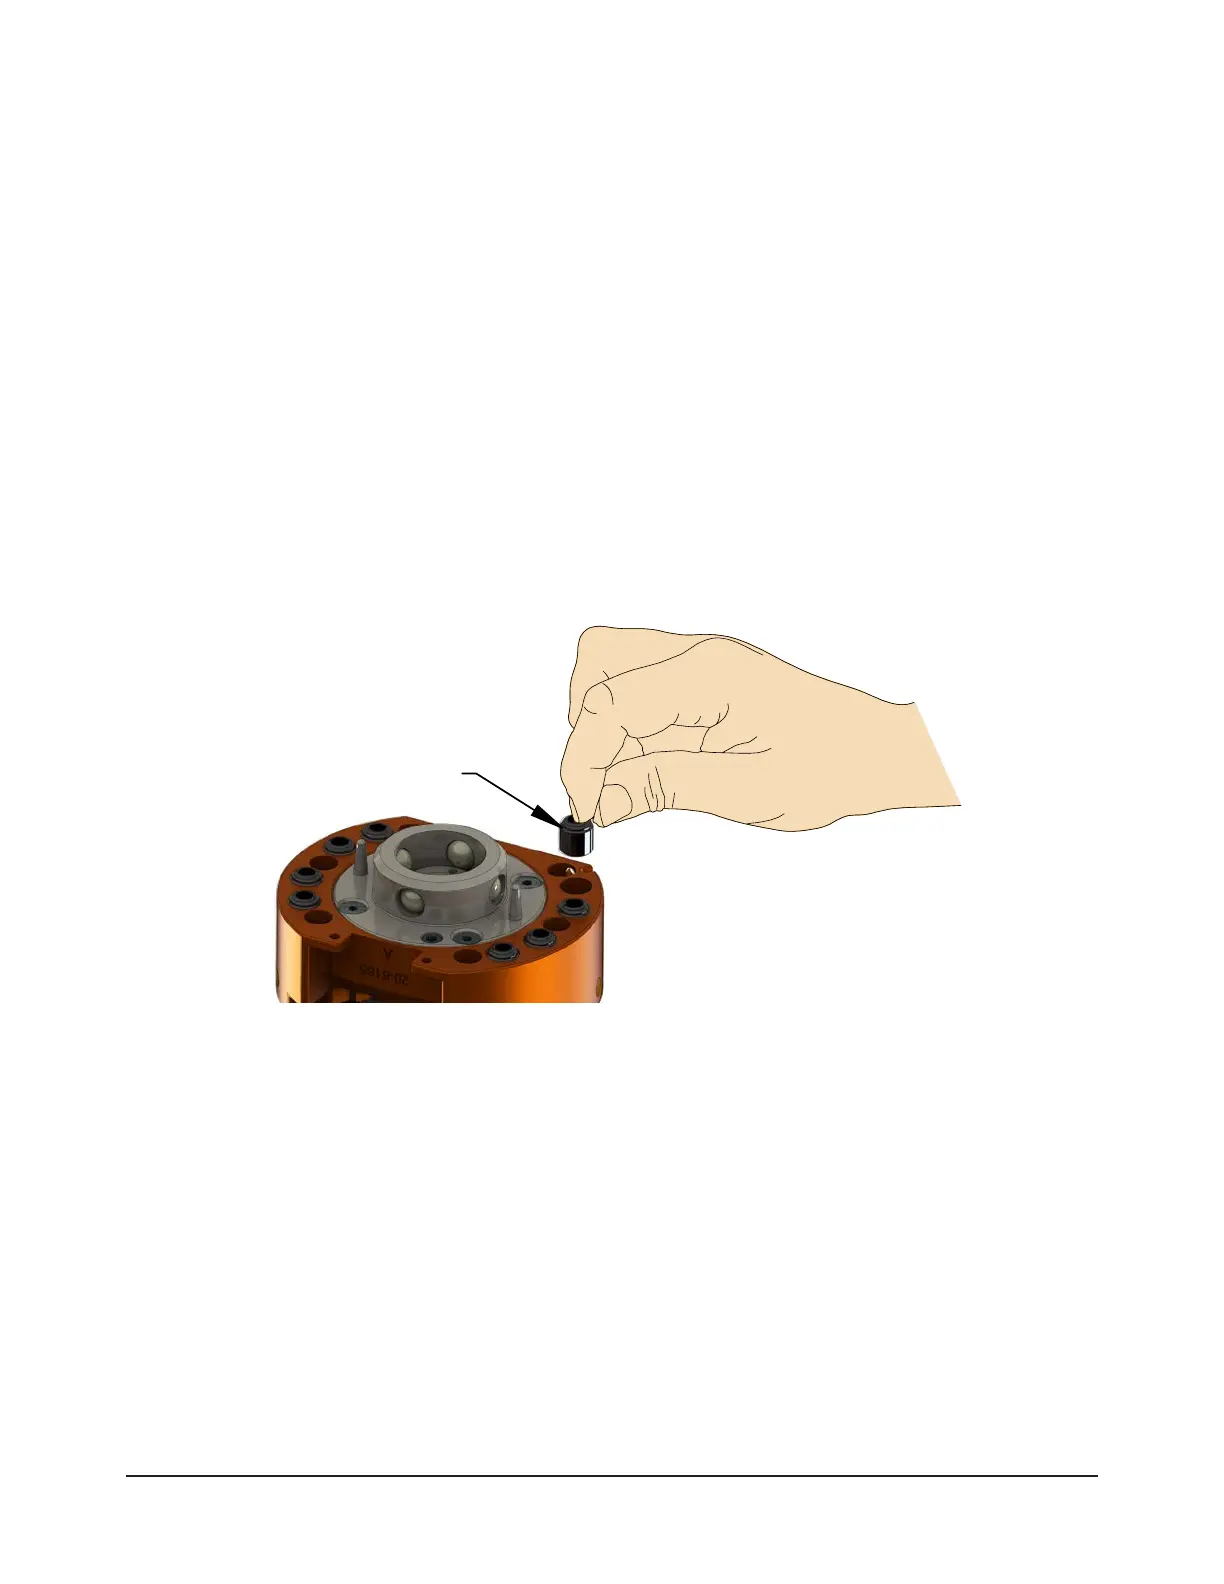
6.2.3 Rubber Bushing Inspection and Replacement
The rubber bushings seal the air passage from the Master plate to the Tool plate. Replace the
bushings if they are cut or damaged.
Parts required: Refer to Section 8—Serviceable Parts
1. Place the Tool in a secure location.
2. Uncouple the Master and Tool plates.
3. Turn off and de-energize all energized circuits (e.g. electrical, air, water, etc.).
4. Remove the damaged rubber bushing by grasping with your ngers and pulling the bushing
out of the body.
5. Dip the new bushing into water so that the bushing installs smoothly into the plate’s bore.
6. Insert the beveled (chamfered) end of the rubber bushing into the bore, leaving ribbed end of
the bushing facing outward.
7. Press the bushing in by hand until it is seated completely in the bore. If necessary, use a plastic
or rubber soft-faced mallet to tap the bushings into place.
8. Safely resume normal operation.
Figure 6.7 —QC-5, QC-11, QC-20, QC-21, and QC-27 Rubber Bushing Replacement (QC-21 Shown)
Rubber Bushing