Mounting Disks in Master Caddy III
If you choose to use your own disks instead of using a pre-built AtomX SSDmini, then it
needs to be installed into a Master Caddy - a plastic shell that holds your disk in place.
Master Caddy III was introduced with the release of the ATOMOS CONNECT accessory,
and must be used when ATOMOS CONNECT is attached to the NINJA V+. If you have used
Master Caddy II before with other ATOMOS products, you will notice that Master Caddy
III has a slimmer, lighter weight design to ensure that the disks can be inserted into the
media slot when an ATOMOS CONNECT is attached to your NINJA V+. A Master Caddy III
and screws are provided in the box when you purchase an ATOMOS CONNECT.
For information on drives that are compatible with your NINJA V+, refer to the compatible
drive page at atomos.com/compatible-drives
Master Caddy II does NOT fit into the NINJA V+ media slot when ATOMOS
CONNECT is attached. Only Master Caddy III, AtomX SSDmini or AtomX
CFast Adapter should be used in this scenario.
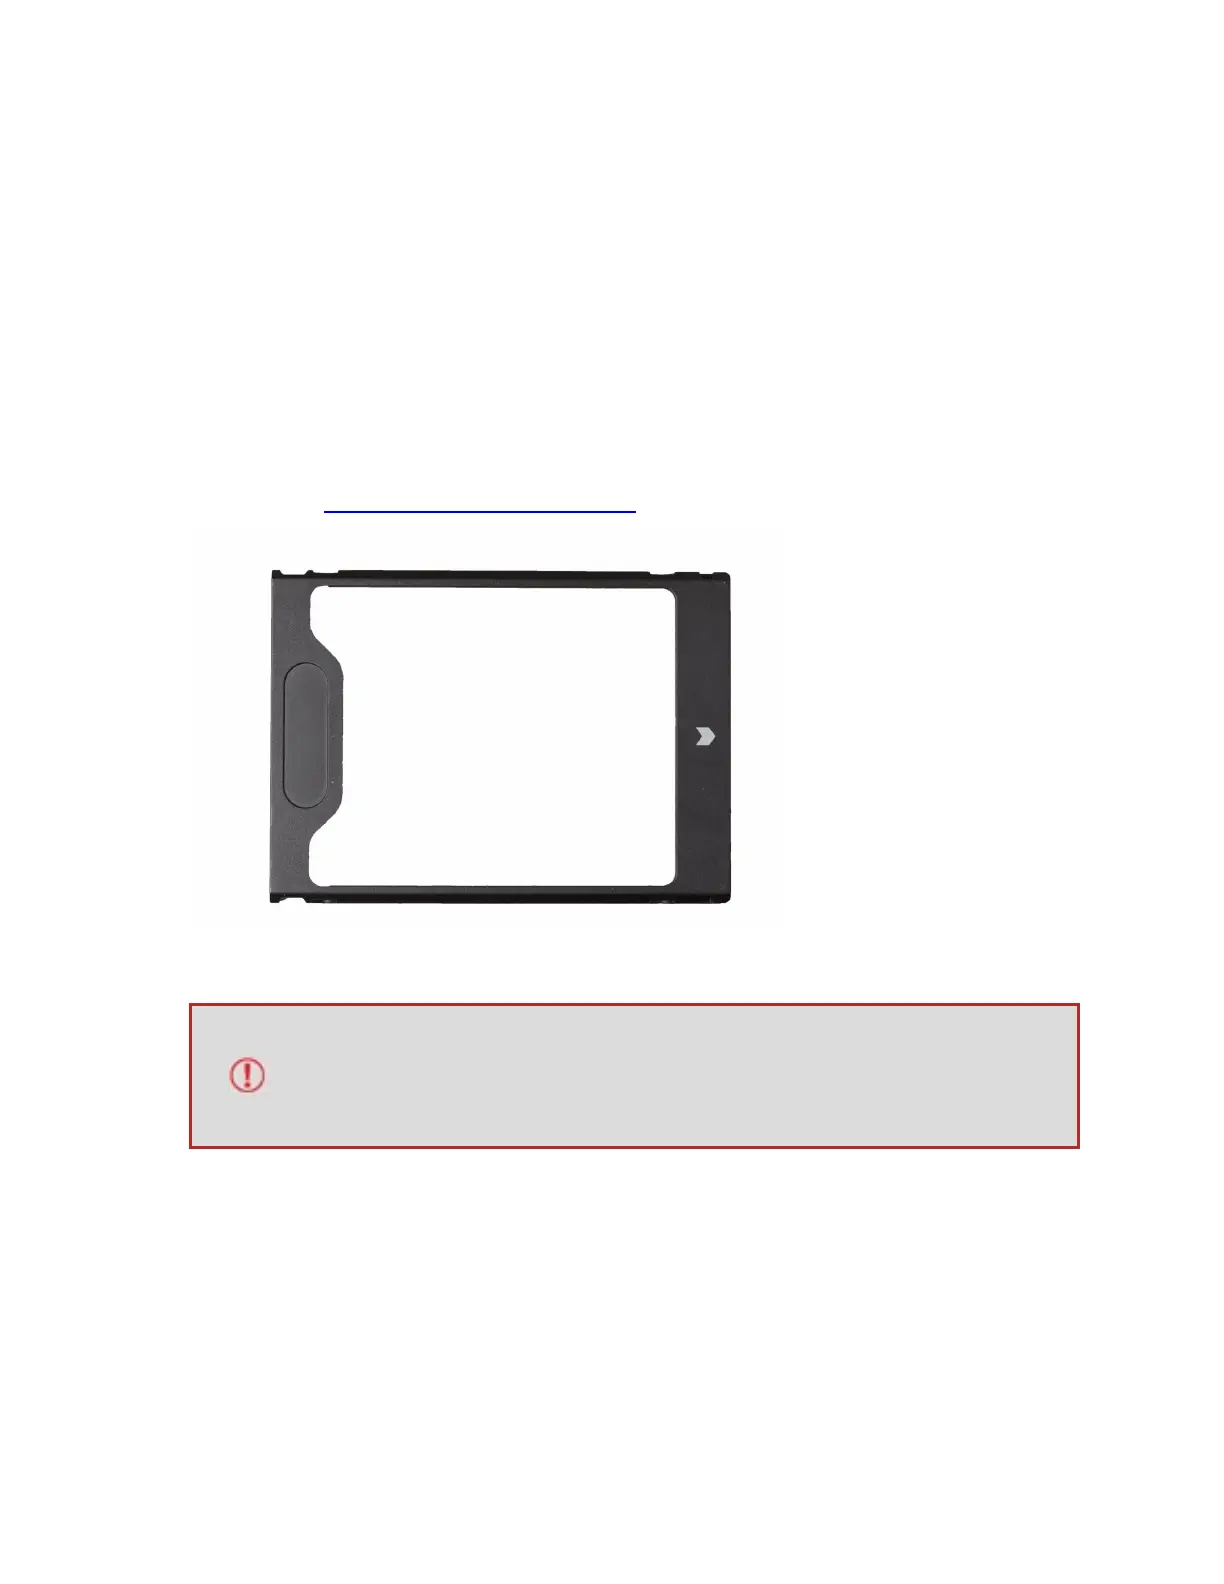
How to mount a disk into Master Caddy III
When inserting the disk into the Master Caddy III, ensure that the SATA connectors of the
drive line up with the gap in the plastic shell. If they do not line up with this gap, turn the
drive over.