Configuration Note 5. Configuring the E-SBC Device
Version 1.0 Issue 1.0 37 October 2011
5 Configuring the E-SBC Device
This section provides a step-by-step procedure to configure the E-SBC device.
These are the steps:
Step 1: Configure IP Addresses - see Section
5.1 on page 38.
Step 2: Enable the SBC Capabilities. See Section
5.2 on page 43.
Step 3: Configure the Number of Media Channels. See Section
5.3 on page 44.
Step 4: Configure the Proxy Sets. See Section
5.4 on page 45.
Step 5: Configure the IP Groups. See Section
5.5 on page 47.
Step 6: Configure the Voice Coders. See Section
5.6 on page 49.
Step 7: Define Silence Suppression and Comfort Noise. See Section
5.6.1 on
page 51.
Step 8: Co
nfigure IP Profile Settings. See Section
5.7 on page 52.
Step 9: Configure IP-to-IP Routing Setup. See Section
5.8 on page 54.
Step 10: Configure Number Manipulation. See Section
5.9 on page 57.
Step 11: Configuring IP Profile for Call Forwarding. See Section
5.10 on page 62.
Step 12: Configuring SIP General Parameters. See Section
5.11 on page 65.
Step 13: Configuring Supplementary Services.
Step 14: Defining Reasons for Alternative Routing. See Section
5.13 on page 67.
Step 15: Configuring SIP Proxy & Registration for Gateway Registration. See
Section
5.14 on page 70.
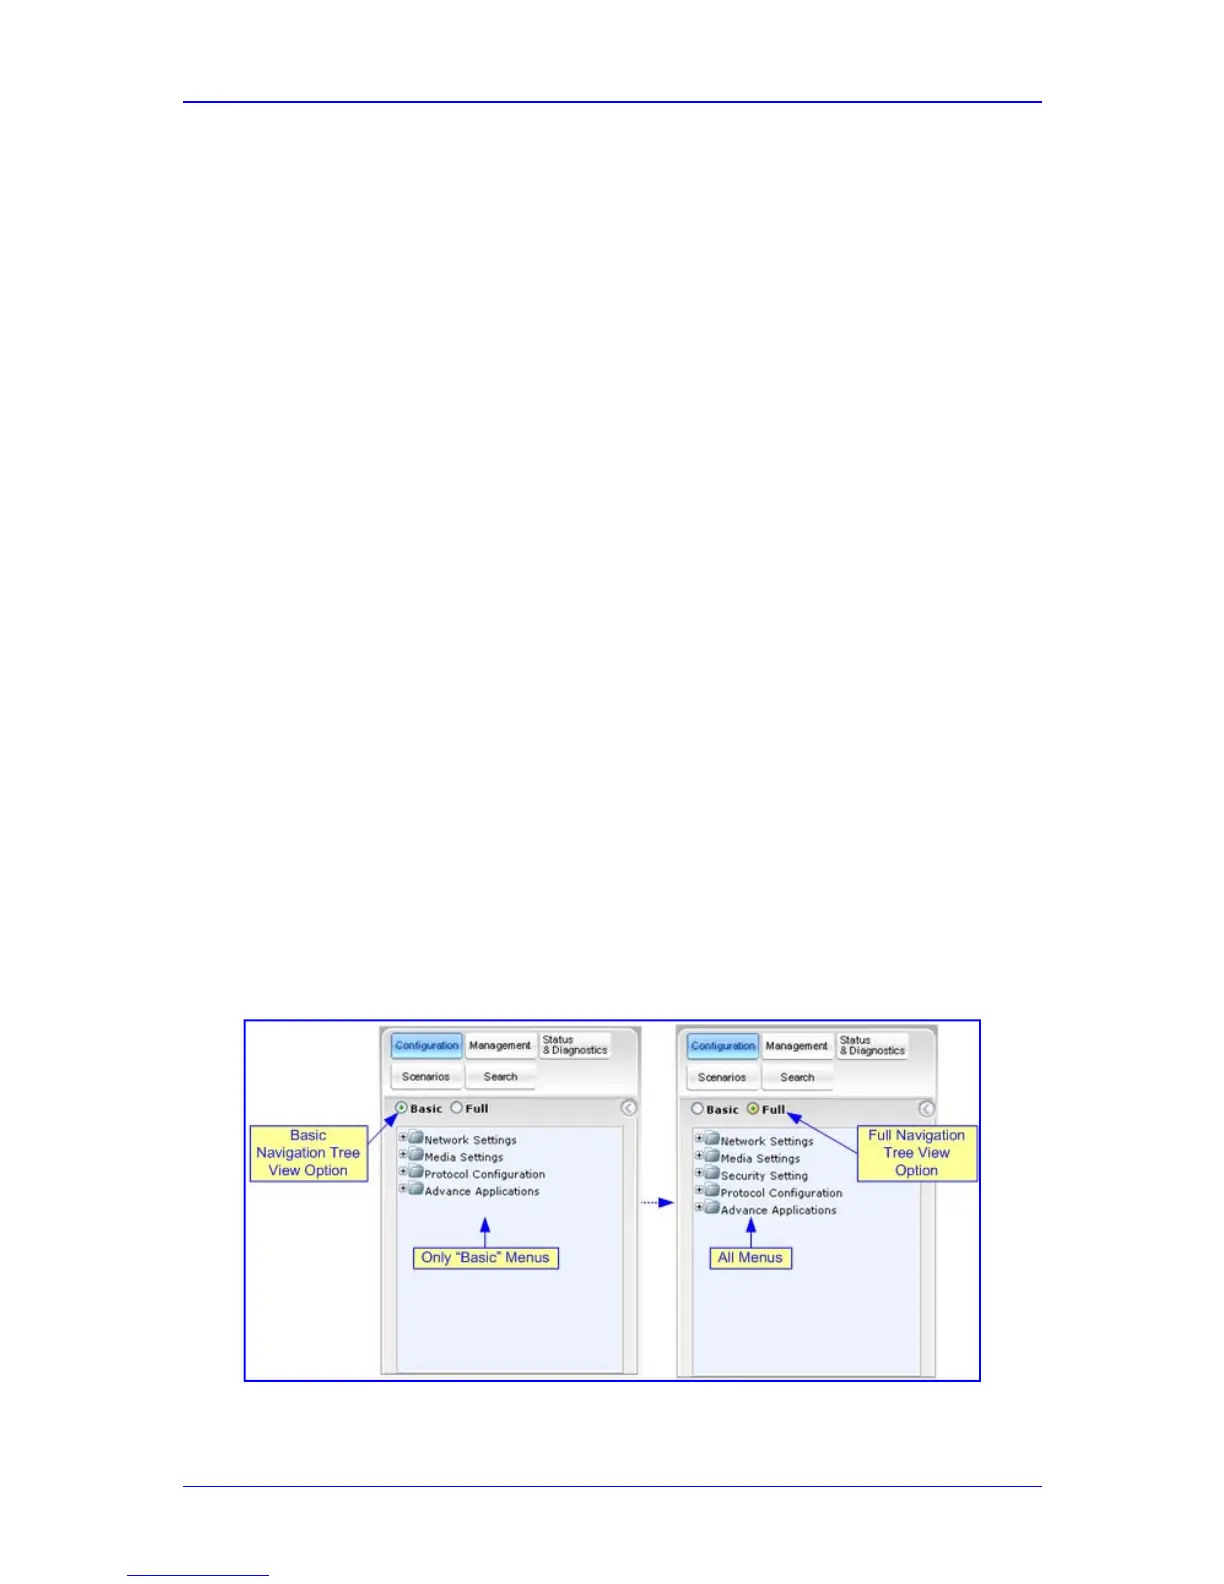
The procedures described in this section are performed using the E-SBC device’s’
Web-based management tool (i.e., embedded Web server). Before configuring the
E-SBC device, ensure that the Web interface's Navigation tree is in full menu display
mode (i.e., the Full option on the Navigation bar is selected), as displayed below:
Figure
5-1: Web Interface Showing Basic/Full Navigation Tree Display

 Loading...


