
M
Melanie JohnsonAug 3, 2025
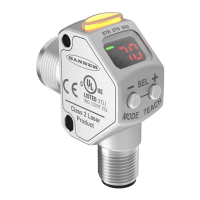
What to do if Banner Accessories output is short-circuited?
- WwilsonchristinaAug 3, 2025
If the Banner Accessories output is short-circuited, you should check the wiring for an electrical short circuit and ensure that the wiring is correct.