R5900022-09 ClickShare CS-10068
3. Click in the Subnet mask input fields and fill out the 4 octets as appropriate for the local subnet.
4. Click in the Default Gateway input fields and fill out the 4 octets. Set the Default-Gateway to the IP-Address of
the router (MUST be on the local subnet!).
Note: This must NOT be 0.0.0.0.
If there is no router on the local subnet then just set this field to any IP-Address on the subnet.
5. Click in the DNS Servers input field and fill out the preferred DNS servers (maximum 5) in a comma separated
list.
6. Click Save changes to apply the settings.
Do not use IP address 192.168.2.x for a Subnet mask 255.255.255.0 and IP address 192.168.x.x
for a Subnet mask 255.255.0.0
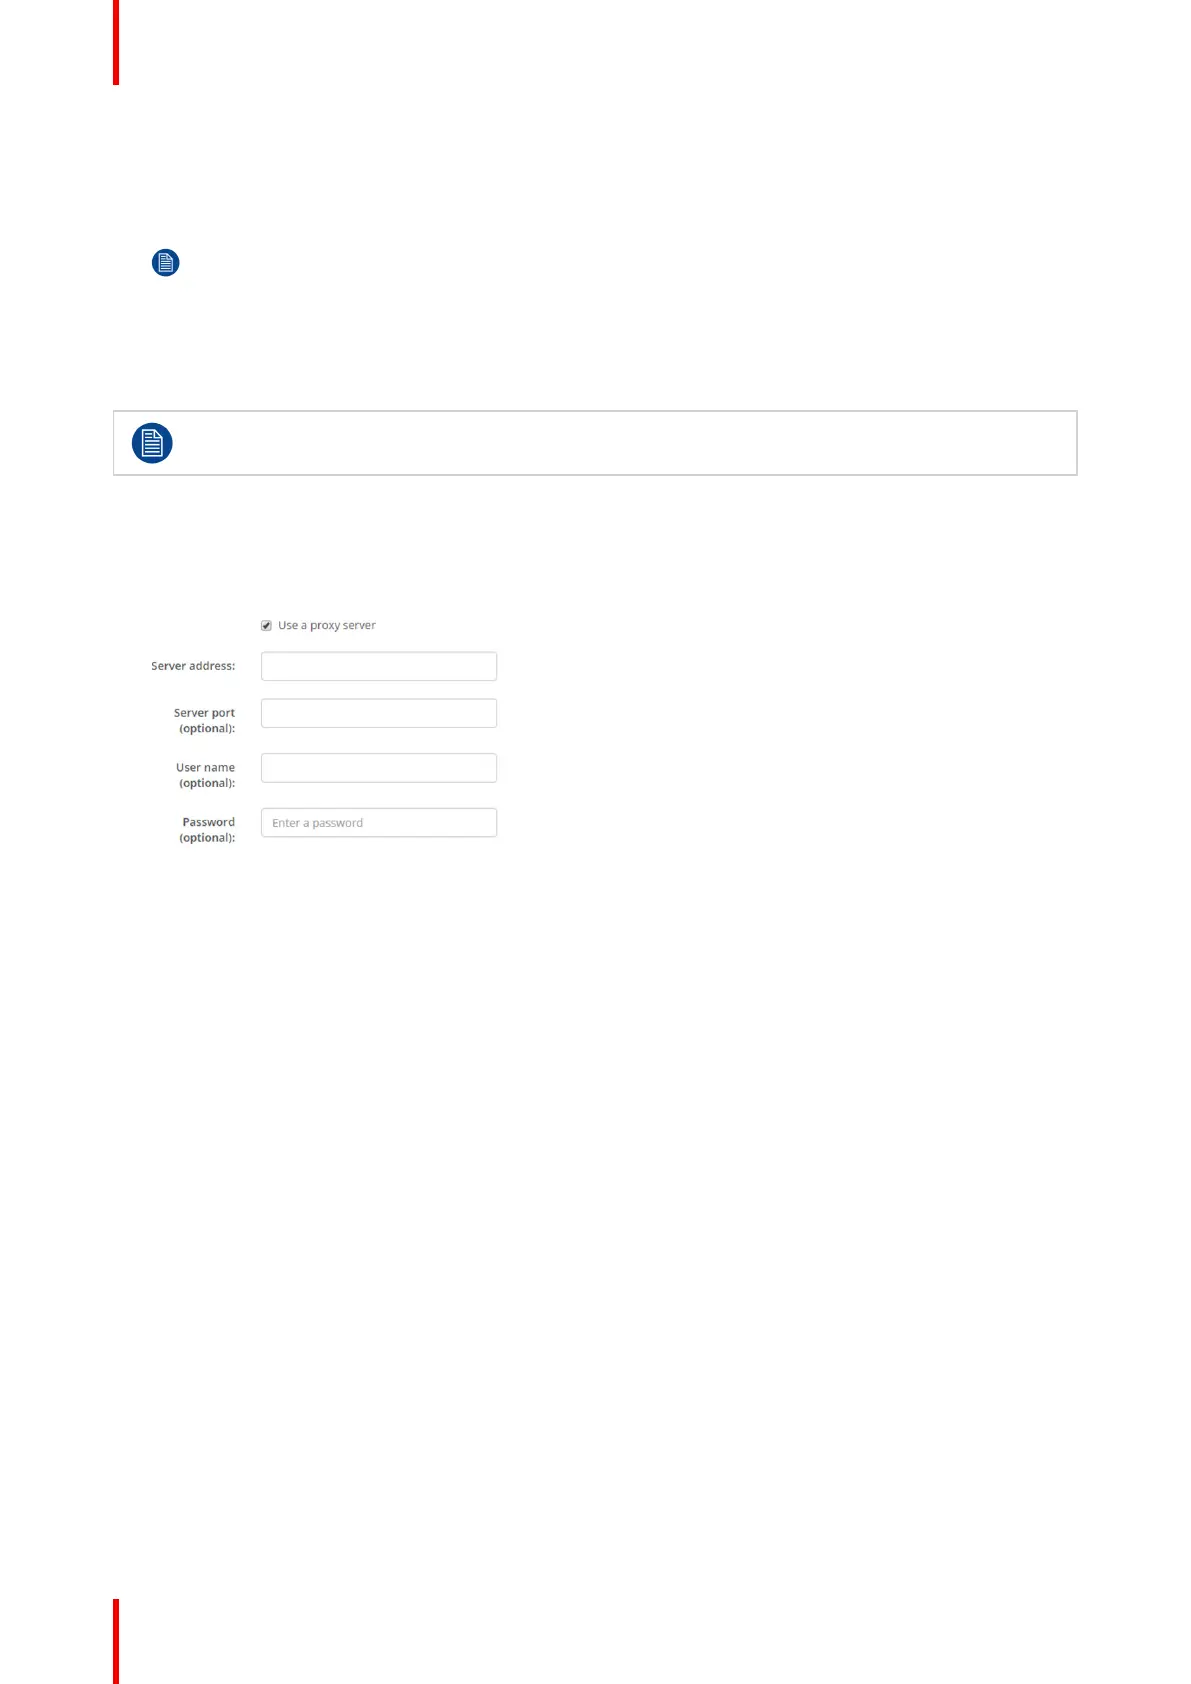
Use a proxy server
This setting is important for the auto-update feature of the Base Unit, which require internet access.
1. Check the check box next to Use a proxy server.
Image 6-19: Proxy settings
The proxy settings become available.
2. Enter the proxy server address. Enter the IP address or hostname.
Some proxy servers need a port number, user name and password, for others is this optional.
3. Optionally, enter the used server port.
4. Optionally, enter the user name.
5. Optionally, enter the password.
6. Click Save changes to apply the settings.
6.12 Services, mobile devices
ClickShare app
This function enables the possibility to connect with a mobile device using the ClickShare app to connect to
the Base Unit.
It is enabled by default. When the Base Unit is integrated in the corporate network, it may be required to
disable content sharing from the ClickShare app.
How to enable
1. Log in to the Configurator.
2. Click WiFi & Network → Services.
CS-100 Configurator

 Loading...