13. Projector control
2. Use the ▲ or ▼ key to select Projector control and press ENTER.
3. Use the ▲ or ▼ key to select Network and press ENTER.
The Ethernet menu opens.
4. Use the ▲ or ▼ key to select Subnet mask and press ENTER to select.
Note: An address contains 4 octets with a maximum value of 255.
Fill out the 4 fields as appropriate for the local subnet.
5. Use the ▲ or ▼ key to select the desired digit and press ◄ or ► key to select the next digit in the address.
Or,
enter the value with the digit keys on the remote control or local keypad. The next digit in the address will be selected automati-
cally.
6. Press EXIT to return.
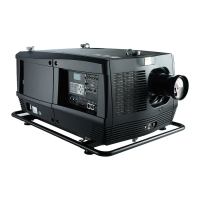
Image 13-25
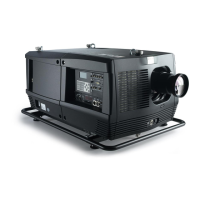
Image 13-26
Image 13-27
Image 13-28
13.4.5 Default Gateway set up
How to set up?
1. Press MENU to activate the menus.
2. Use the ▲ or ▼ key to select Projector control and press ENTER.
3. Use the ▲ or ▼ key to select Network and press ENTER.
The Ethernet menu opens.
4. Use the ▲ or ▼ key to select Default Gateway and press ENTER to select.
Note: An address contains 4 octets with a maximum value of 255.
Set the default gateway to the IP-address of the router (MUST be on the local subnet!). If there is no router on the projector’s
local subnet then just set this field to any IP-address on the subnet.
5. Use the ▲ or ▼ key to select the desired digit and press ◄ or ► key to select the next digit in the address.
Or,
enter the value with the digit keys on the remote control or local keypad. The next digit in the address will be selected automati-
cally.
Note: This must NOT be 0.0.0.0
152
R59770179 FLM R22+ 15/03/2010



 To Next Page