3. Connections
How to select the RGB input via the menu structure?
1. Press on the thumb wheel or press ENTER on the RCU to activate the menus.
The main menu will be displayed on the screen. (menu 3-18)
2. Turn the thumb wheel or use the up or down arrow keys to select Inpu t selection.
The input selection menu will be displayed. The correct input will be filled out immediately in input selection 4. (menu 3-19)
3. Turn the thumb wheel or use the up or down arrow keys to select 4RGB.
4. Press the thumb wheel or press ENTER on the RCU.
Main Menu
Input selection
Image settings
Audio settings
Compact PC Control
Advanced settings
Installation
Service
Standby
Back
Menu 3-18
Input Selection
1. Video
2. RGB
3. S-Video
4. RGB
5. SDI
6. RGB
7. DVI
8. Compact PC
Configure input 2
Back
Menu 3-19
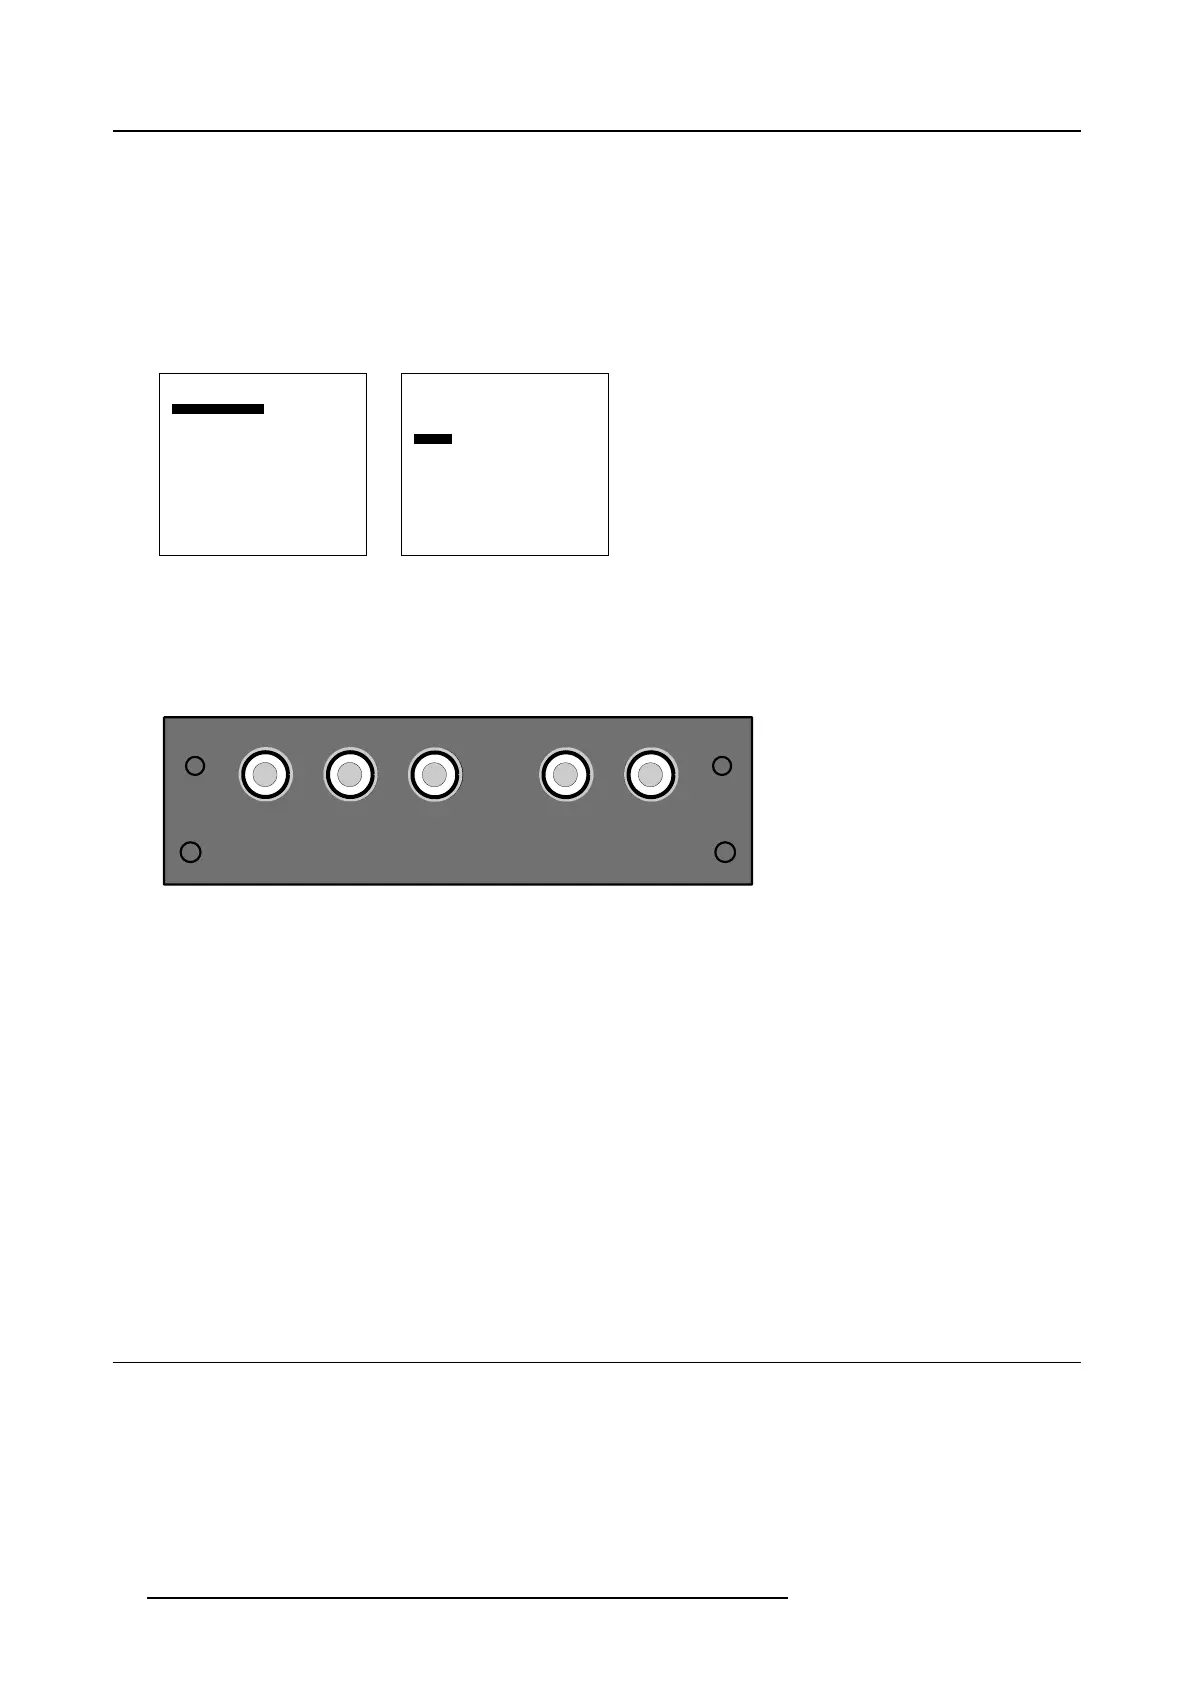
3.2.10 Audio pré-amp input (optional)
Specifications
L R
OUT
LR
IN
SUBW
AUDIO
Image 3-8
Audio input
Left and right input channel : maximum 2.5V
pp
Input Left-Right impedance : 50 kΩ
Left and right output : maximum 2.5V
pp
Output Left-Right impedance : 1 kΩ
Output subwoofer impedance : 1 kΩ
Adjustment steps :
• Treble / bass : from -14dB to +14dB, steps of 2dB
• Balance : from -79dB to 0dB, steps of 1dB
• Volume adjustable in steps of 0.5dB
• Subwoofer out in steps of 1dB
Output specifications
Left and right output channel + subwoofer channel.
3.3 RGB out at native screen resolution (WXGA)
Output
The processed signal, rotated or not rotated is available in screen format for loop through to the next Solaris LC40.
Be aware of the rotation setting of the next Solaris LC40. When the output is already rotated, do not rotate the input image again in
the next Solaris LC40.
18
R5976672 SOLARIS LC40 01122003
 Loading...