42 Bend-Tech Dragon A400
Maintenance & Troubleshooting
Control Box
10
6.
Motor Driver. Loosen, but do not remove, the bottom nut. Lift the Motor Driver slightly
upward and tilt the top out to remove.
7. Copy the dip switch settings on the old Motor Driver to the new Motor Driver.
8. Installation is the reverse of removal. During the installation process, use the bottom
mounting pin with the nut still threaded onto it to locate the new Motor Driver.
Replacing the Control Box Power Switch
1. The Control Box Power Switch snaps into the power receptacle assembly.
2.
3.
counterclockwise.
4. Remove the two wires that connect to the Control Box Power Switch, noting the location of
the wires so they can be re-attached to the new switch in the same location.
5.
6. Snap the new switch into its location.
7. Swap the wires onto the new switch, ensuring the wires are attached in the same locations.
8. Close the Control Box.
Replacing the Smoothstepper
1.
counterclockwise.
2. The smoothstepper is located on the Control Box door. It will have three ribbon cables, an
Ethernet connection and a power connection.
3. Disconnect the ribbon cables. Note the location of the ribbon cables so they can be re-
installed in the same location. Unplug the Ethernet cable. Unplug the power connection.
4.
the Control Box door.
5. Once the nuts are removed, remove the smoothstepper.
Installation is the reverse of removal.
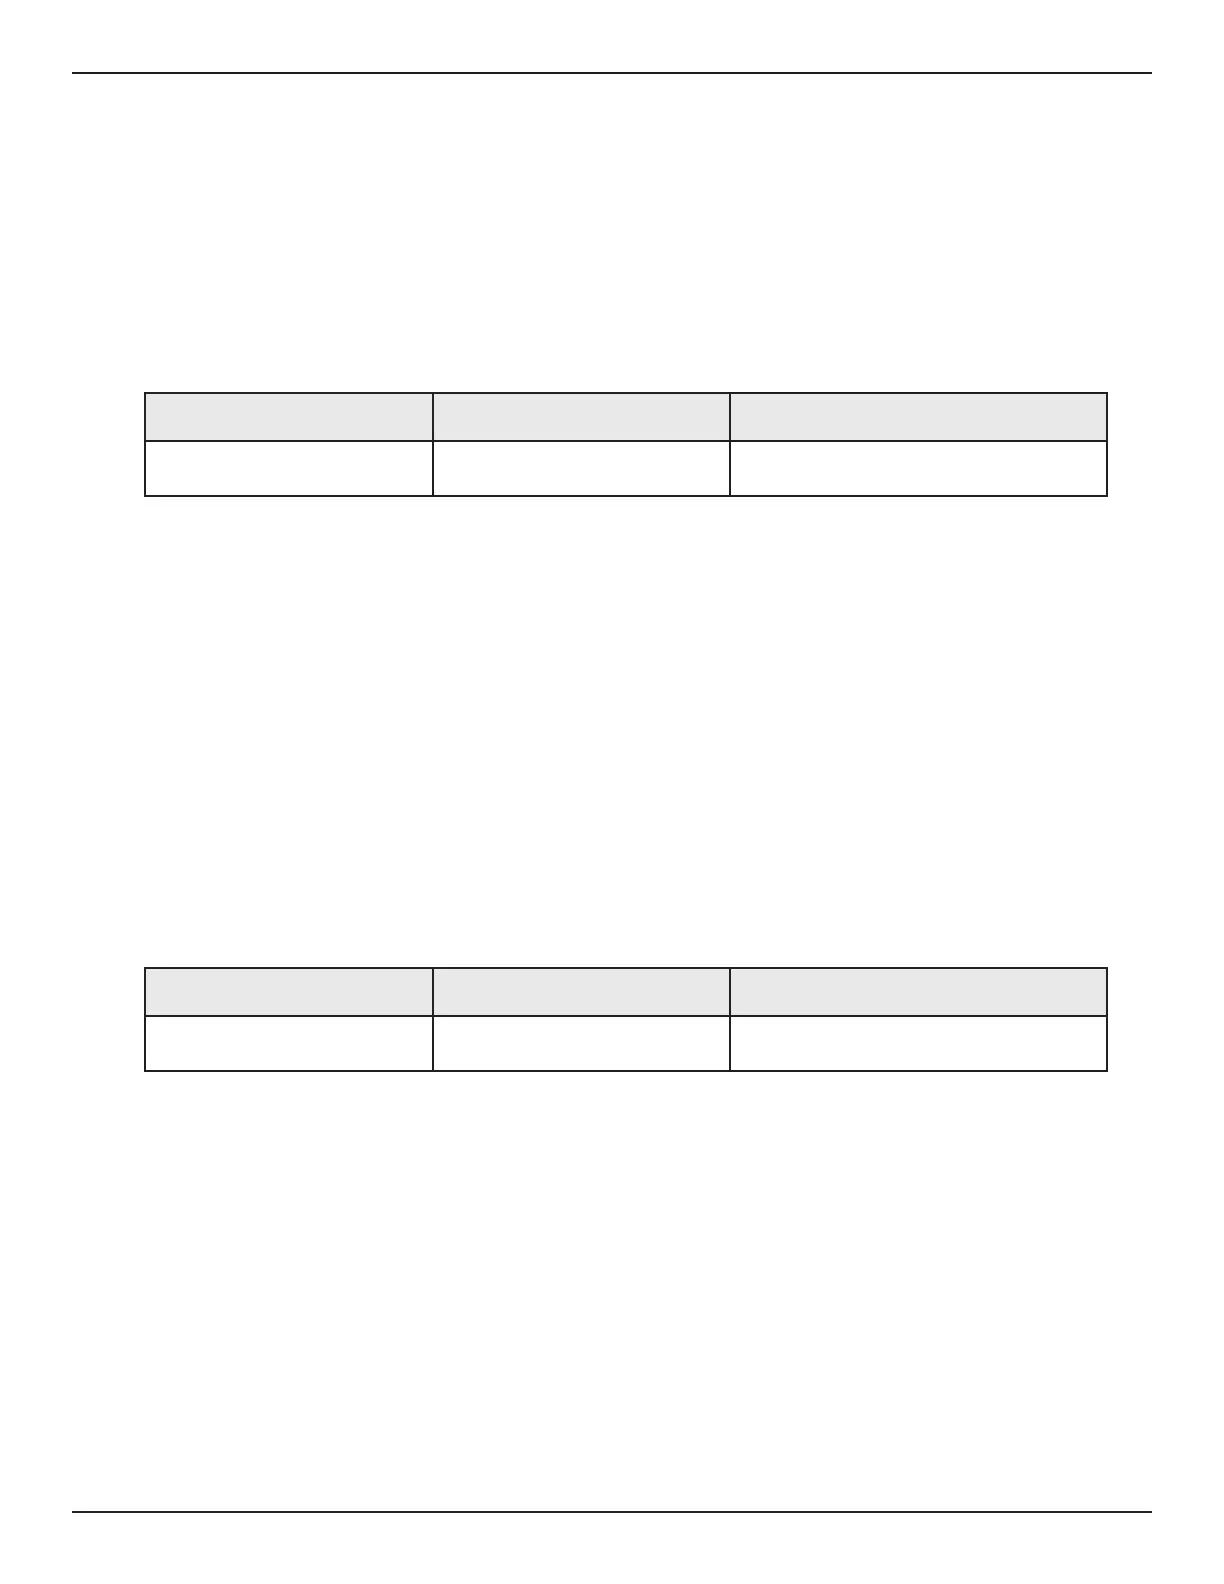
Symptom Cause Corrective Action
Machine not powering on
Control Box Power Switch has
failed
Replace the Control Box Power Switch
Symptom Cause Corrective Action
Smoothstepper not connecting
to computer
Critical failure in circuit board or
circuit board component.
Replace the Smoothstepper board.