19 Bender Operation Manual
22. Review the SYMBOLS section of the card and
check for any special instructions.
23. On bend number four you will notice that a
REVERSE USE HALF SHOE is again called for.
Keep the ROTATION DIAL on the LEFT side for this bend.
24. Advance the radius die forward until the pusher block
springs are compressed and the tubing is held securely.
25. Rotate the tubing so that the pendulum pointer or
dial indicator points to 260 degrees.
26. Advance the radius die to 35 degrees then retract
the die to the original starting position.
27. Review the SYMBOLS section of the card and check
for any special instructions for bend number five.
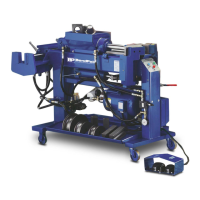
28. On bend number five no special instructions are
shown. In this case, return the ROTATION DIAL to
the right side and install the full BACK SHOE. A
HALF SHOE is not required for this bend.(See figure 3-B.)
29. Advance the radius die forward until the pusher block
springs are compressed and the tubing is held securely.
30. Rotate the tubing so that the pendulum pointer or
dial indicator points to 223 degrees.
31. Advance the radius die to 18 degrees then retract
the die to the original starting position.
32. Review the SYMBOLS section of the card and check
for any special instructions for bend number six.
33. On bend number six no special instructions are shown.
34. Advance the radius die forward until the pusher block
springs are compressed and the tubing is held securely.
35. Rotate the tubing so that the pendulum pointer or
dial indicator points to 277 degrees.
36. Advance the radius die to 9 degrees then retract the
die to the original starting position.
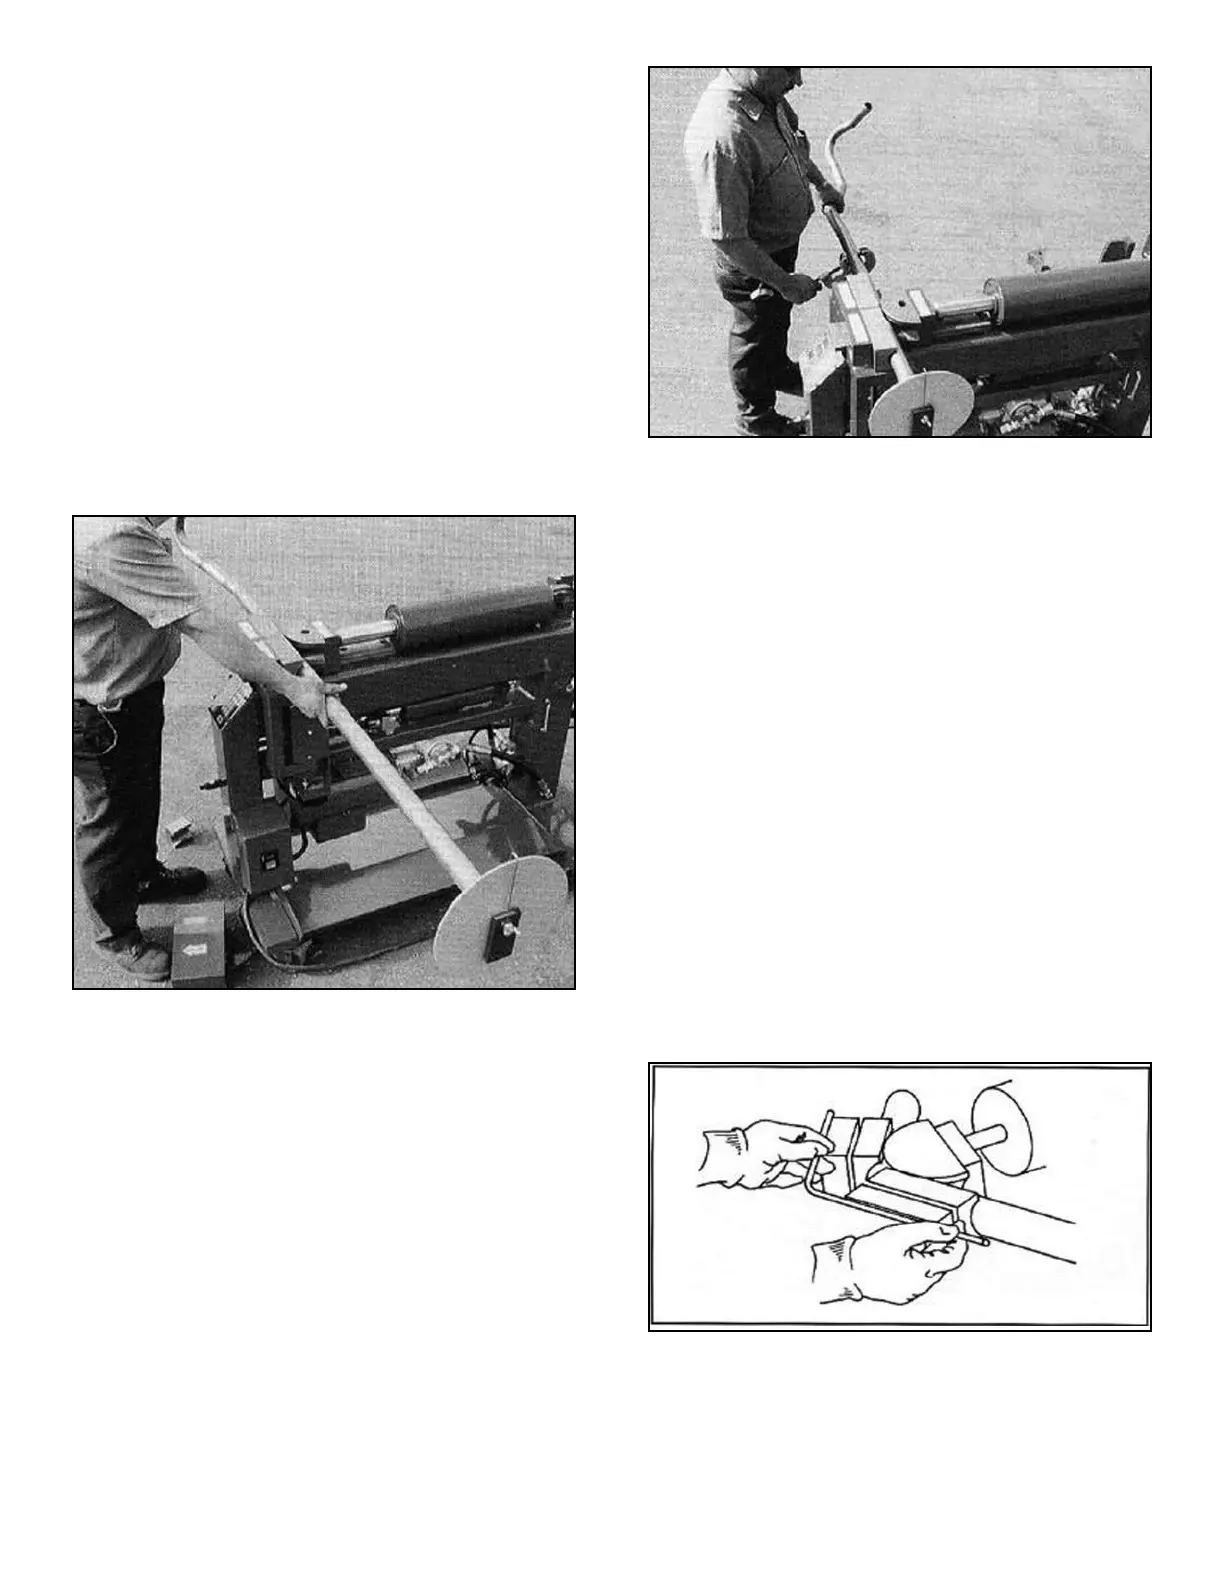
37.You are now finished bending the pipe. Remove the
ROTATION DIAL and cut the tubing end off at the
last O/A mark. (See figure 3-C.)
38. Now check the BENDING INSTRUCTIONS section
and check for any END FINISHING requirements.
On this particular card, it calls for a FEMALE BUICK
BALL on the FRONT or “F” side of the pipe. See
page 12 for TYPICAL END FINISHING illustrations.)
PATTERN BENDING
To pattern bend, proceed as follows. In order to retain the
information for later use, save the information as described
below.
NOTE:
Use the blank program card found on the next page
as a master to make additional
copies for later use.
1. Select the proper tubing size and die set to do the
job. Try to match the radius size with that of the existing
pipe.
2. Place the tubing in the bender with the greater portion
of the tubing protruding out the right side of the
bender.
3. Place the master pattern (existing pipe or bent wire
on the top of the back shoes so that the first bend is
centered between the back shoes.
4. Adjust the tubing out the left side of the bender so
that the tubing end matches the length with that of
the master. (See figure 1-A) Secure the straight pipe
by advancing the radius die until the pusher block
springs compress.
Bender Operation Manual 19
Figure 3-B
Wire pattern being used as a master.
Figure 3-C