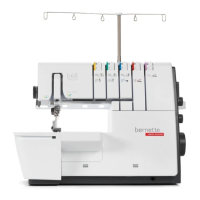
Sewing Start
37
2022-05 EN 50400685.00A.04
4 Sewing Start
4.1 Check before Starting to Sew
In order to start a project successfully, the following steps must be performed:
• The machine is switched on, and the presser foot is lifted.
• The fabric and the applications have been selected. (see page37)
• The thread has been selected. (see page37)
• The needle size matches with the thread type and the sewing project. (see page39)
• The stitch is selected.
• The machine settings based on the stitch selection have been performed. (see page53)
• Needle and looper threads are threaded.
• All needle threads and looper threads lie under the presser foot to the back left.
• The threader cover is closed.
> Place the test fabric under the presser foot and lower the presser foot.
> To start the sewing process, press the foot control.
– The set stitch is formed.
– If no stitch is formed, the settings on the machine for the stitch must be checked.
4.2 Selecting the Fabric
The choice of fabric, in combination with needle, thread and stitch, plays a vital role in achieving the perfect
sewing result. The sewing test with the selected fabric is recommended. (see page76)
4.3 Selecting the Thread
A wide range of sewing and special overlock threads are manufactured in various sizes and in different fiber
combinations.
• The purchase of high-quality threads is recommended to achieve good sewing results.
• Use thread cones/spools which are suitable for cover machines.
NOTICE
Thread Breakage due to Incorrect Needle/Thread or Thread/Looper Matching
The thread needs to glide smoothly through the respective thread guides.
It must be possible to feed the thread through the looper or the needle eye without any resistance.
In the case of thick threads, elongate the stitch length and reduce the thread tension.