71
Fig. 78 - BATTERY HATCH OFF
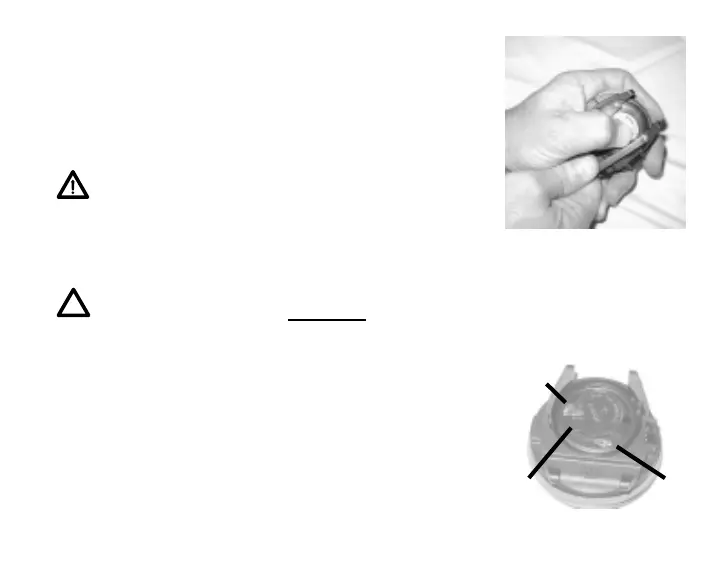
• An adjustable face spanner tool or a pair of pointed pliers can
also be used instead of the Battery Hatch tool by inserting the
tips of the spanner tool in the small holes in the Ring (Fig. 77).
• Lift the Hatch Ring up and away from the Housing.
• Remove the Battery Hatch.
WARNING: If damage, moisture, or corrosion is
found, it is recommended that you return your d.i.P
to an Authorized d.i.P Service Technician, and DO
NOT attempt to use it until it has received factory
prescribed service.
NOTE: If the old Battery can be removed and the
new one inserted within 8 seconds settings will be
retained.
Battery Removal
• Remove the Retaining Bar located across the lower portion of
the Battery (Fig. 78a).
• Remove the Hatch O-ring. DO NOT use tools.
• Using care not to damage the Battery Contacts (Fig. 78 b/c),
slide the Battery up and out of the right side of the Battery Com-
partment.
a
b
c
Fig. 77 - RING REMOVAL
(alternate method)
 Loading...