72
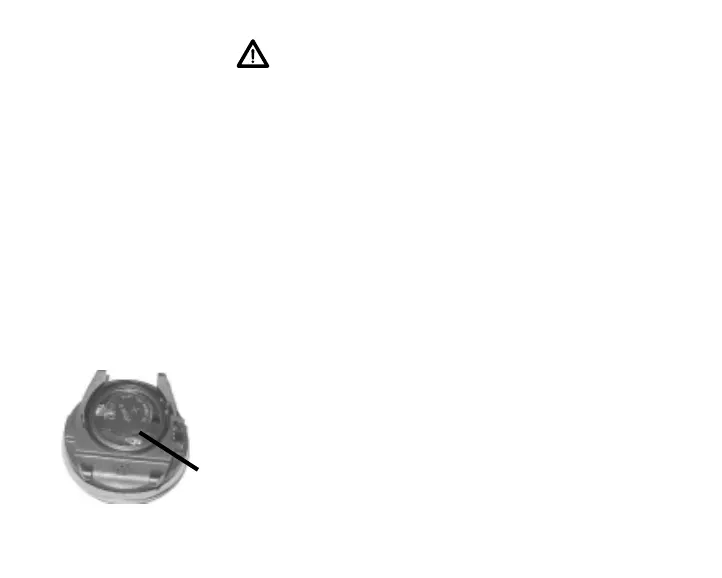
Fig. 79 - BATTERY INSTALLA-
TION
CAUTION: Do not allow a metal object to short cir-
cuit the top of the Battery which is positive (+) to
the negative ( - ) contact of the Battery Compart-
ment.
• Closely check all of the sealing surfaces for any signs of damage
that might impair proper sealing.
• Inspect the Buttons, Lens, and Housing to ensure they are not
cracked or damaged.
• If it is necessary to clean the Battery Compartment, flush it and
all components with a solution of 50% white vinegar and 50%
fresh water. Rinse with fresh water, and allow to dry overnight,
or blow dry with a hair dryer (set at 'no heat').
Battery Installation
• Slide a new 3 volt type CR2450 Lithium Battery, negative (-)
side down into the Battery Cavity from the right side and ensure
that it slides under the contact clip on the left rim of the cavity.
• Orient the Retaining Bar across the lower portion of the Battery
(Fig. 79a) and carefully push it down into position.
Battery Hatch and Hatch Ring Installation
• Lightly lubricate the new Hatch O-ring with silicone grease and
place it on the inner rim of the Battery Hatch. Ensure that it is
evenly seated. This O-ring must be a genuine d.i.P part.
a
 Loading...