EP600 Energy Storage System User Manual
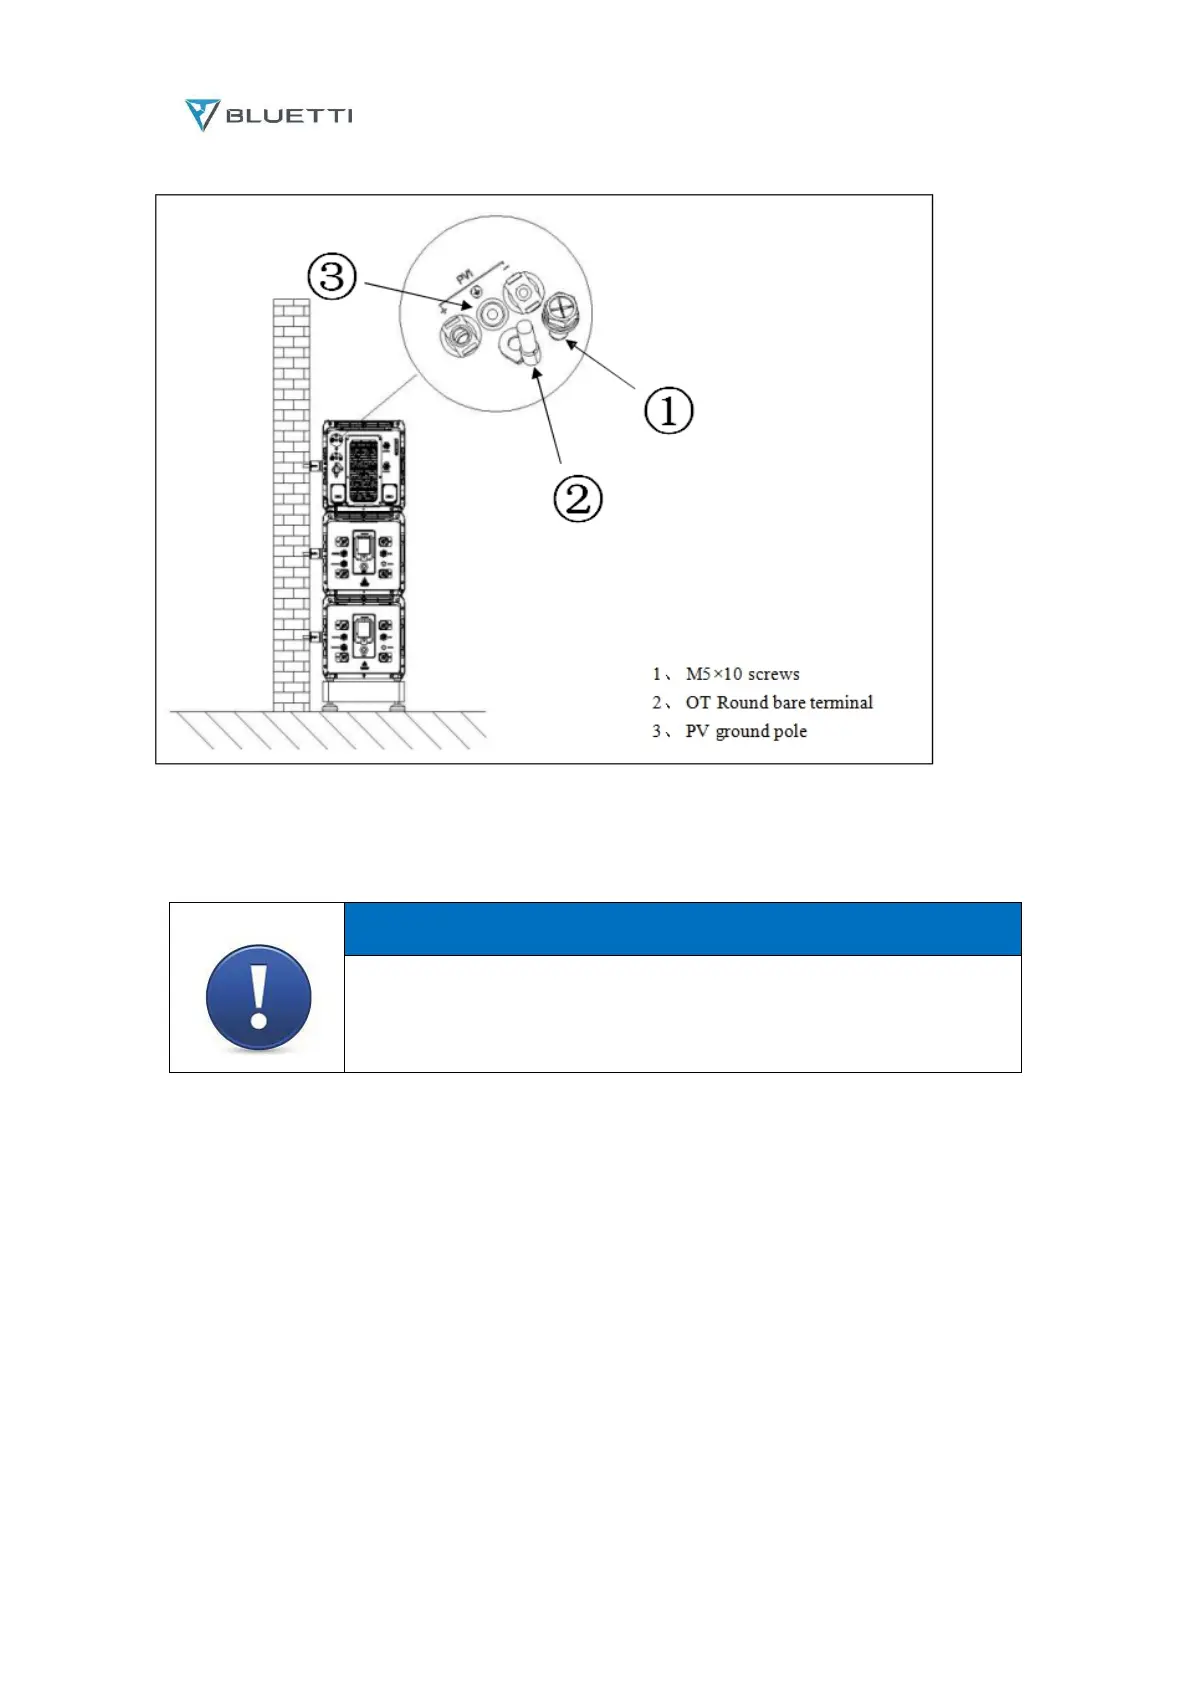
6.5 Connect PV cable
Before removing the PV input positive and negative connectors, make sure the DCswitch
on the EP600 inverter has been set to "OFF".
Step 1: Select the appropriate cable type and specification according to table 6-3. Disconnect the cable
connector from the positive and negative connector.
(It is recommended to distinguish positive and negative poles with different colors);
Step 2: Peel the insulation layer of the positive and negative cables with wire strippers to a proper length.
Refer to the figure for the specific stripping length as shown in figure. 6-4-1。
Step 3: Insert the positive and negative cables with stripped insulation layer into the positive and negative
metal terminals respectively, and press the cable with a crimping pliers to ensure that the cable is firmly
crimped with the metal core, as shown in figure. 6-4-2;
Step 4: The crimped positive and negative cables pass through the lock nuts and are respectively inserted
into the corresponding plastic housings until a click is heard, which indicates that the metal core has been
clamped in place. Tighten the lock nuts, as shown in figure. 6-4-3/4;
Step 5: Use a multimeter to check the positive and negative poles, as shown in figure 6-4-5.
After confirmation, the PV input of the inverter can be inserted correspondingly, as shown in figure. 6-4-
6.If it is necessary to remove the PV positive and negative connectors from the inverter, you can insert the
removal wrench into the fixed bayonet as shown in figure. 6-4-7, press it down with force, and carefully
remove the connector.