Quick install
To get the unit operational, perform the following quick install steps:
1. Make all the hardware connections – see Connections, page 17.
2. Power up the system – see Powering up, page 20.
3. Log in – see Login, page 21.
4. Correctly configure your system software with the Startup wizard (this appears the first
time the unit is started) – see Startup Wizard, page 22.
After completing this initial setup, the system is ready to run and will show a live view of the
camera image(s). If required, you can alter the settings later using the menus and/or factory
defaults, or you can run the Startup wizard again.
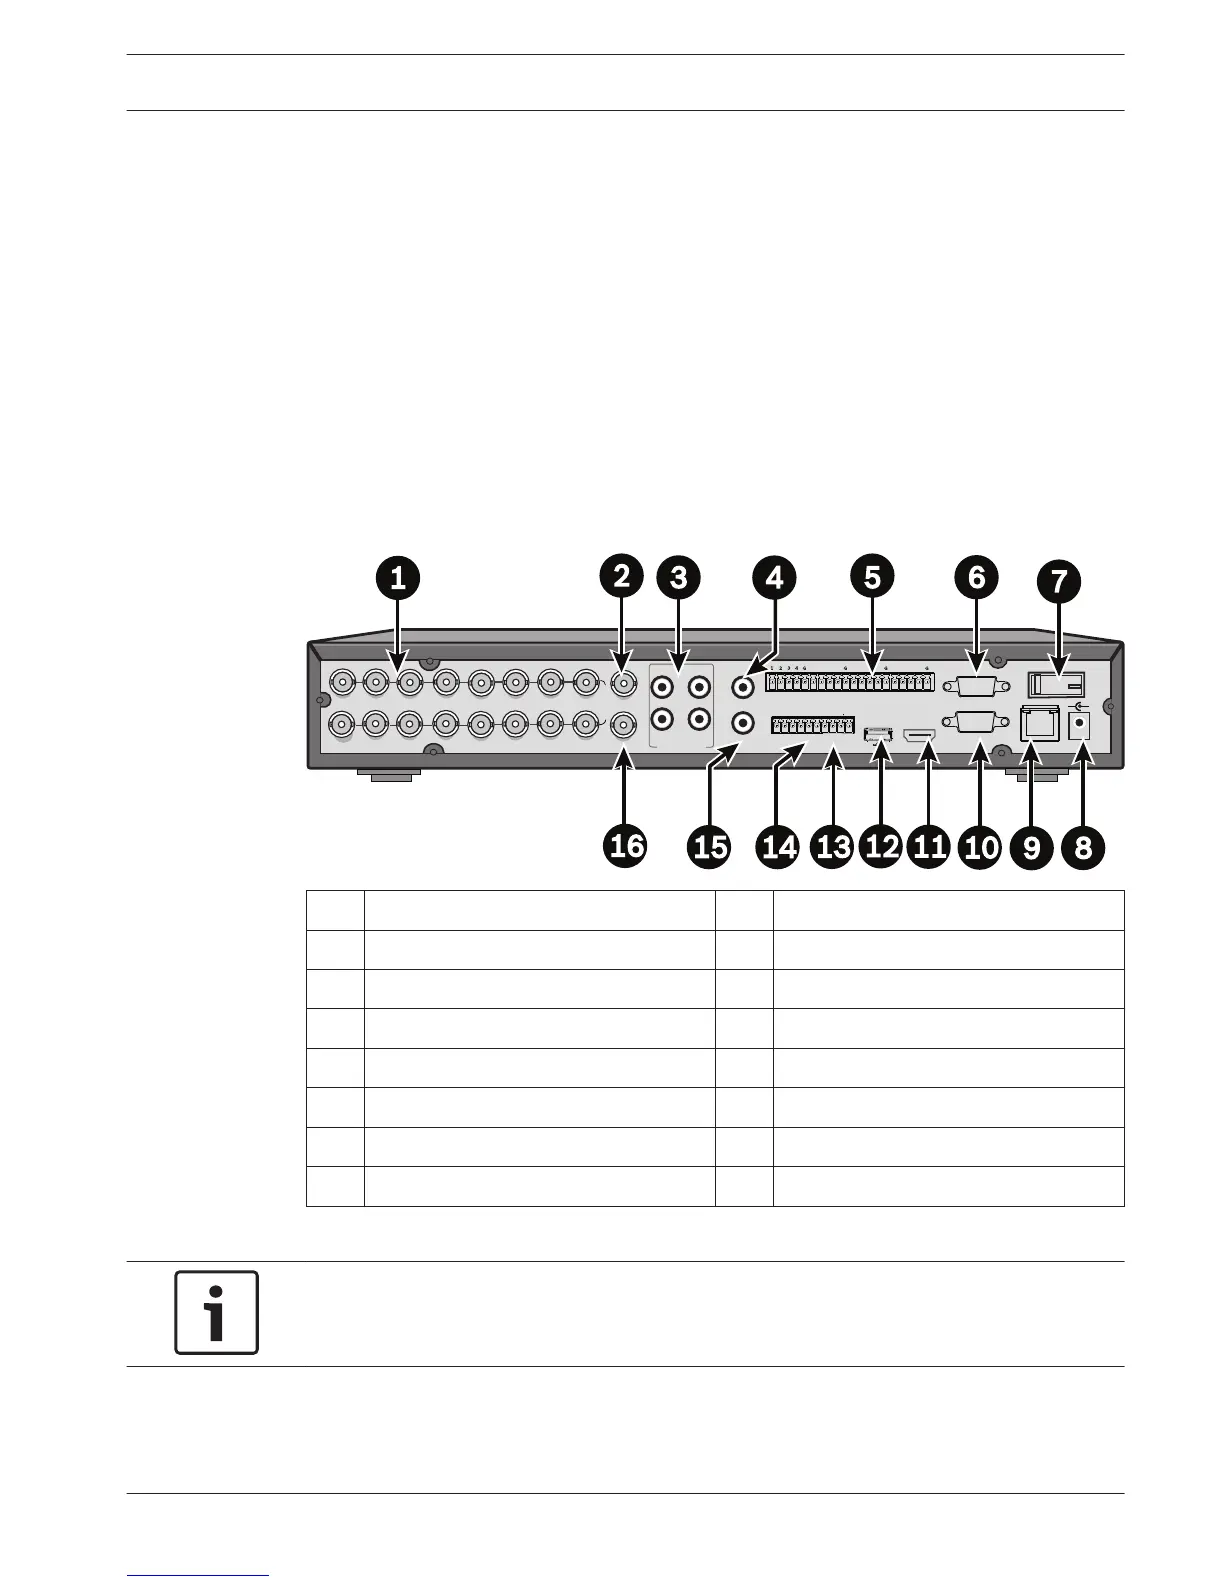
Connections
Connections on back of DIVAR AN 3000
1 Camera VIDEO IN BNC connectors 9 RJ45 ethernet connector
2 CVBS output - Monitor A 10 VGA output - Monitor A
3 Audio inputs 11 HDMI output - Monitor A
4 Audio output 12 USB connector
5 Alarm inputs 13 RS485 connector for Dome control
6 RS232 connector for Dome control 14 Alarm outputs
7 Power ON/OFF switch 15 Microphone input
8 12 VDC Power connector 16 CVBS output - Monitor B
Notice!
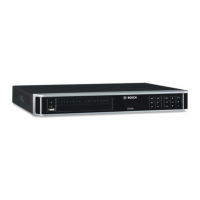
The 4- and 8-channel DIVAR AN 3000
4
4.1
DIVAR AN 3000 / DIVAR AN 5000 Quick install | en 17
Bosch Security Systems Operations Manual 2014.10 | 2.0 | AM18-Q0669