en
|
12
|
User guide
| OBD 1350
ProGrade OBDII Scan Tool
580001 | REV. A | 11.2016
Changing Auto-Power Off
The Auto-Power Off feature allows the tool to turn off
automatically after a selected amount of time when tool
is not being used. The Auto-Power Off feature will only
turn the tool off when it is operating on battery power.
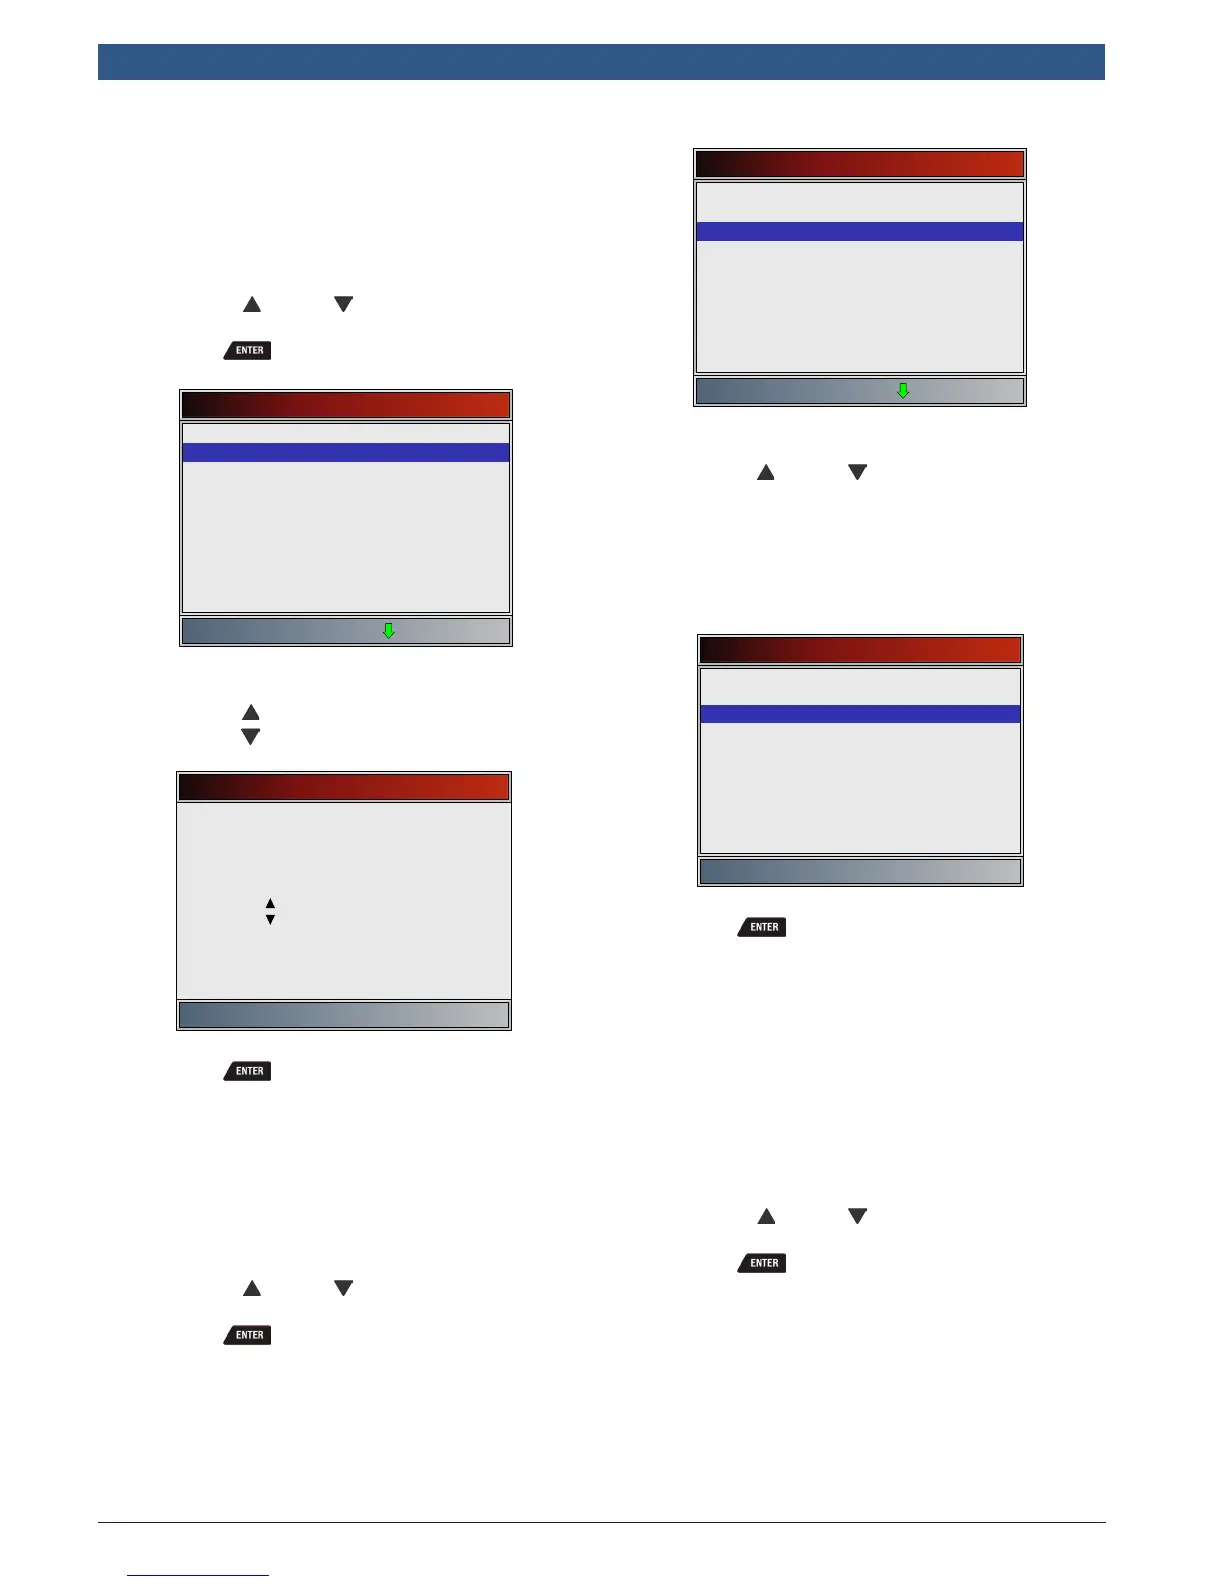
From System Setup screen:
1. Select Auto-Power Off.
• Use the UP and DOWN keys until Auto-
Power Off is highlighted.
• Press .
System Setup
English/Metric
Auto-Power Off
Quick Test
Print Header
Language Setup
Long PID Names
Pre-Trigger Setup
Tool Information
Display Test
2. Increase or decrease Auto-Power Off time.
• Use the UP key to increase time.
• Use the DOWN key to decrease time.
Auto-Power Off
Press ENTER to continue
Increase time
2 minute(s)
Decrease time
3. Save Auto-Power Off time.
• Press .
Quick Test
Quick Test is a feature of the tool that occurs the first
time the tool establishes communication with the vehi-
cle after vehicle selection. Quick Test will display the
results of I/M Monitors and Read Codes.
From System Setup screen:
1. Select Quick Test.
• Use the UP and DOWN keys until Quick
Test is highlighted.
• Press .
System Setup
English/Metric
Auto-Power Off
Quick Test
Print Header
Language Setup
Long PID Names
Pre-Trigger Setup
Tool Information
Display Test
2. Select desired Quick Test choice.
• Use the UP and DOWN keys until desired
choice is highlighted.
• Select QuickCheck
TM
to see the results of I/M
Monitors and Read Codes.
• Select Read All Codes to see the results of all
codes and associated CodeConnect® informa-
tion. This selection is enabled by default.
Quick Test
Disabled
QuickCheck
Read All Codes
3. Save Quick Test setting.
• Press .
Print Header
Print Header selection allows the user to turn off the
scan tool printing the currently-selected vehicle prior to
the retrieved vehicle data when selecting items from the
Print Data menu.
For example, if your currently-selected vehicle is a 2008
Chevrolet Corvette W = 6.2L, this information would
print at the top of the page for the data you are printing
From System Setup screen:
1. Select Print Header.
• Use the UP and DOWN keys until Print
Header is highlighted.
• Press .