Wraptor A6200 User Manual 34
General Operation
Printing: Details
Settings
The following sections discuss settings related to printing and the print queue. For other settings see
“Printer Settings” on page 7 and “Connecting the Printer” on page 12.
Print Adjustments
To set print adjustments, tap Settings on the home screen, then tap Print Adjustments.
These settings will be used on all print jobs. If you want to change them just for one job, be sure to
reset to the default settings when you are done. To do so, tap Reset Default. Measurement units are
in inches or millimeters depending on what units are set in Settings > System Configuration >
Measurement Units.
Note: Using the Batch Print tool in Brady Workstation software, you can save printer position
adjustments with the label file so that you do not have to change the horizontal and vertical
offsets each time you print that file.
•
Print Energy:
Use the slider to adjust for darker or lighter printing. Print a label to test the setting.
•
Feed to Wire:
Use the slider to adjust how much the printer peels the label before wrapping the
wire. The zero (middle) position on the slider represents the factory setting. Adjustments are relative
to the factory setting. This is useful for braided wires because there is less contact area for the labels
to adhere to. Setting this too high can cause labels to jam.
•
Wrap Count:
Use the slider to change the number of times that the wrapping mechanism moves
around the wire when wrapping a label.
•
Cycles:
Displays the number of times the printer has printed or wrapped a label on a wire or cable.
The cycle count cannot be edited or reset. This value is used to determine when to perform
maintenance on the printer.
Next:
Shows whether the printer advances to the next label automatically or manually
(see “Advance to Next Label” on page 8 for details).
Label
Displays the current position in the label file as well as the total number of labels.
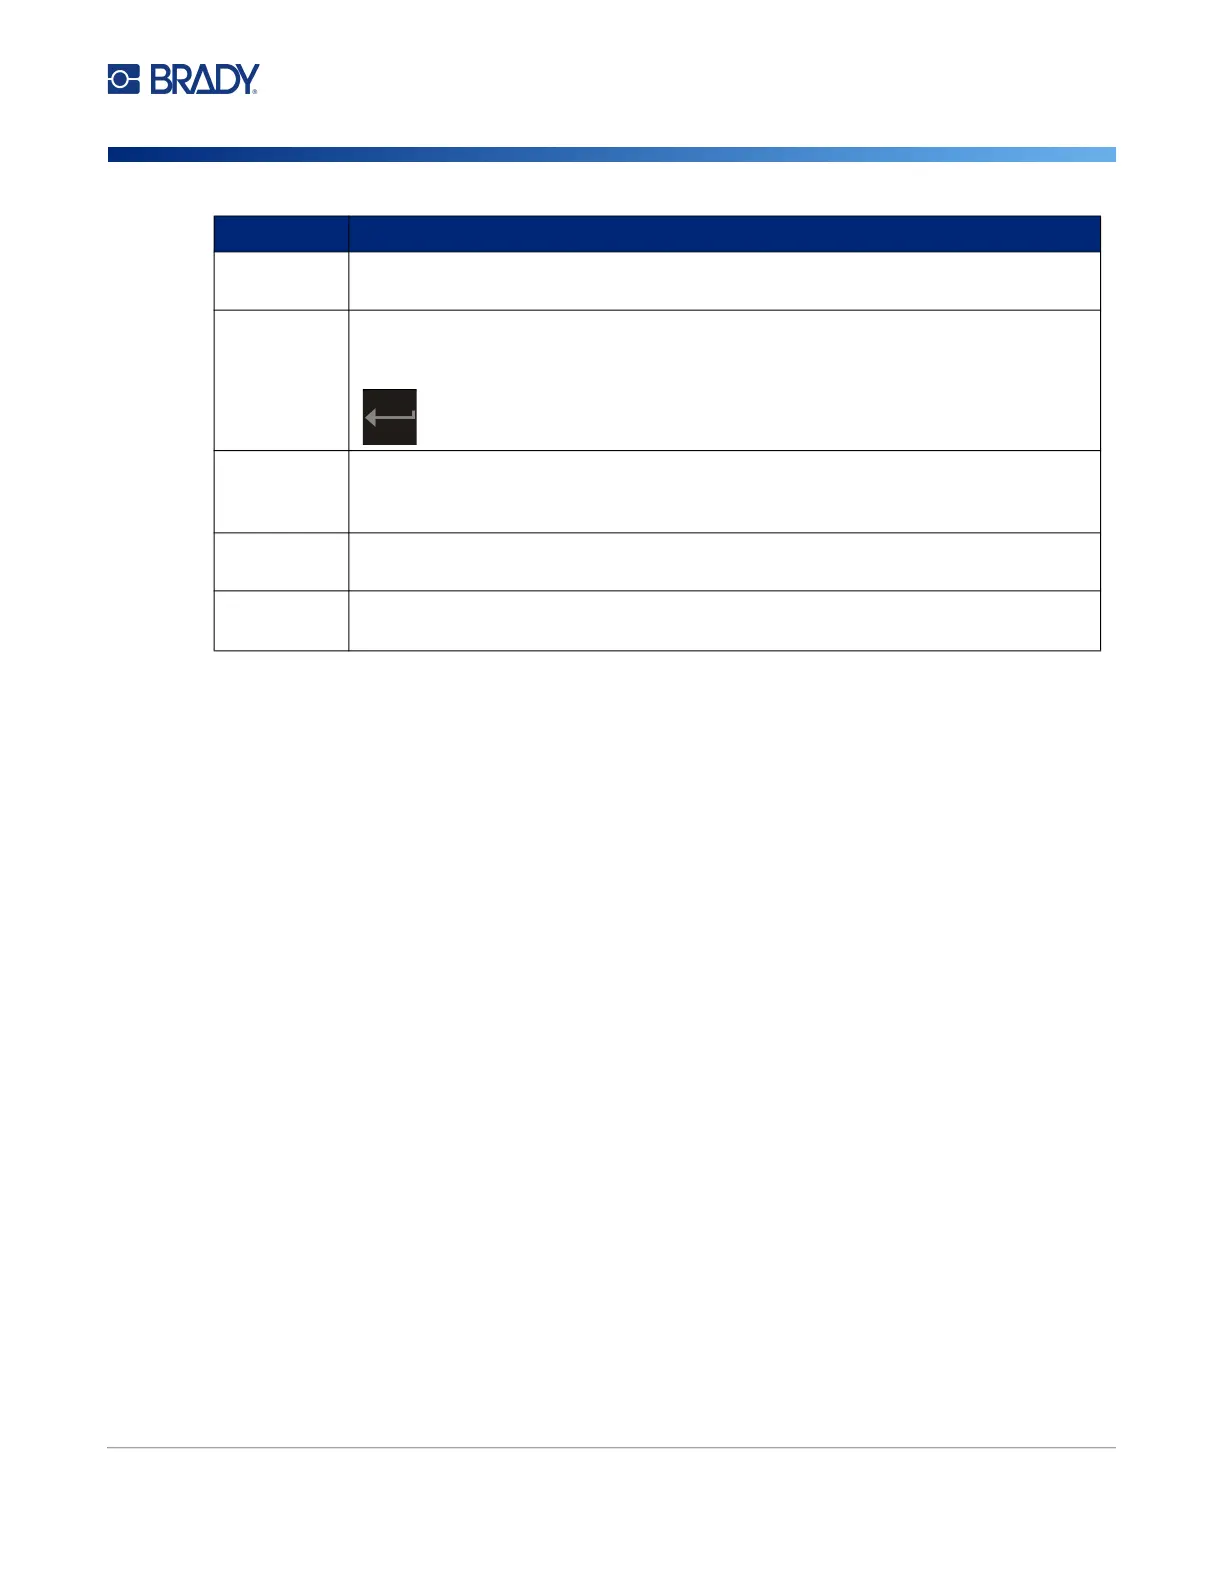
Tap the current label number (within a rectangle) to jump to a particular label. A
keypad opens. Tap the label number on the keypad and then tap the enter button.
Close Job
If the printer is set to repeat printing the same file, click Close Job to stop printing
this file and go to the next file in the print queue. For more information about the
Close Print Job When Completed setting, see “Print Queue” on page 35.
Print Only
Print the label, but do not apply it to the wire or cable. Open the wrapper module
before printing and remove the label immediately after printing.
Reset
Count
The number to the left indicates the number of labels wrapped. Tapping Reset
Count resets the number to zero.
Button Description