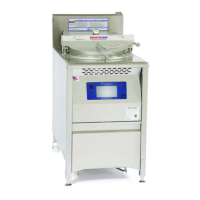
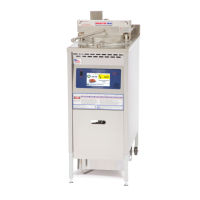
7-2
VENTILATION
• Never modify exhaust flue! Back pres-
sures from added extensions can cause
high ambient temperatures near the
controls.
• Make sure unit is correctly ventilated.
Restrictions, drafts or other adverse
conditions might affect proper operation
of the burner and combustion assem-
blies.
GAS VALVE
Regulates gas supply. The gas valve has a
two position switch*: OFF to stop all gas
flow, and ON allows gas flow to pilot and
main burners as needed. Adjustment for
gas pressure and gas flow to pilot burner
are also found on the valve.
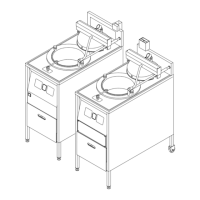
Replacement:
1. Turn power switch, manual gas shut
off valve (1) and switch (2) OFF.
2. Turn main gas supply OFF.
3. Disconnect main electric supply.
4. Remove condensate pan and front
panel.
5. Disconnect gas valve wire harnesses
(3).
6. Loosen fitting (4) that mounts pilot
burner gas supply line to gas valve.
7. Loosen brass union elbow (5).
8. Loosen pipe union (6).
9. Remove piping from gas valve.
Be sure pilot burner gas
supply line is fully
installed into gas valve fitting during
installation. If not, a gas leak may be the
result.
10. Install in reverse order. Use gas pipe
sealer on pipe threads. Check all gas
connections and pipes with a soap
and water solution. Bubbles indicate a
gas leak.
broaster.com Manuals #17280 1/15 Rev 12/15