MAINTENANCE PROCEDURES
Drive Pulley
Drive Pulley Adjustment (only TRA)
The drive pulley is factory calibrated for
sea level operation.
WARNING
Remove the tether cord cap from
engine cut-off switch before per-
forming any adjustment. Vehicle
must be parked in a safe place,
away from the trail.
The drive pulley is factory calibrated to
transmit maximum engine power at a
predefined RPM. Factors such as am-
bient temperature, altitude or surface
condition may vary this critical engine
RPM thus affecting snowmobile effi-
ciency.
This adjustable drive pulley allows set-
ting maximum engine RPM to maintain
maximum power.
Calibration screws should be adjusted
so that actual maximum engine RPM
matches the maximum horsepower
RPM.
ENGINE
MAXIMUM
HORSEPOWER RPM
600 HO E-TEC
8100 RPM (± 100)
800R E-TEC
7900 RPM (± 100)
NOTE: Use precision digital tachome-
ter for engine RPM adjustment.
NOTE: The adjustment has an effect
on high RPM only.
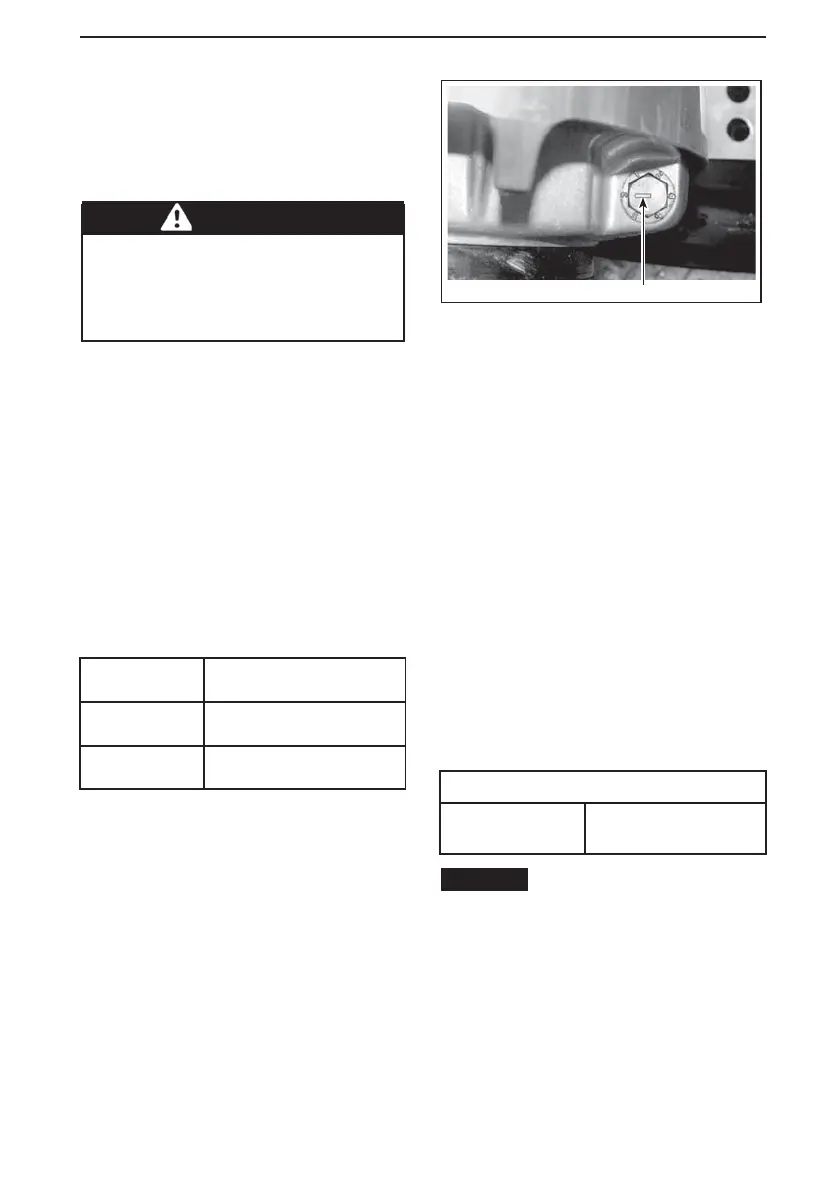
Calibration screw has a notch on top of
its head.
1
A33D19A
TYPICAL
1. Notch
There are 6 positions numbered 1 to 6.
Each position modifies maximum en-
gine RPM by approximately 200 RPM.
Lower position numbers decrease en-
gine RPM in steps of 200 RPM and
higher position numbers increase it in
steps of 200 RPM.
Example:
Calibration screw is set at position
4 a nd is changed to po sition 6. So
maximum engine RPM is increased
by 400 RPM.
Procedure
Loosen lock nut just enough to pull cali-
bration screw partially out and adjust to
desired position. Do not completely re-
move the lock nut. Tighten lock nuts to
specification.
TIGHTENING TORQUE
Lock nut
10 N•m ± 2 N•m
(89 lbf•in ±18lbf•in)
NOTICE
Do not completely re-
move calibration screw otherwise
internal washers will fall off. Al-
ways adjust all 3 calibration screws
and make sure they are all set to the
same position.
______________
115