Bruker Confidential Information
2.9. Measurement Options
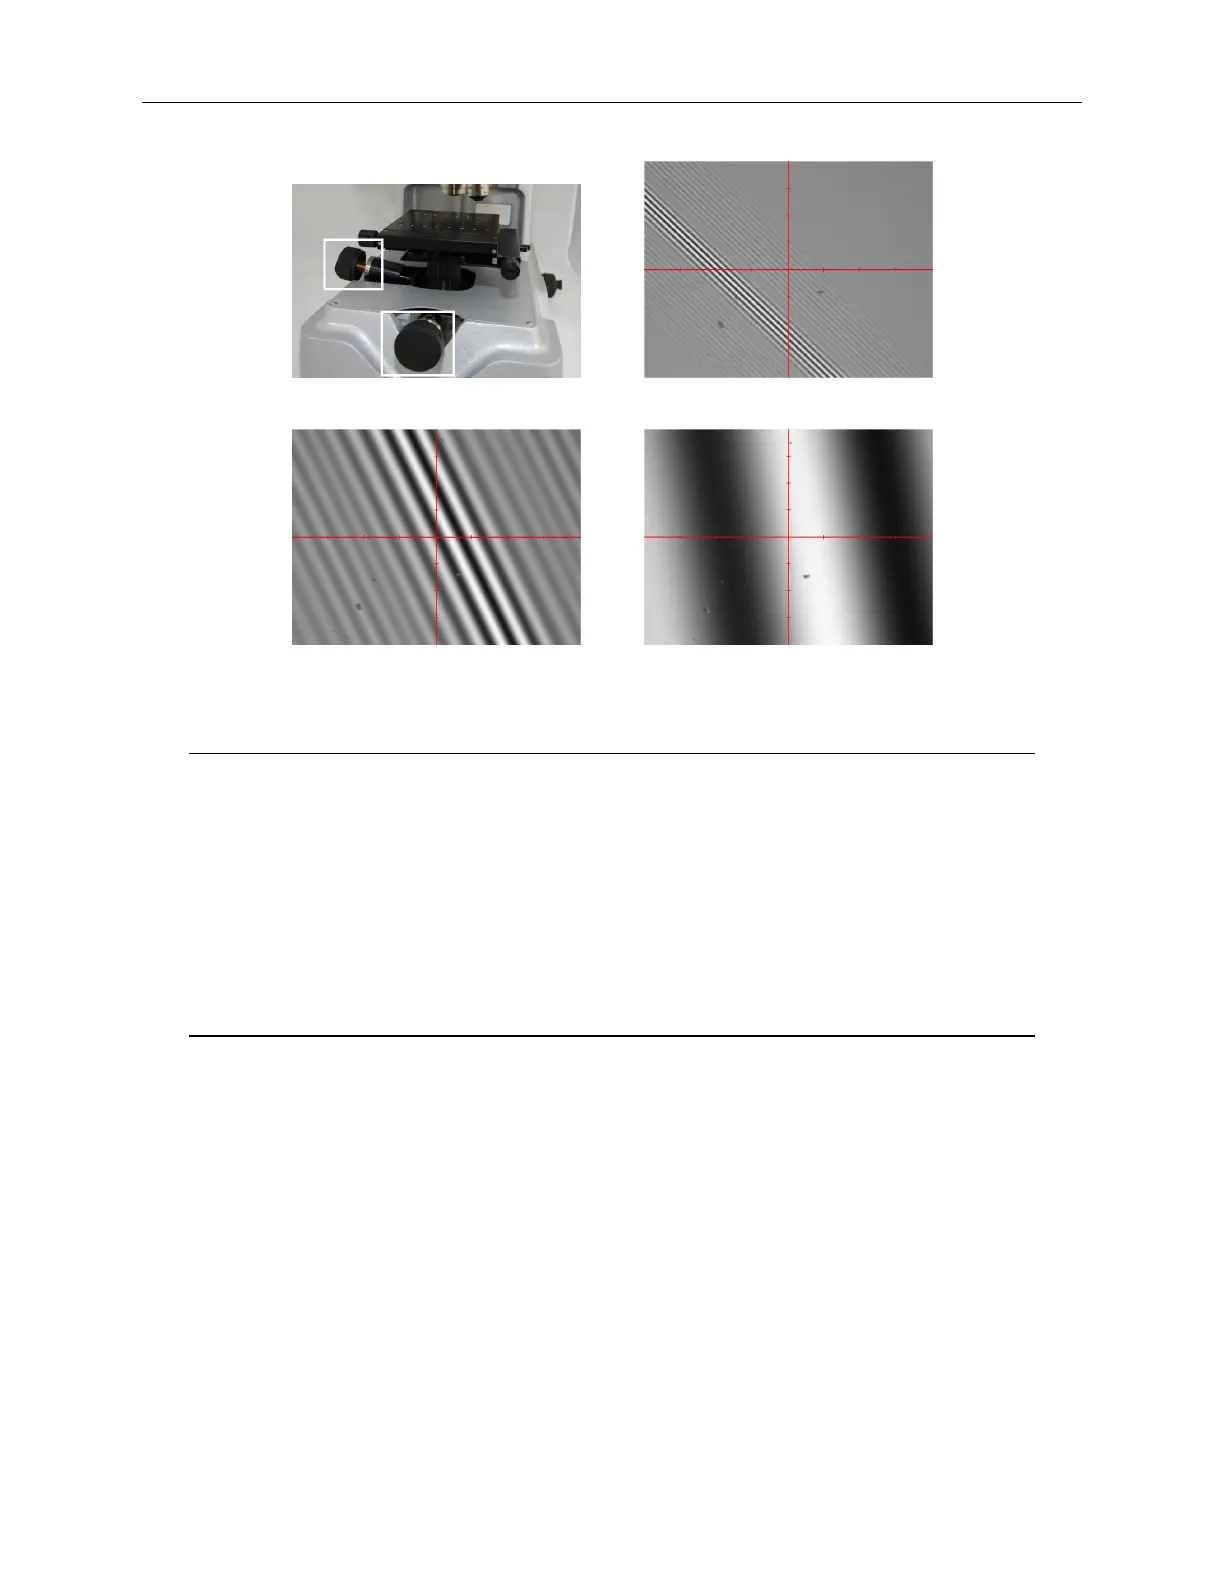
(a) Tip/tilt stage knobs (b) High tilt
(c) Medium tilt (d) Low tilt
Figure 2.6: Tip/tilt Control & Tilted Fringes
Note When the tilt is extreme the fringes are very close together and hard to find.
If you have trouble finding fringes in this circumstance it is often helpful to
perform a coarse tilt adjustment by following this procedure:
1. Click the Auto button in the intensity control bar (Figure 2.3a).
2. Adjust the tip and tilt while watching the intensity setting. The lowest
intensity requirement is normally found when the sample is close to flat.
3. If fringes are not visible, re-adjust the system focus and try again.
Many of the system features are accessed via the Measurement Options dialog. This dialog
contains two or three tabs but only the functionality of the first, Measurement Parameters, is
described here. The appearance of this first tab is dependent on the selected measurement type but
only the top portion is relevant and it is shown 2.7.
Measurement Type Selection
The desired measurement type is selected from the drop-down list to the right of the Measurement
Type text in the dialog.
Magnification Selection
On an automated system selection of the desired magnification from within the Vision64 application
results in the immediate change of the system optics. On manual systems after selection of the de-
15
 Loading...


