Notes:
• For Windows Vista, click [Run TSNavi.exe] when the auto-play screen is displayed. When “A program needs
your permission to continue” is displayed, click [Continue].
• For Mac OS, open the CD and double click on the [TeraNavigator] icon.
• Disable your anti-virus software and rewall before continuing. You may not be able to install the software if
anti-virus software or a software rewall are enabled. After you’ve nished setup, re-enable your rewall and
antivirus software.
2
3
Hold down the power button on the TeraStation for three seconds to turn it on.
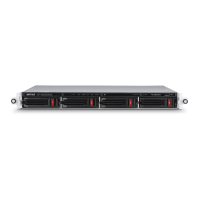
Wait until the green power LED changes from ashing to lit. In the TS-RXL TeraStations, the LED is
not illuminated. Continue to Step 4.
4
5
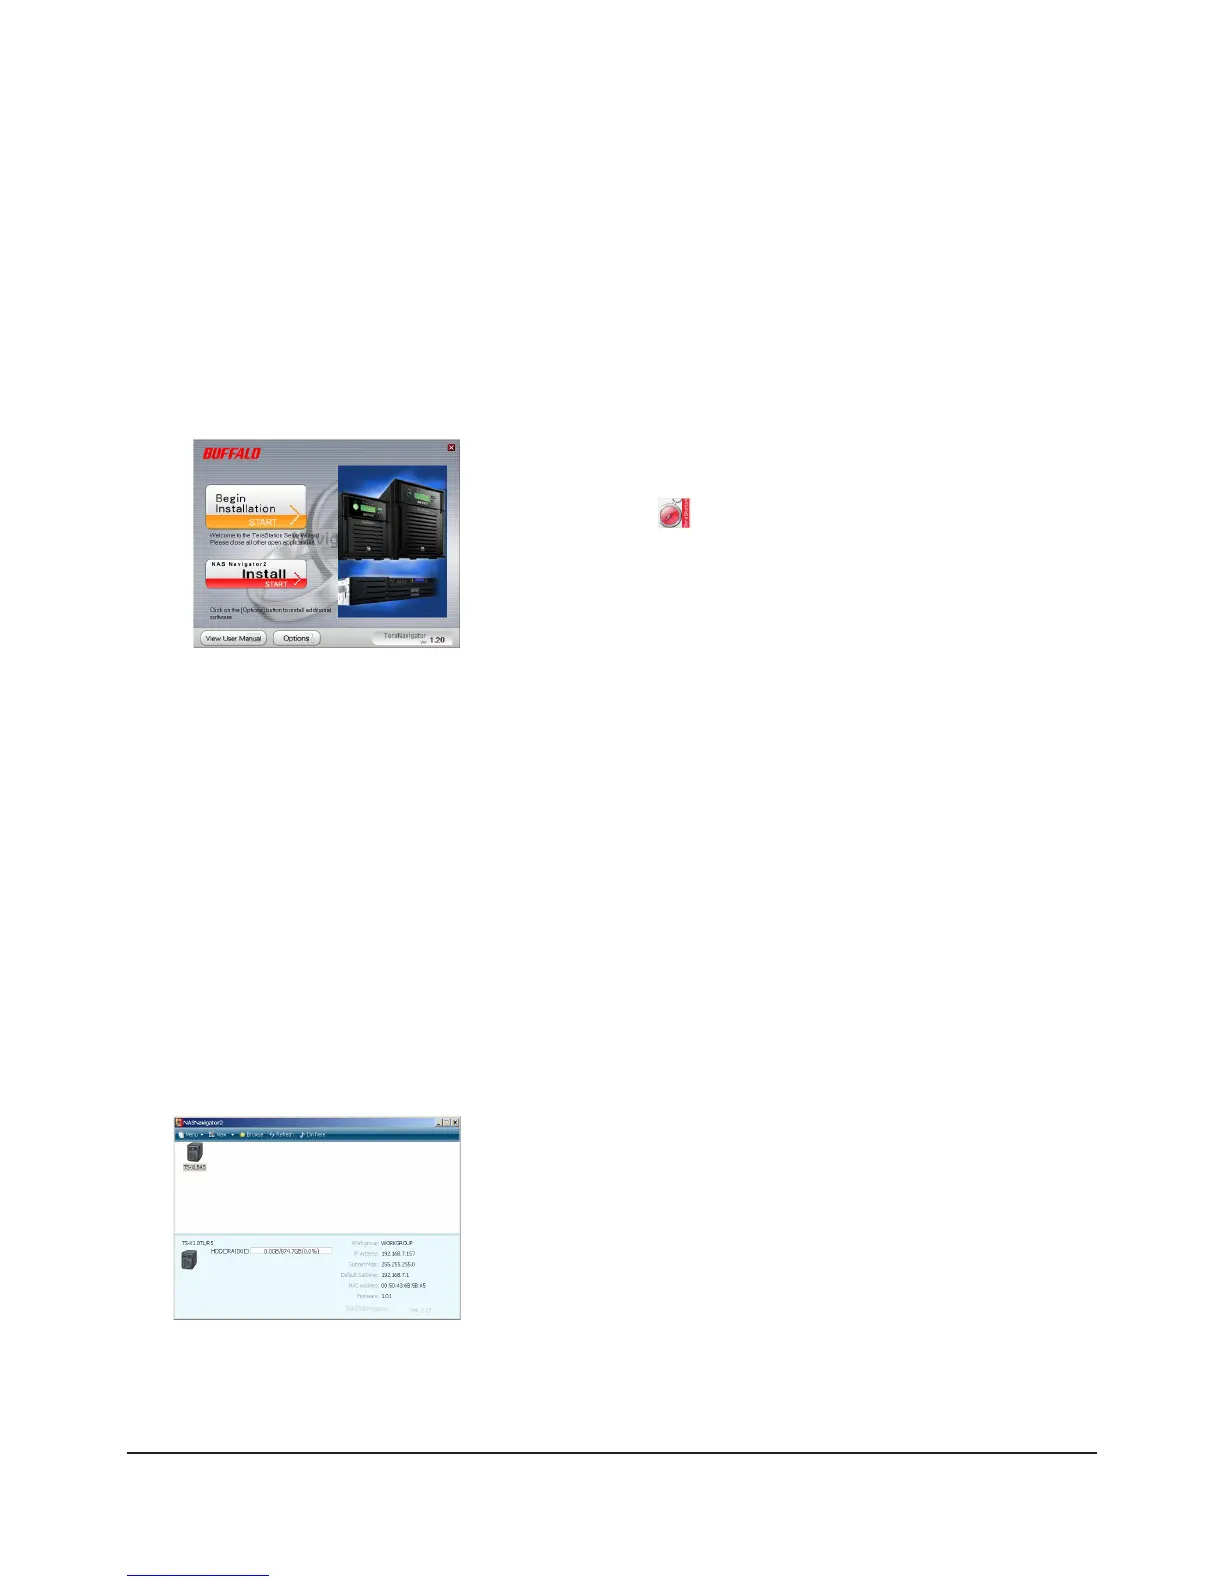
Insert the TeraNavigator software CD into your computer. The TeraNavigator wizard will launch.
Click [Begin Installation].
When the message [Completed] is displayed, click [Launch NAS Navigator2]. NAS Navigator2 will launch.
Note: Alternately, you can click [Next] to display more information about the Power Mode Switch, which can
turn the TeraStation ON and OFF automatically.
Note:
If the wizard doesn’t open automatically, navigate to the TeraNavigator CD
and double-click the icon (TSNavi.exe).
Step through the wizard to connect cables and install software.
Note:
For Mac OS, hold the Control key, click on the TeraStation icon, then click
[Congure] - [IP Address].
6
Right-click on your TeraStation’s icon, and choose [Properties] - [IP Settings].