©2023 CAE 905K600152 v1.4 35
Setup
Step 3: Attach Juno’s Legs
To attach Juno’s legs, use the following provided parts:
•4 washers
•2 springs
• 2 knurled nuts
Attach Legs
1. Insert the leg screw into the hip joint hole.
2. Place a washer on the leg screw followed by one spring and a second washer.
3. Fasten the assembly to the torso. Use the thumb screw with the knurled portion to
wards
the out
side.
4. Tighten until the screw is flush with the nut. Ensure the leg moves freely.
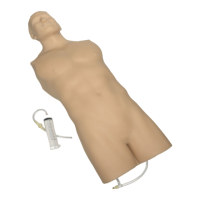
Leg Hardware Configuration
5. Repeat for the second leg.
6. Reattach genitalia, abdominal plate, and skin.