27
Proprietary Information: Not for use or disclosure except by written agreement with Calix.
© 2001-2009 Calix. All Rights Reserved.
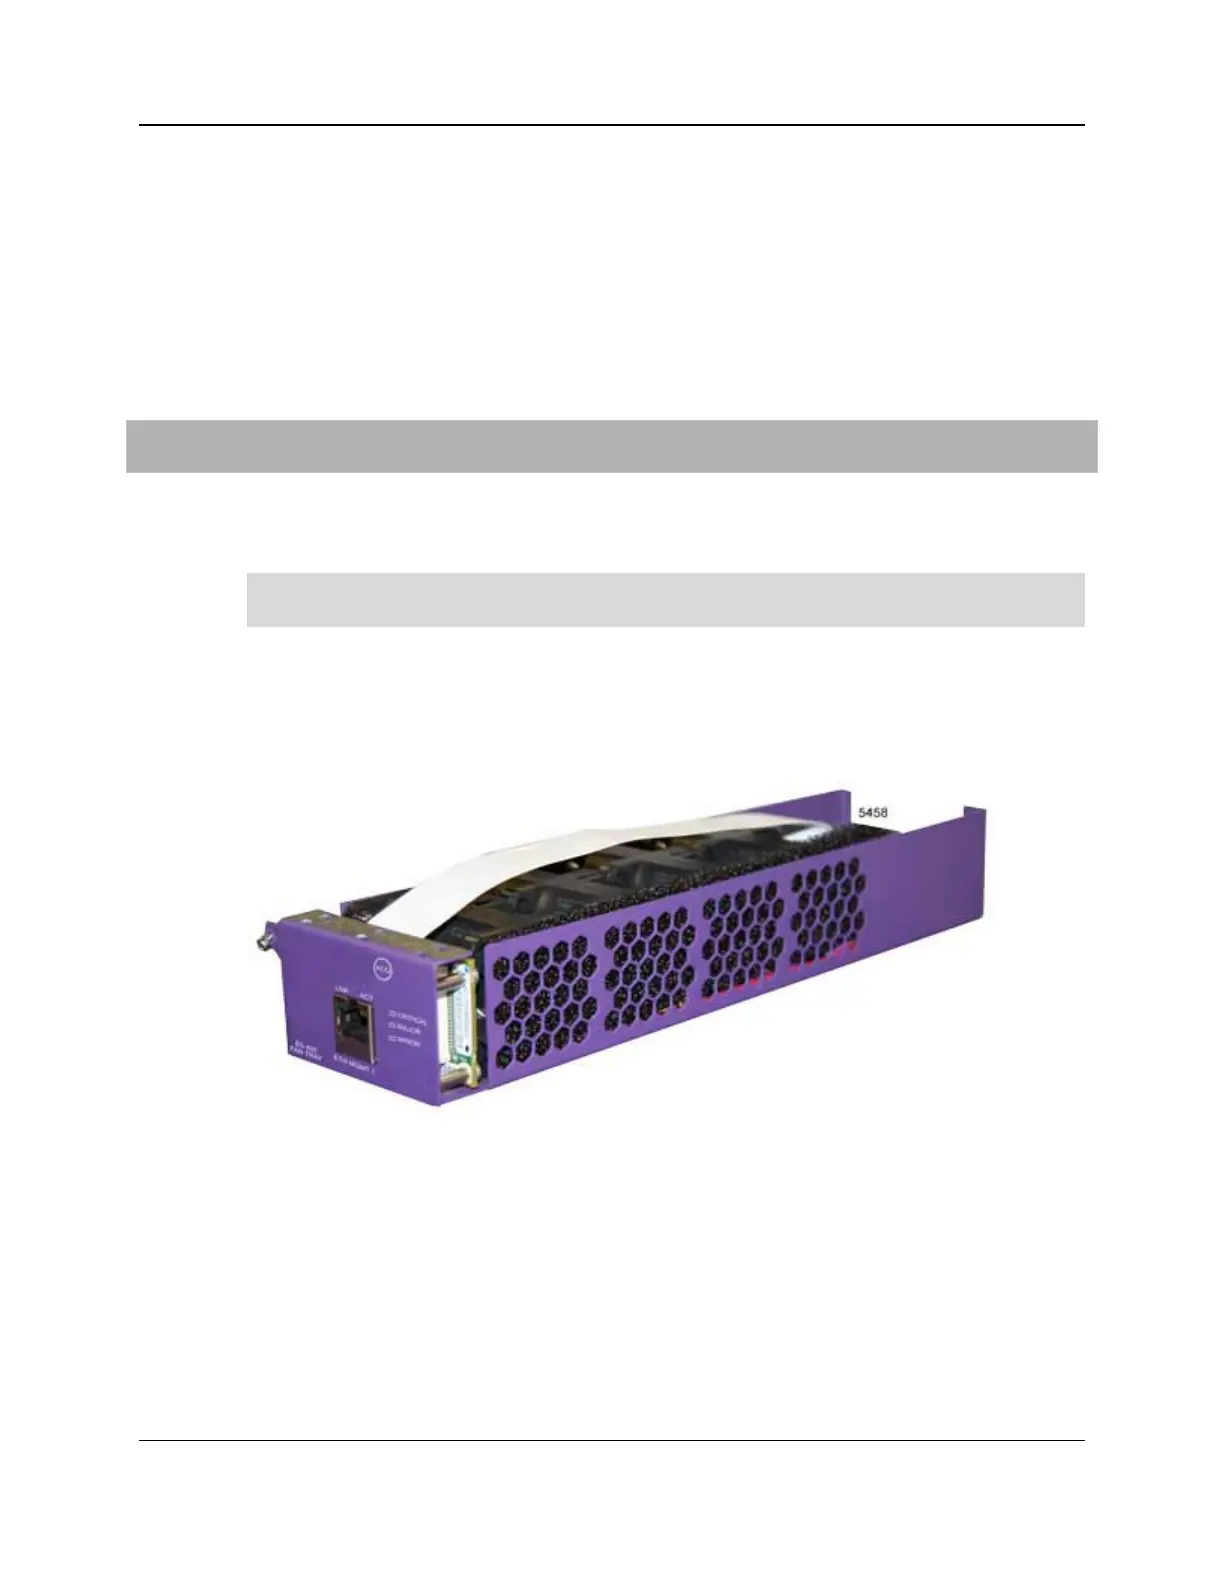
Installing the Fan Tray Module
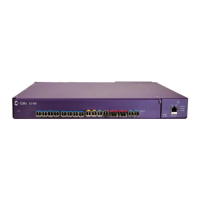
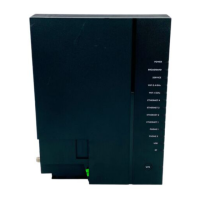
The fan tray module provides thermal management for the E5-400 unit. The fan tray module
is equipped with four cooling fans and its front panel provides indications about test and
alarm conditions. The module slides into the right side of the E5-400 front panel and
connects to the backplane to receive power and data for controlling the shelf temperature.
If a fan failure occurs, you can remove and replace the fan tray without powering down the
E5-400 shelf.
To install the E5-400 fan tray
1. Remove the fan tray module from its packaging.
2. Slide the fan tray module into the housing on the right side of the E5-400 front panel.
Note: As the module interfaces with the E5-400 backplane, an increase in resistance
occurs.
3. Push the fan tray module all the way into the housing to seat the unit. The module is fully
seated when the front panel of the fan tray module is flush with the E5-400 front panel.
4. Using a small #1 Phillips screwdriver, secure the fan tray in the housing by tightening the
captive screw on the fan tray assembly.