Calix ODC-10 Installation Guide
33
Proprietary Information: Not for use or disclosure except by written agreement with Calix.
© 2001-2003 Calix. All Rights Reserved.
Choose an AC power routing method
Choose one of the following methods to route AC power from the splice compartment to
the AC Load Center.
Procedure to remove pegboard and route AC power cables to the AC
Load Center
Use this procedure for clear access to the AC access feed and if you have not installed
subscriber cable in the splice compartment yet.
Step Action
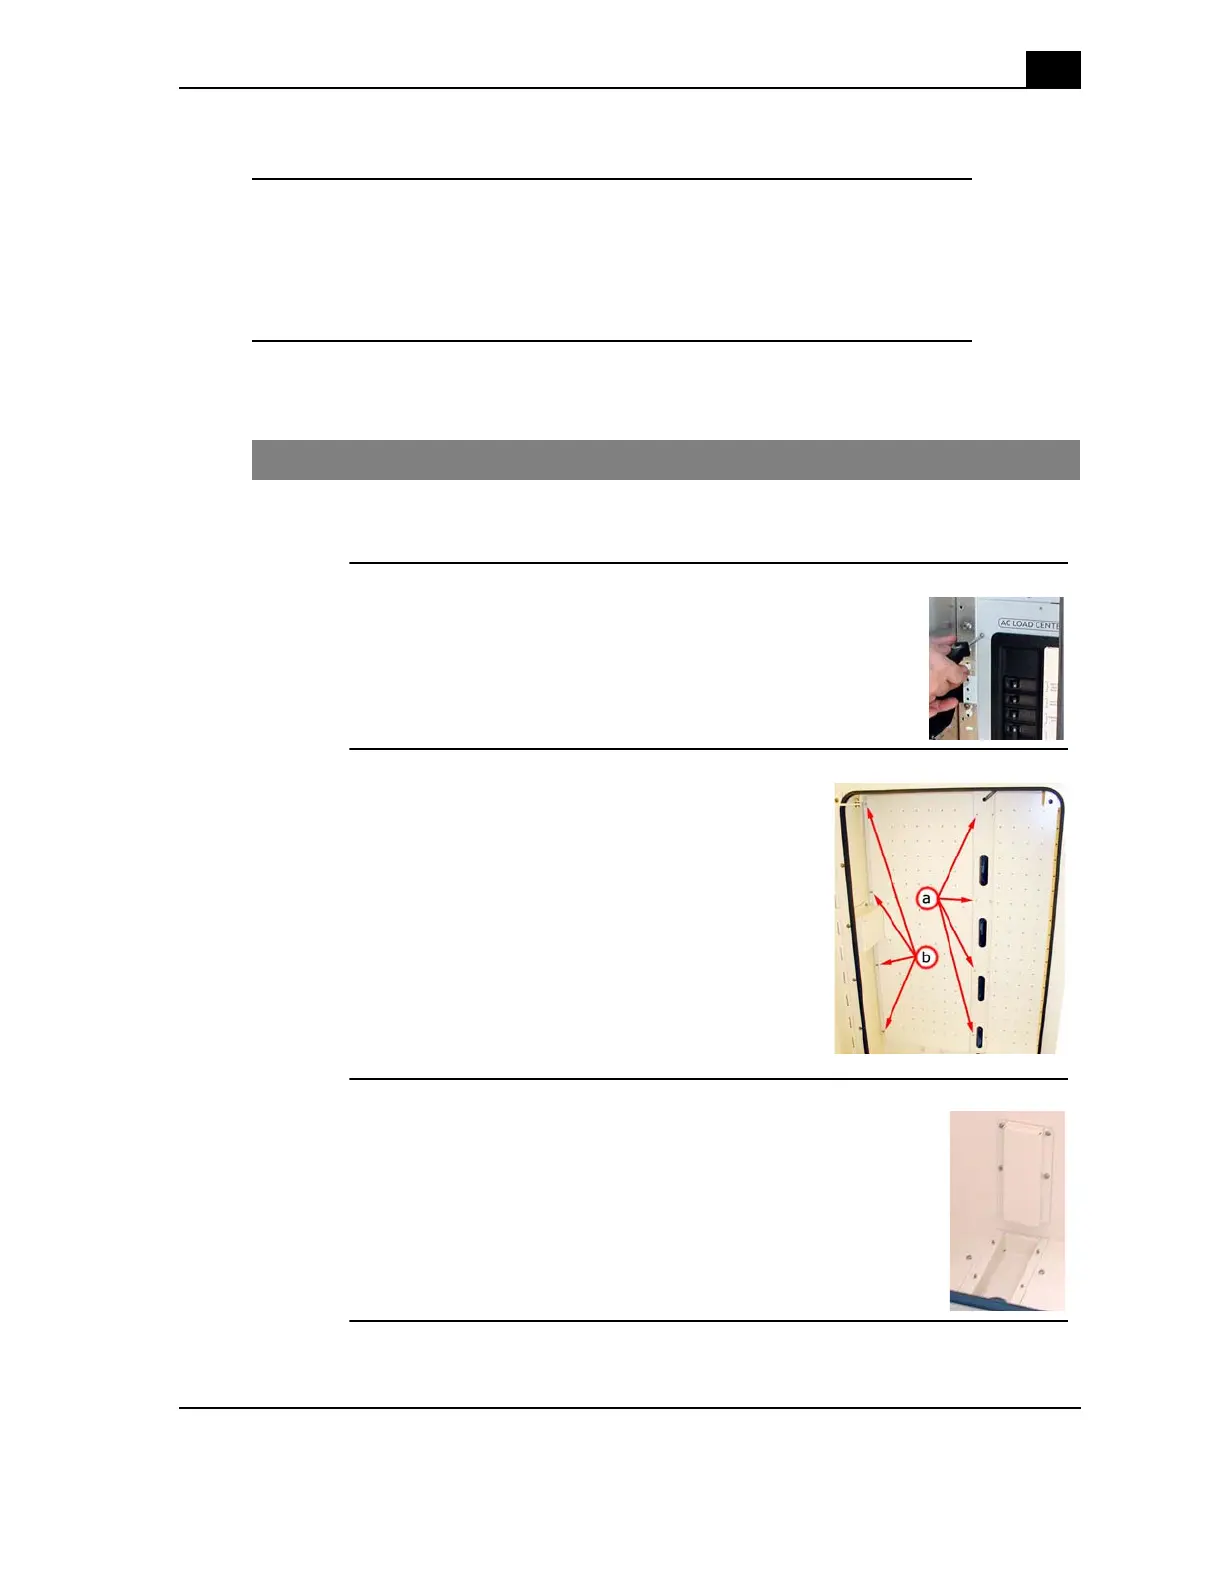
1.
At the AC Load Center in the front equipment compartment, switch all
breakers to the off position.
2.
Remove the metal AC Load Center front panel.
Note: Do not remove the plastic cover.
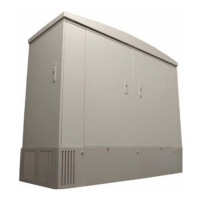
3.
In the right-side splice compartment, locate the
left pegboard then do the following:
a. On the right edge of the pegboard, remove
the retaining screws.
b. On the left edge of the pegboard, loosen
the locking nuts.
c. Slide the pegboard to the right and remove
it from the splice compartment.
Note: ODC-10 and ODC-20 pegboards have 3
screws per side.
4.
Remove the wall plate located above the AC entry tray.