64
Calix ODC-10 Installation Guide
Proprietary Information: Not for use or disclosure except by written agreement with Calix.
© 2001-2003 Calix. All Rights Reserved.
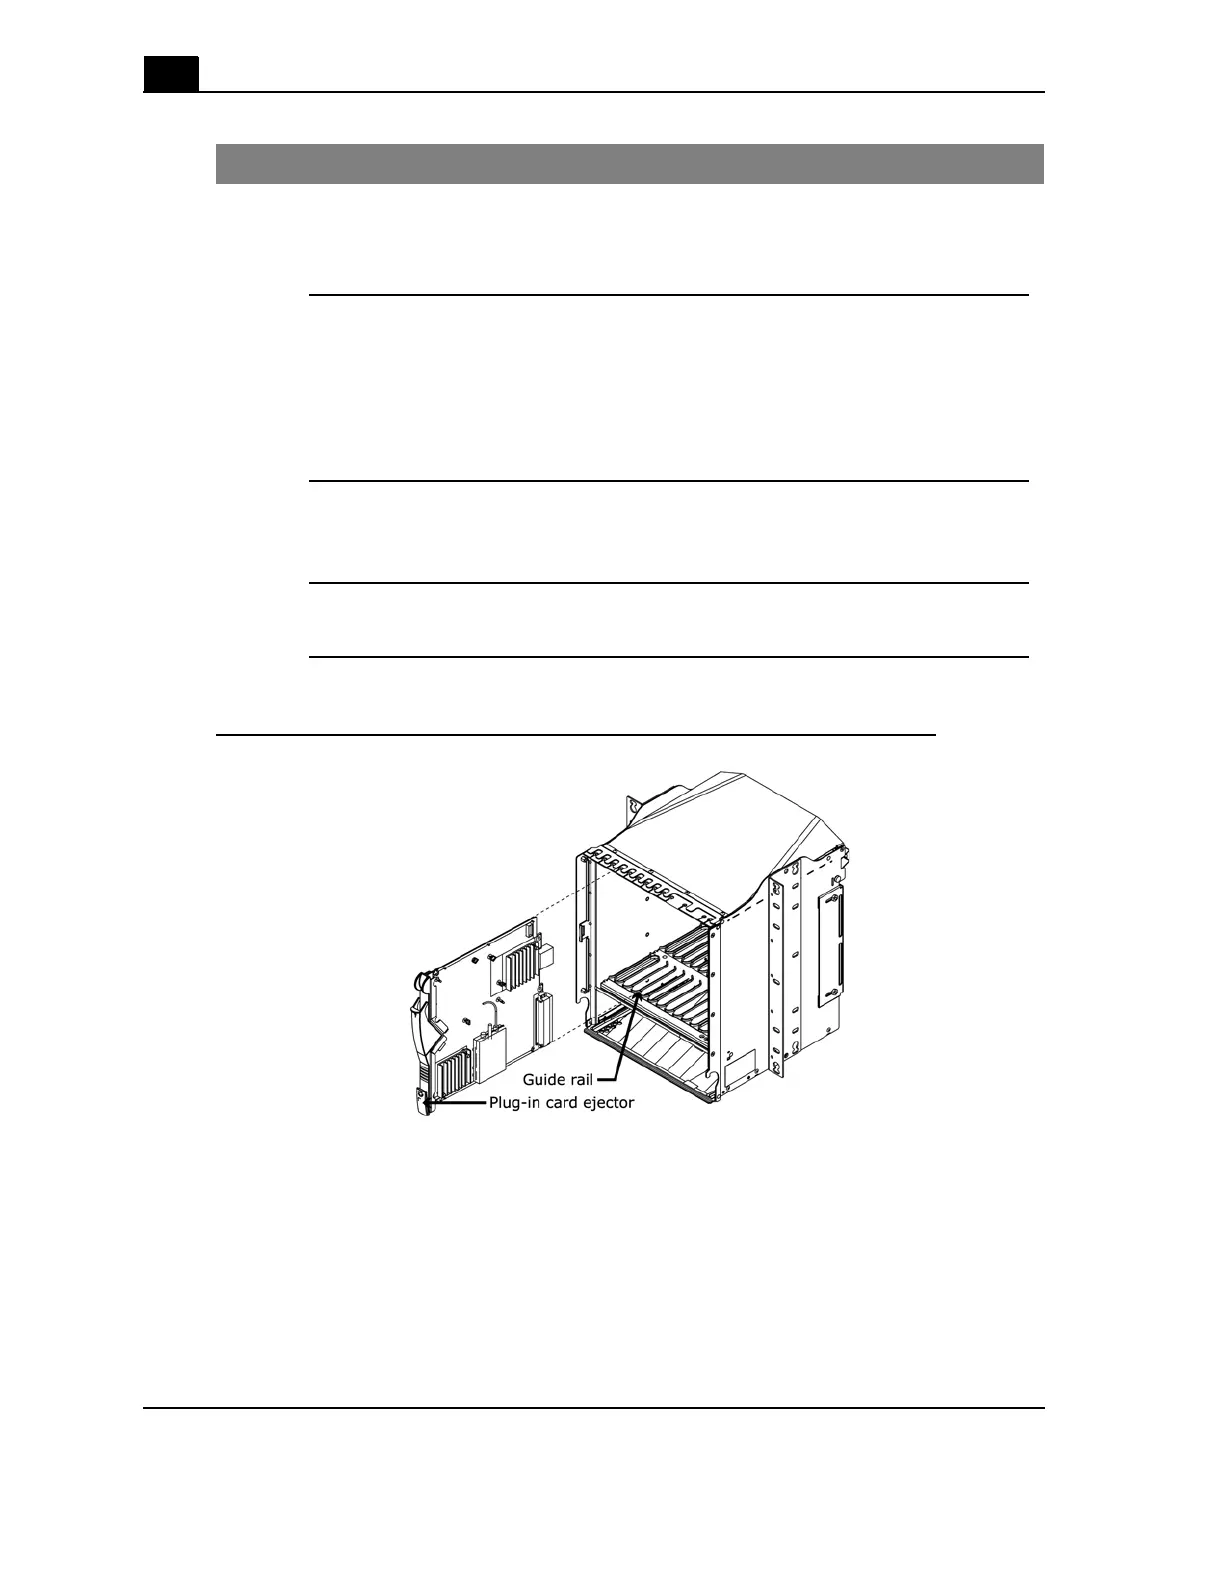
Optical plug-in card installation view
6.
Identify the appropriate fiber cable assignments for each optical card (from
the labels applied when you dressed the fiber cables earlier in the installation
process).
7.
Beginning with port 1 at the top of each card, insert the appropriate LC
connector with the key turned to the right into the face of the card. (Note:
the Calix optical card ports are located on the face of each card and are
numbered from the top of the card down -1, 2, 3, etc. - with the RX connector
in the front and the TX connector immediately behind it.)
8.
After terminating all the appropriate LC connector ends into the optical card,
replace the card's fiber protector cover.
9.
Repeat steps 1 through 7 for each optical card.
Step Action