Calix ODC-10 Installation Guide
53
Proprietary Information: Not for use or disclosure except by written agreement with Calix.
© 2001-2003 Calix. All Rights Reserved.
Install the fiber
To install the fiber, you will need to install and route the cabling, splice and terminate the
fiber, then seal and support the fiber cables within the splice compartment.
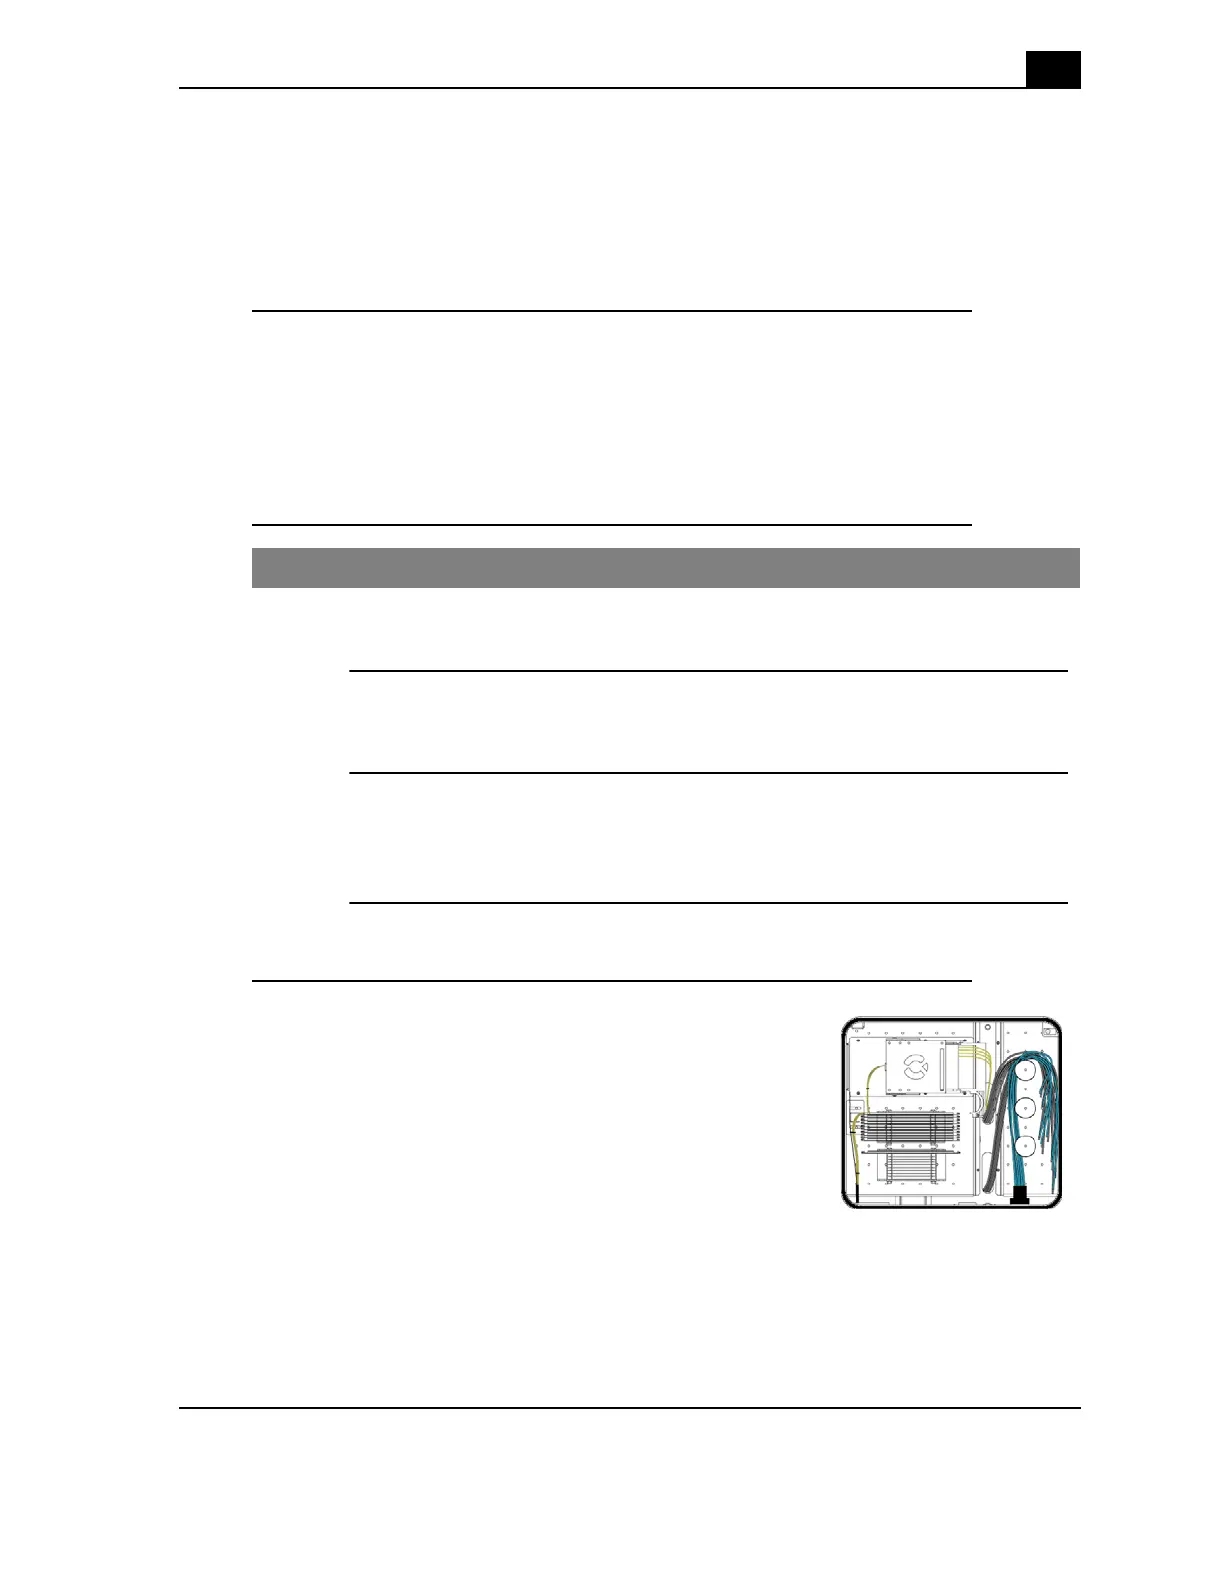
Entry location for fiber cables
You can route fiber cable through any of the cable entry locations in the splice
compartment. For best results:
• for most situations, route the fiber cable to the left.
• with an integrated cross-connect, route the fiber cable to the right.
Procedure to install the fiber cabling
Example of fiber cable routing
The above configuration is a sample placement suggestion. Your configuration may differ.
Step Action
1.
Route the fiber cable up through a cable entry hole in the bottom of the side
splice compartment. Leave 8-10 feet of cable hanging out of the cabinet.
2.
Slide a 2" fiber cable entry plate down the fiber cable and fasten the plate to
the bottom of the side splice compartment.
3.
Slide a 2" cold shrink tube down the subscriber cable with the loose pull tab
of the cold shrink removable core feeding from the bottom of the tube
through to the top.
The fiber cable is routed up the left side of the compartment
and supported by the fiber strain relief bracket.
Pigtails are spliced to the fiber with the splices placed in the
fiber splice trays.