138
E
Direct Printing
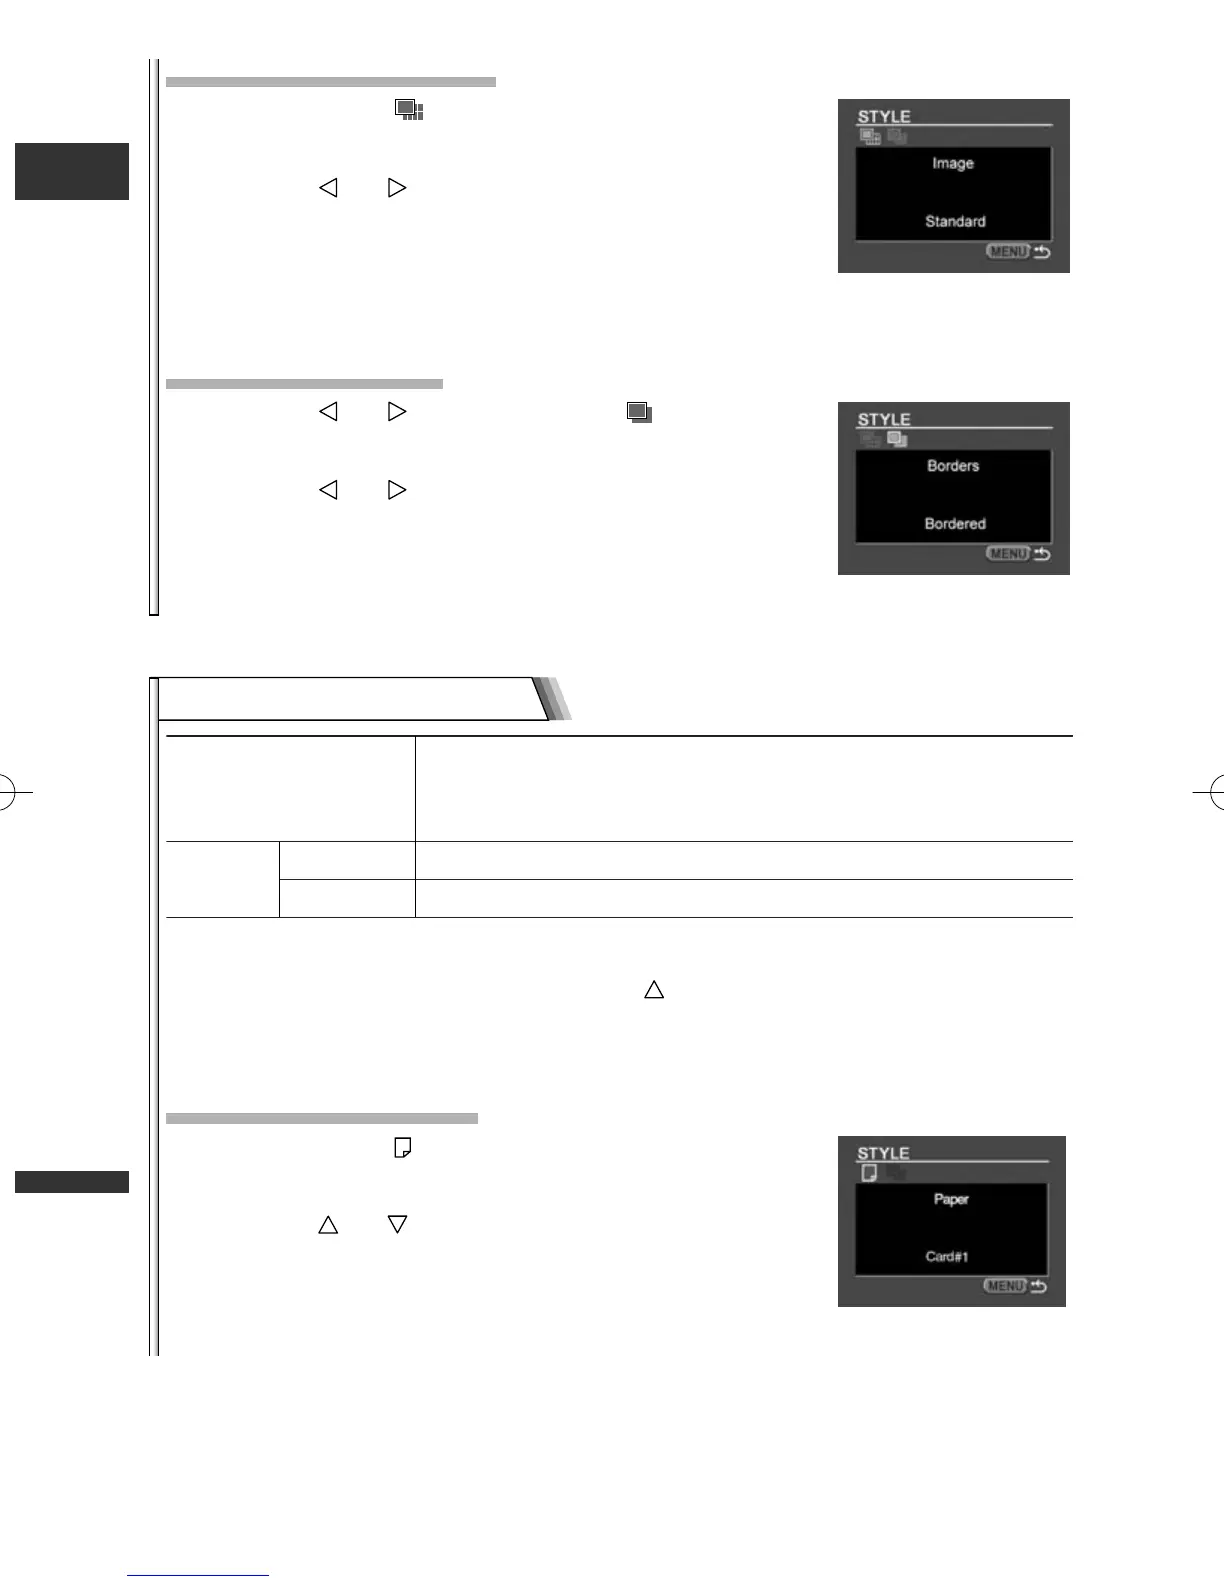
Selecting the Image Style
2. Make sure that (Image) is selected and press
the P.SET button.
3. Press the or button to select the image style
and press the P.SET button.
Pressing the MENU button brings you back to the print
settings menu.
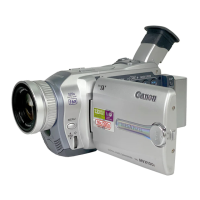
Selecting the Borders
2. Press the or button to select (Borders) and
press the P.SET button.
3. Press the or button to select a borders option
and press the P.SET button.
Pressing the MENU button brings you back to the print
settings menu.
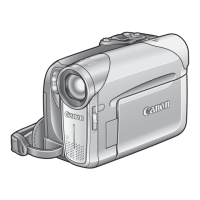
1. In the print setting menu, press the button to select [STYLE] and
press the P.SET button.
Selecting the Paper Size
2. Make sure that (Paper) is selected and press the
P.SET button.
3. Press the or button to select the paper size
and press the P.SET button.
Pressing the MENU button brings you back to the print
settings menu.
Paper Size Card #1*, Card #2*, Card #3*, LTR, A4
For details on paper type, refer to the Bubble Jet Printer
User Guide.
Borders Borderless Prints right to the edges of the page.
Bordered Prints with a border.
* Recommended paper size
Print Setting Menu 2
6_D76PAL_E(134-141) 26/06/03 12:19 Page 138