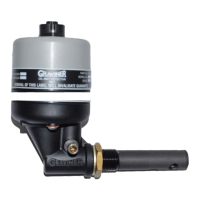
To clean a detector: -
1. With the detector isolated disconnect the cable connector fitted to the top of the Detector Head.
2. Using a 4mm hexagonal key, loosen the two fixing screws in the Detector Base. The screws are
self-retaining.
3. Remove and invert the top part of the Detector Head so the Fan is visible.
4. Wipe off any excess oil from the surface of the base and fan.
5. Examine the Detector Base unit seal and replace if damaged or perished or not seated firmly in
its channel.
CAUTION: - Do NOT press the fan label, handle only the fan outer housing.
6. Using the Pulling Tool (see below), slowly remove the Fan Retaining Plug by capturing the
shoulder and pulling. Carefully remove the Fan from its mountings.
Figure 128 Pulling Tool
BEWARE: - Please take extreme care NOT to lose any of the Compression Springs or the
Fan Retaining Plug.
7. Examine the 4 Compression Springs and the Fan Retaining Plug; replace any damaged items.
Spares for these items are included in the Service Kit, see 6.4.2.
8. Ensure the fan is free running and not clogged by oil residues.
9. If fan damage is suspected the fan should be replaced, see section 5.2.6.
10. Using the following images on this page as a guide, apply the Graviner recommended glass
cleaning fluid to a foam bud and wipe carefully around the inside of the oil mist detection opening
in the Detector Head. When cleaning older detectors take care not to damage the test LED.
(Note: Do not use any electronic contact cleaners, isopropyl alcohols, flux removers, any harsh
chemical cleaners, etc., as these will affect the Detector performance.)
 Loading...